
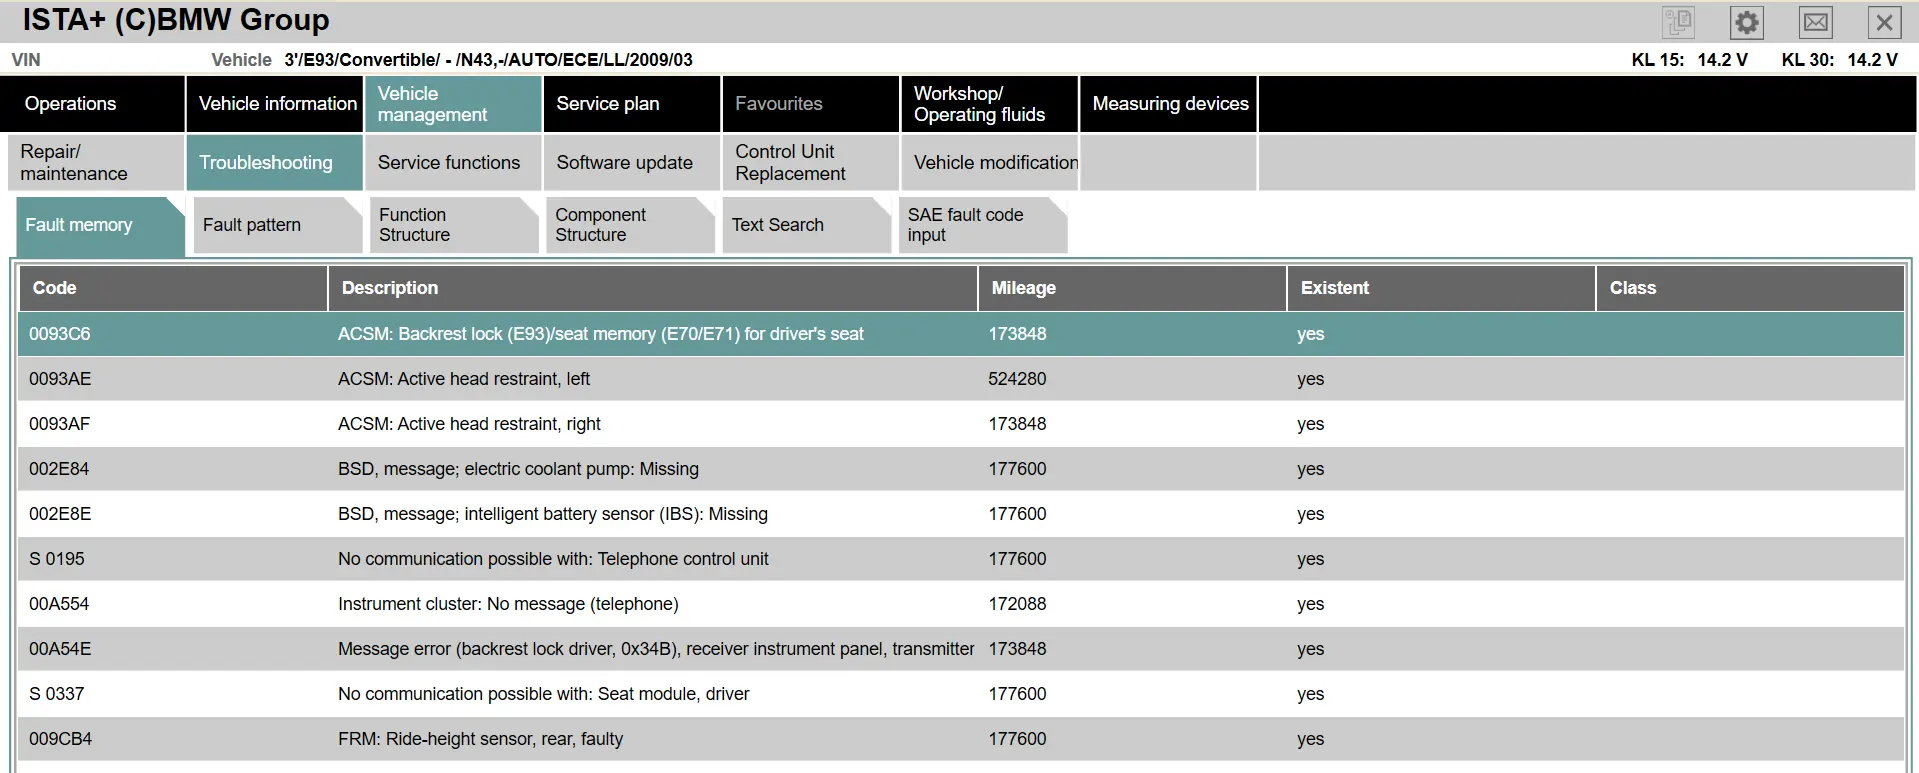
All fault codes on arrival
At the first readout of the BMW E93 we came across a long list of faults. This immediately confirmed that the car did not have just one problem, but a complex set of faults.
Engine-related (DME):
- 0029F3 – Fuel pressure sensor (low pressure): sensor or wiring faulty.
- 002E8B / 002E8E – IBS missing: no communication via the BSD bus.
- 0030E9 – NOx catalytic converter aging: catalytic converter possibly exhausted.
- 002EF7 – Thermostat control: electric thermostat faulty.
Communication problems:
- Modules such as the telephone module and driver's seat module gave no communication (S0195, S0112, S0337).
- Possibly no communication because of the retrofits or poor connections.
Airbag / safety (ACSM):
- Driver's seat backrest lock (0093C6).
- Active head restraints left/right (0093AE / 0093AF).
-
Communication fault backrest lock (00A54E).
Lighting / chassis / sensors:
- 00A8BF – Fog light/tail light left faulty.
- 009CB4 – Rear ride height sensor faulty.
- 005DB0 / 005DB2 – ABS wheel sensor rear left and increment gear
Miscellaneous:
- 00A06B – Comfort Access antenna bumper: poor reception or antenna faulty.
First diagnosis: what stands out?
On arrival countless warning lights were on: ABS, airbag, fuel pressure, ride height control…
During the visual inspection we immediately noticed:
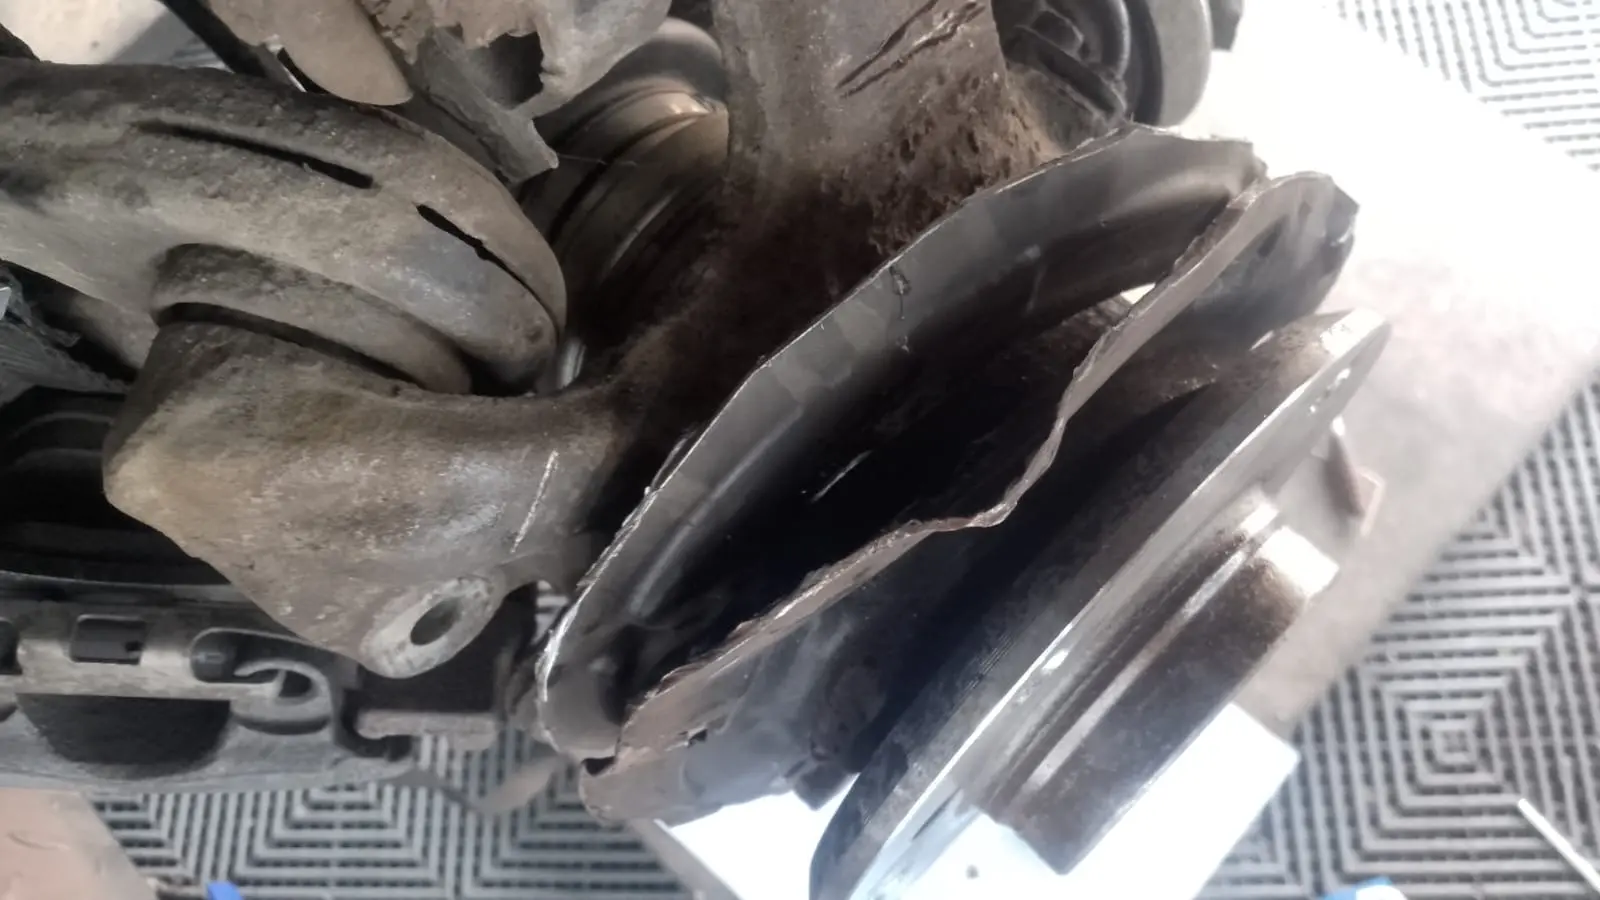
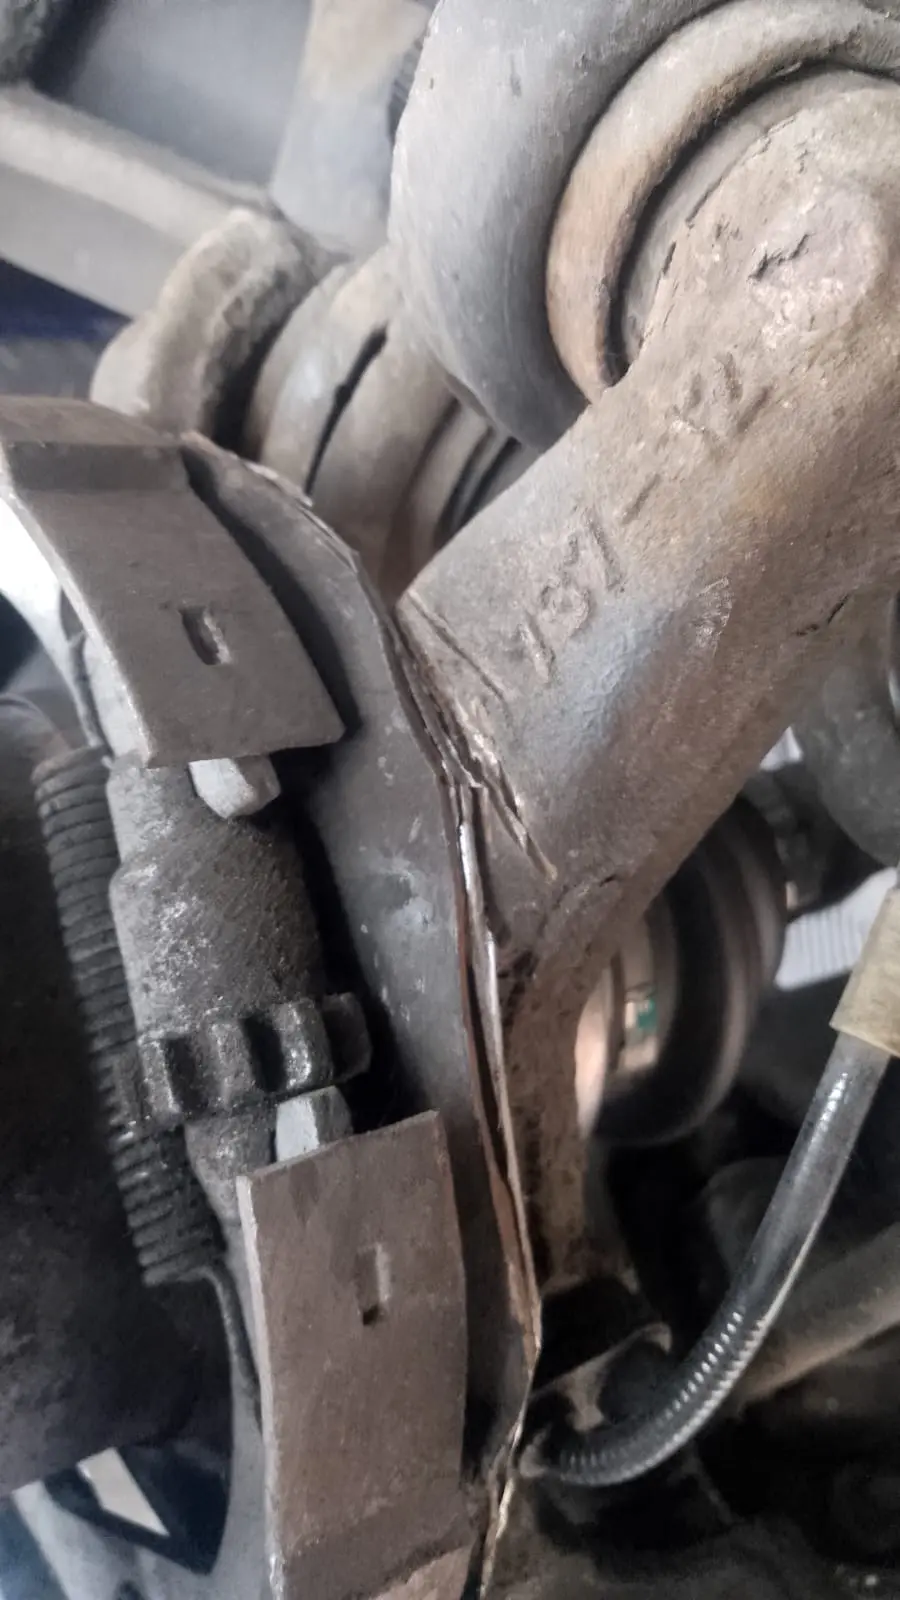
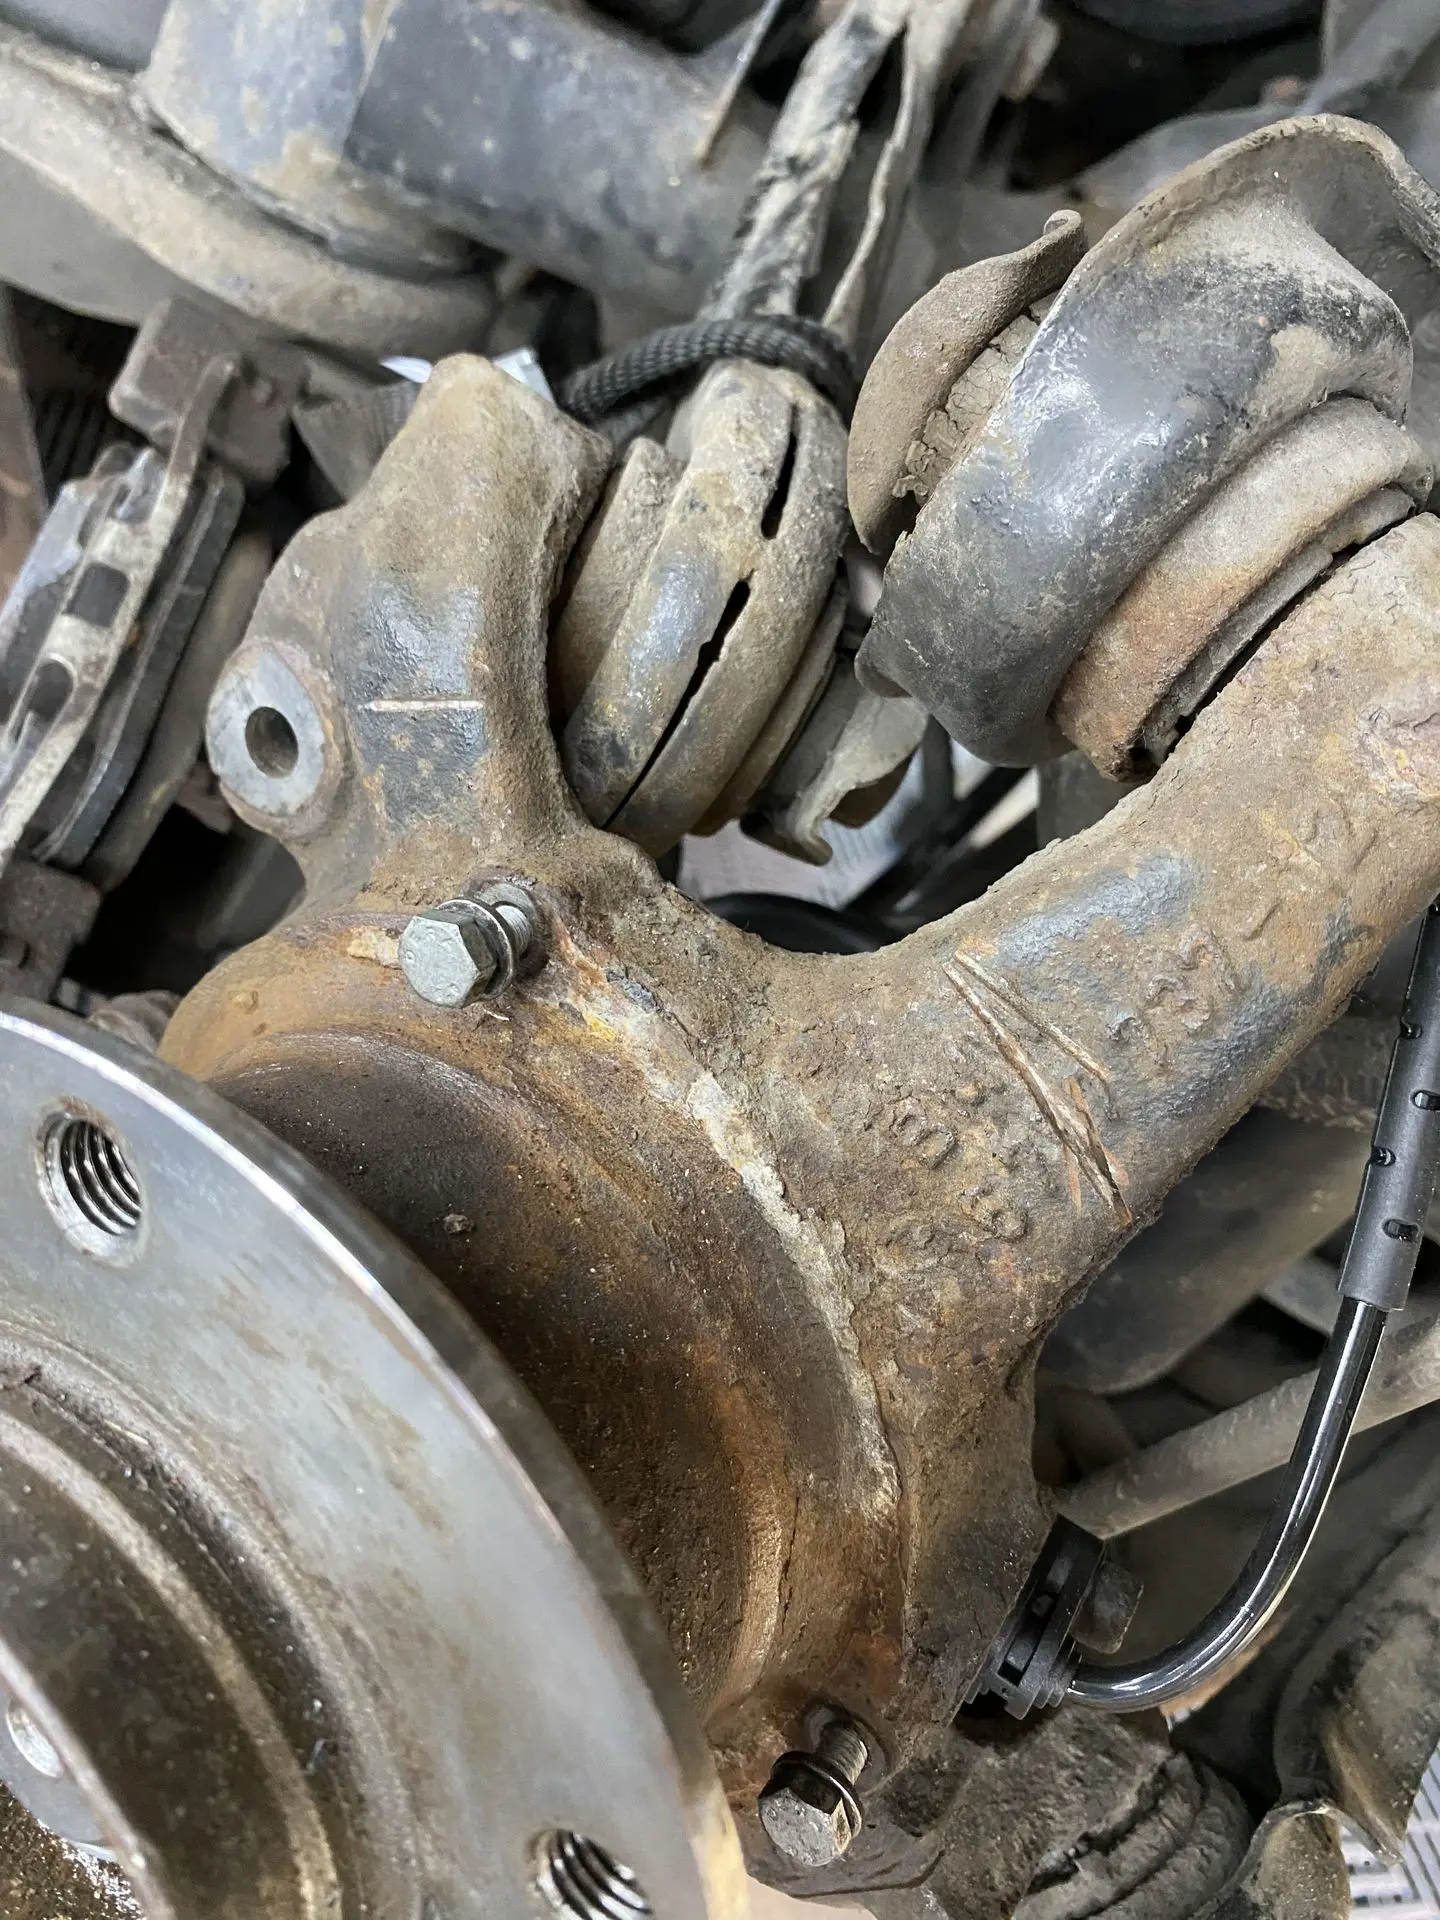
- The rear left brake backing plate had not been removed but ground off; this caused damage to the wheel hub carrier.
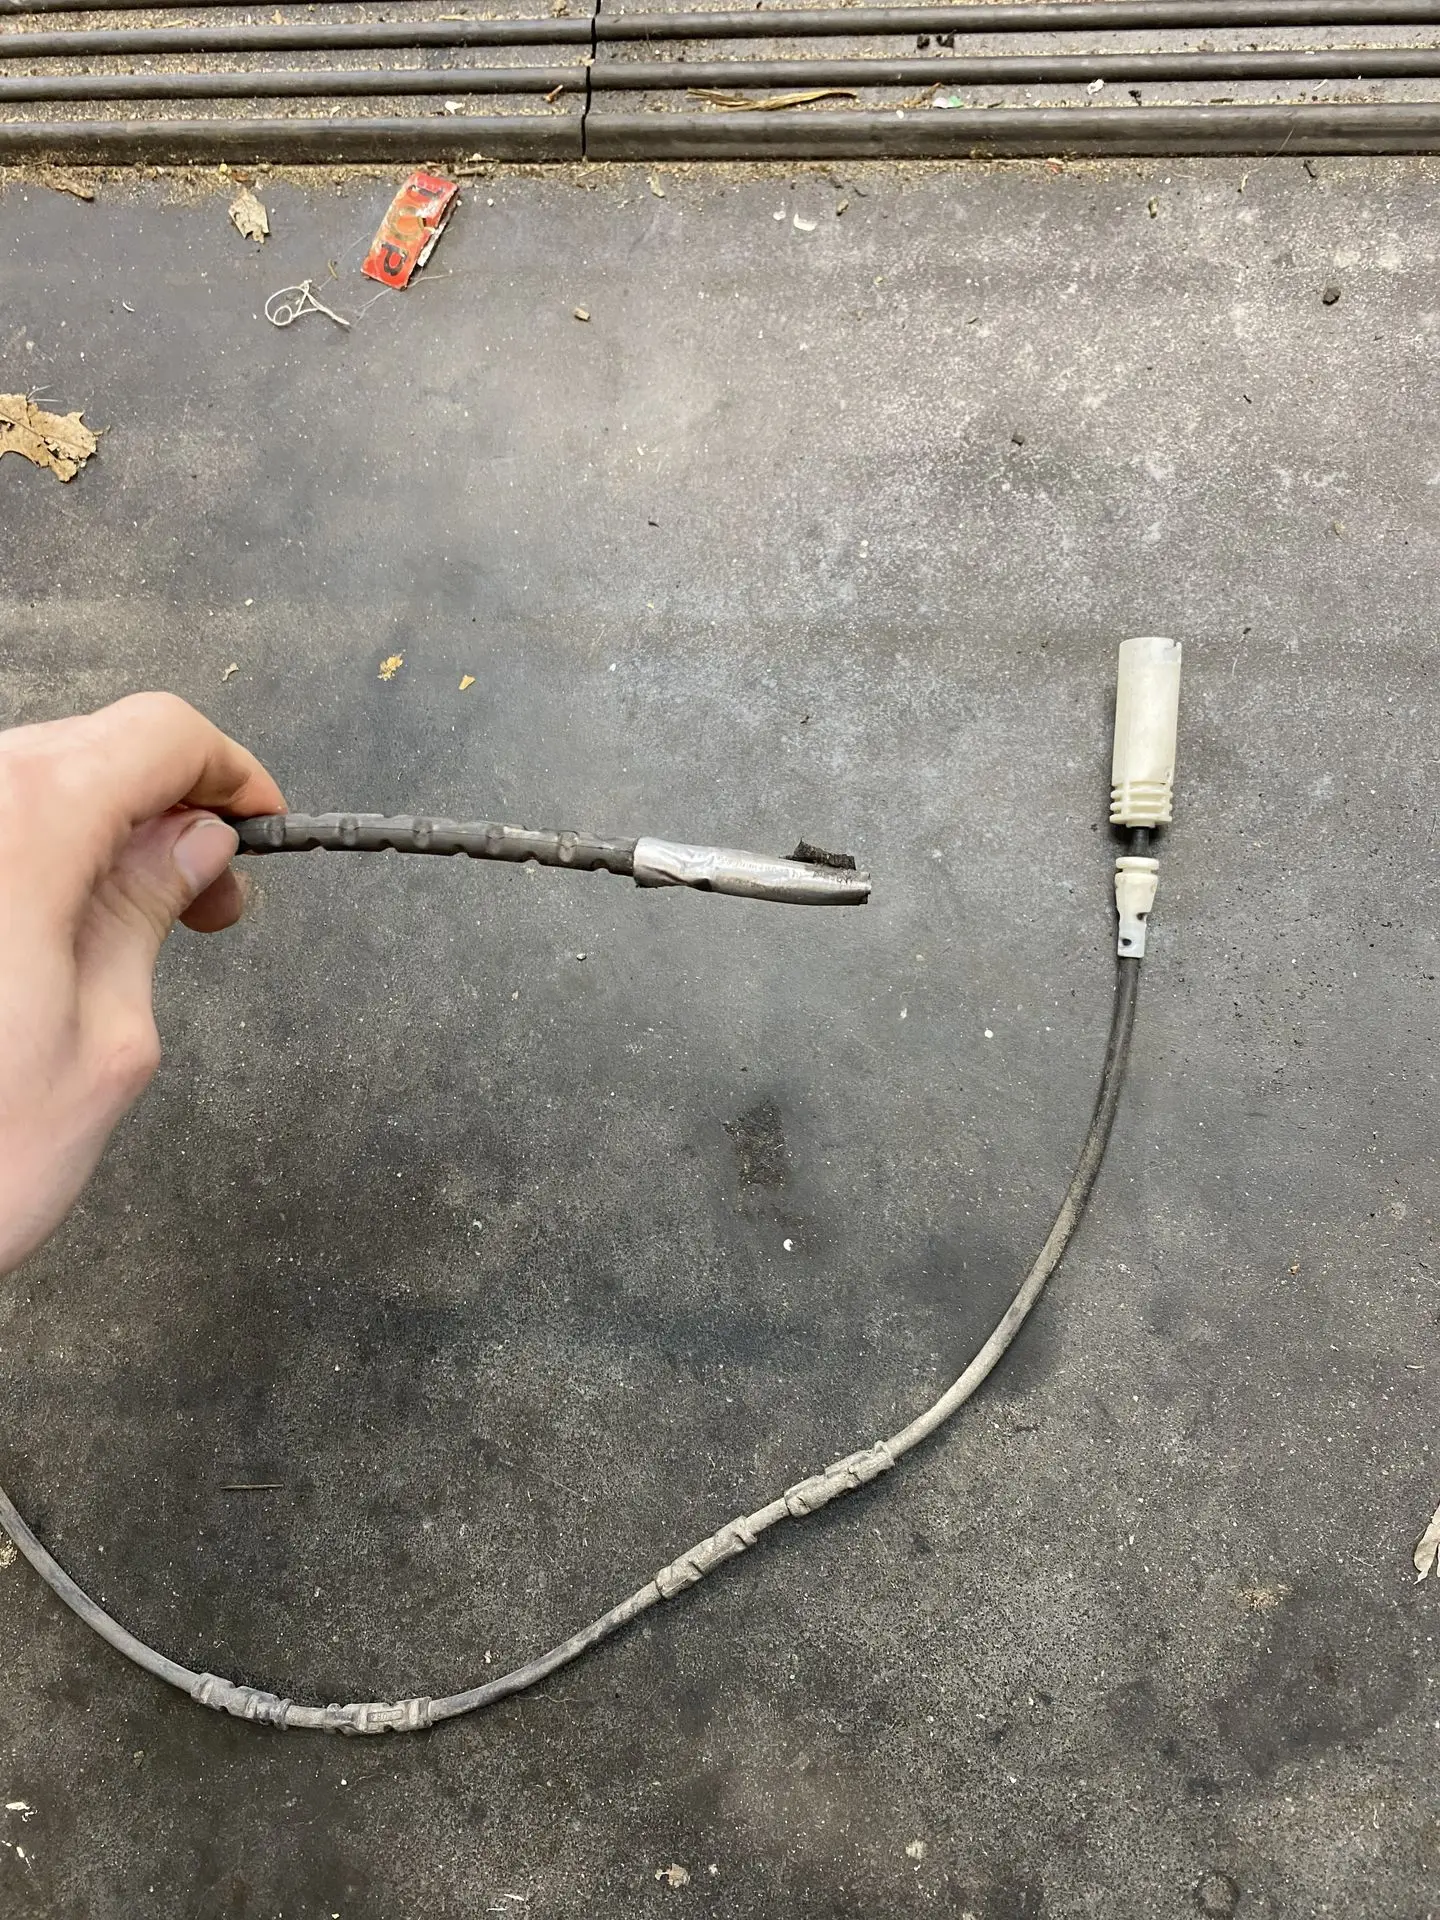
- The wear indicator at the rear had been cut through instead of being replaced correctly.
- Aftermarket AGM battery fitted without registration or programming.
- Two-tone interior, loose airbag connectors on non-original seats.
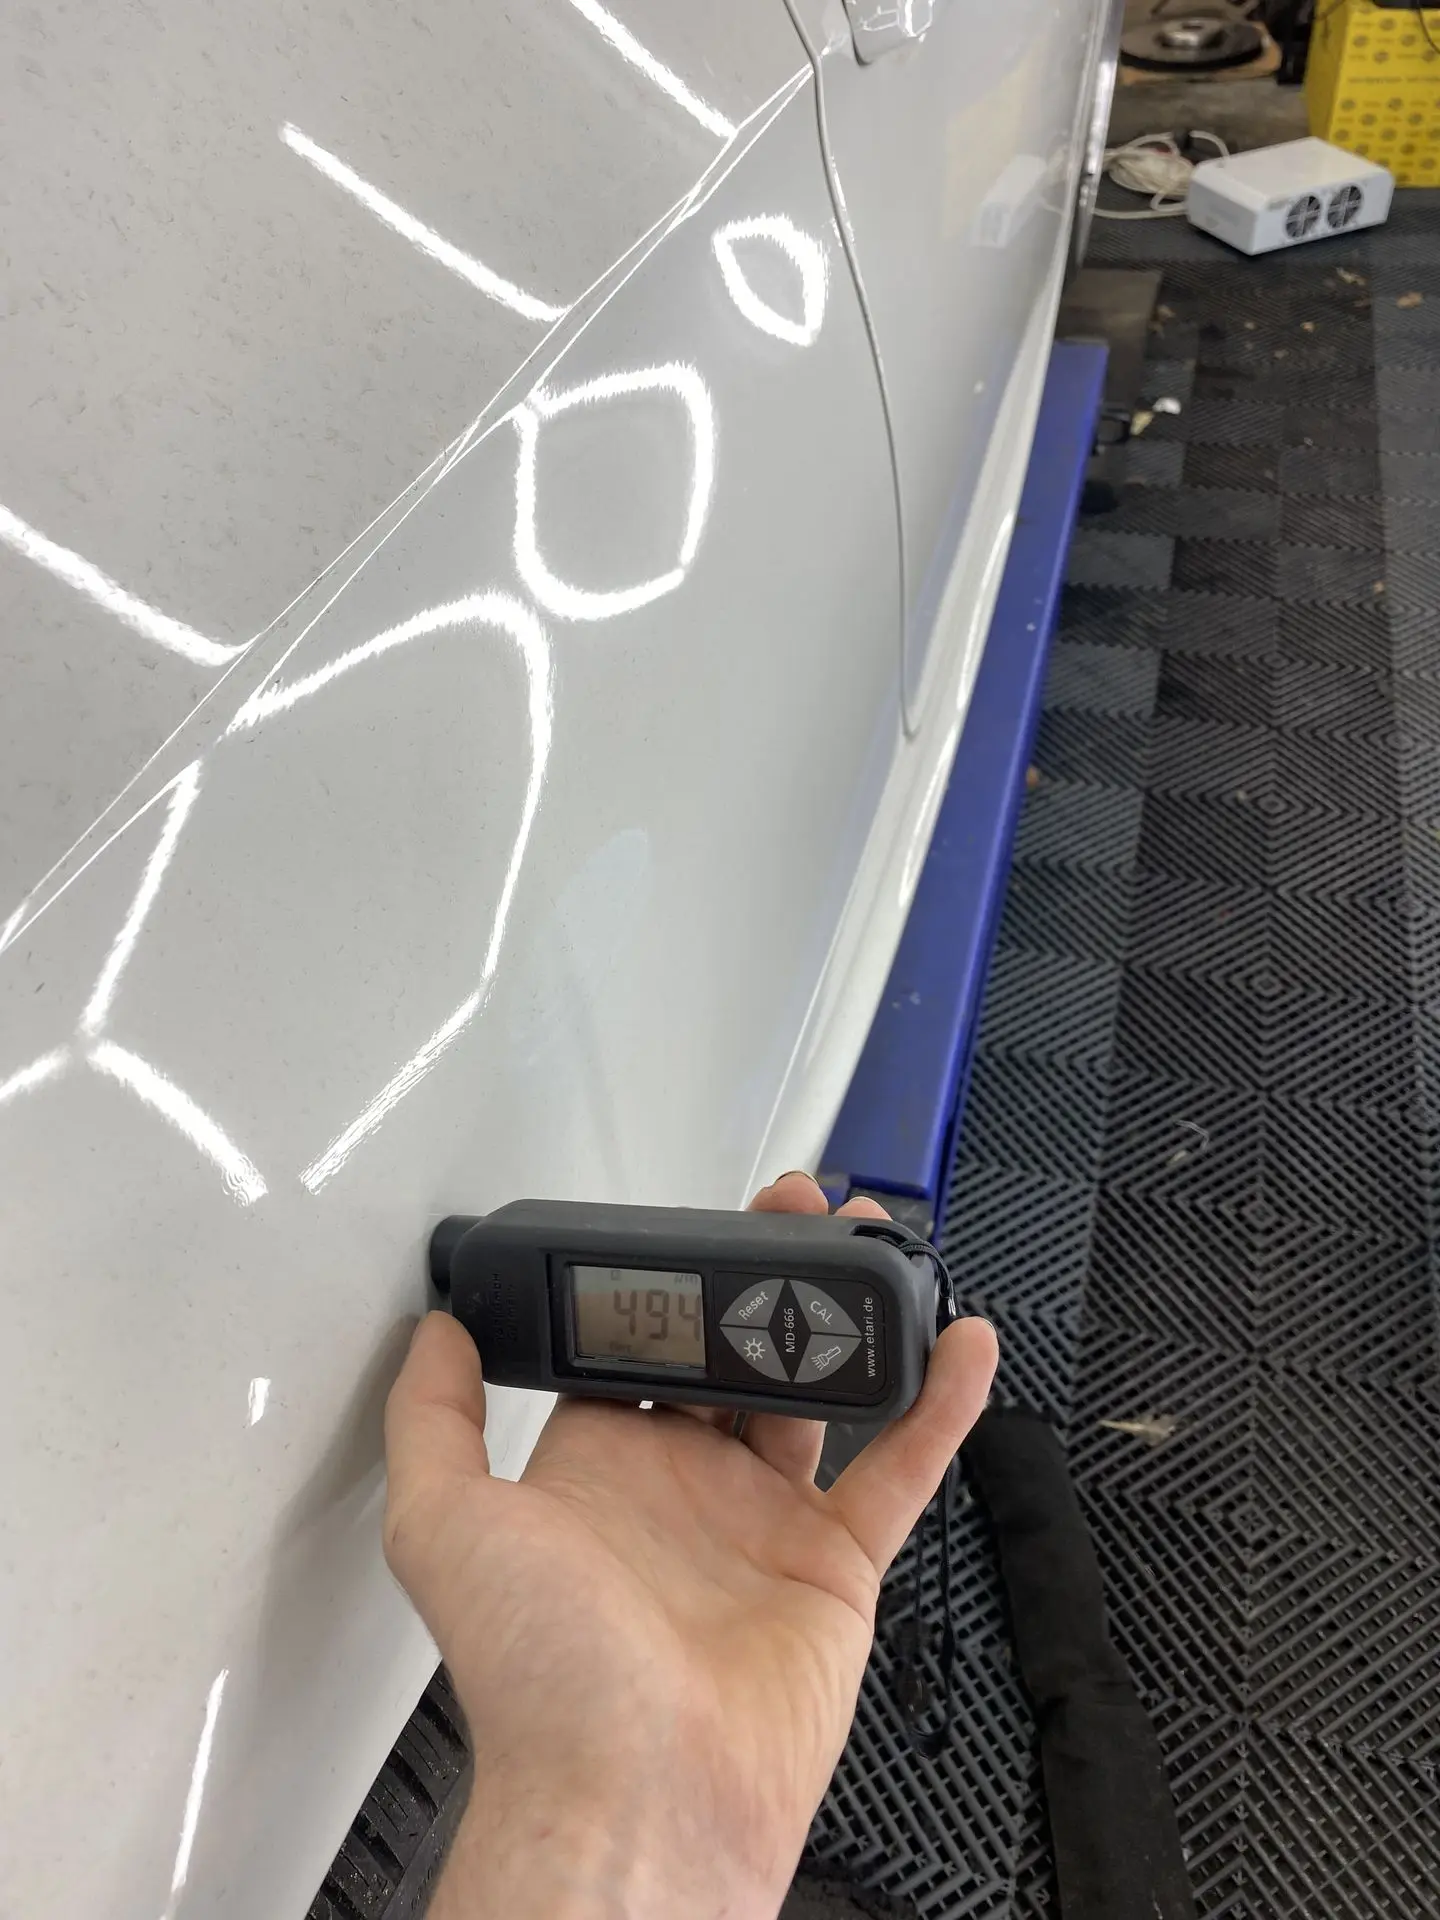
- A (poorly) resprayed right rear quarter panel along which important wiring (BSD line) runs.
These are all red flags: anyone who works like this often causes more problems than they solve.
Step 1: From fault code to cause – ABS and brakes
The ABS faults immediately pointed us to the rear left. There we discovered that the brake backing plate had not been removed but ground off instead, resulting in damage to the wheel hub carrier. The wear indicator had been cut through instead of replaced.
✅ ABS sensor and brake backing plate replaced, wear indicator correctly repaired.
Step 2: IBS, BSD and alternator – oscilloscope diagnosis
The car had an aftermarket AGM battery, but it had never been registered or programmed. That can lead to overvoltage and damage to modules.
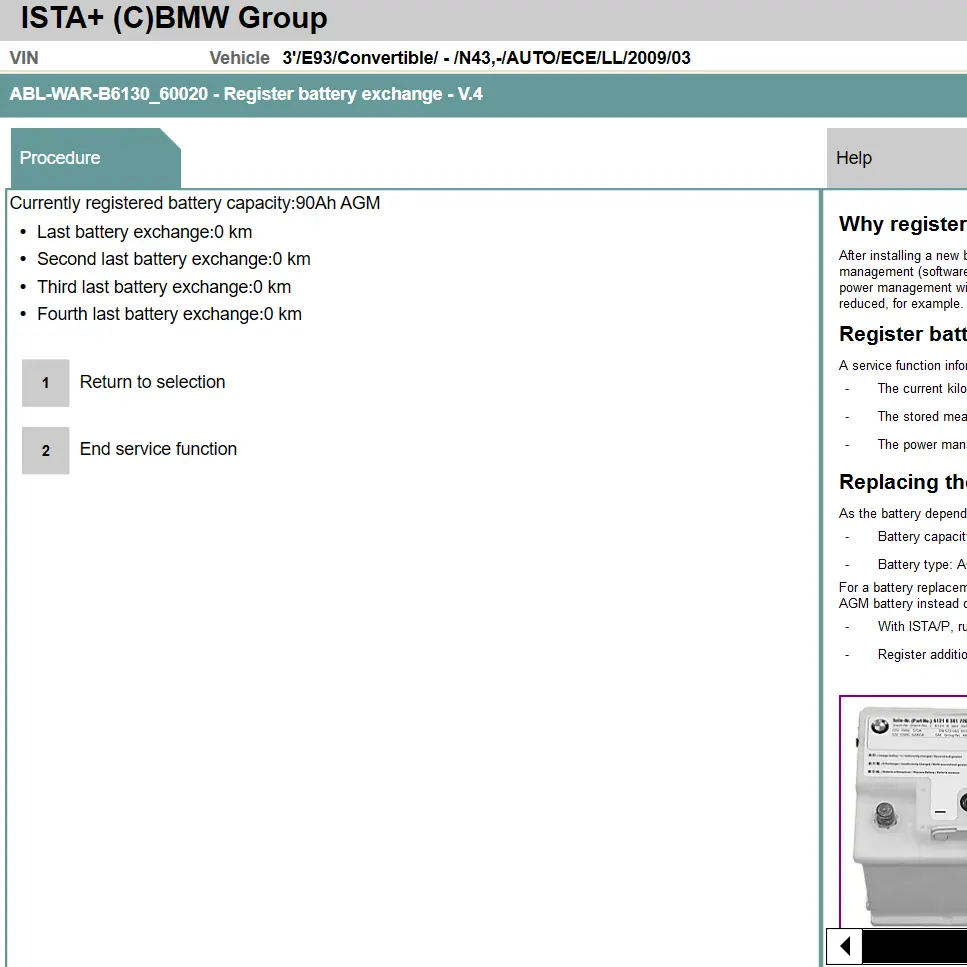
We replaced the IBS on the negative terminal, programmed the car for a 90 Ah AGM battery and registered it. Yet the error message remained: IBS message missing. Time for real diagnostics.
🔍 Our approach:
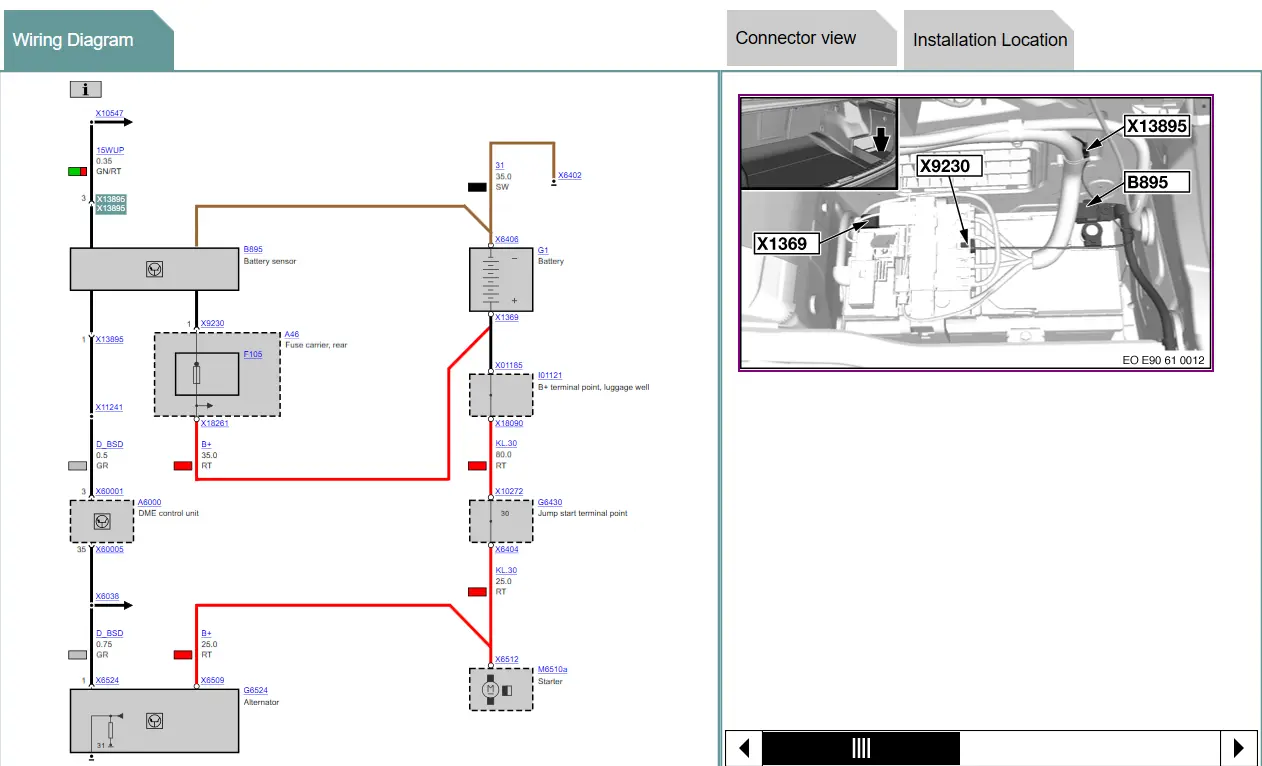
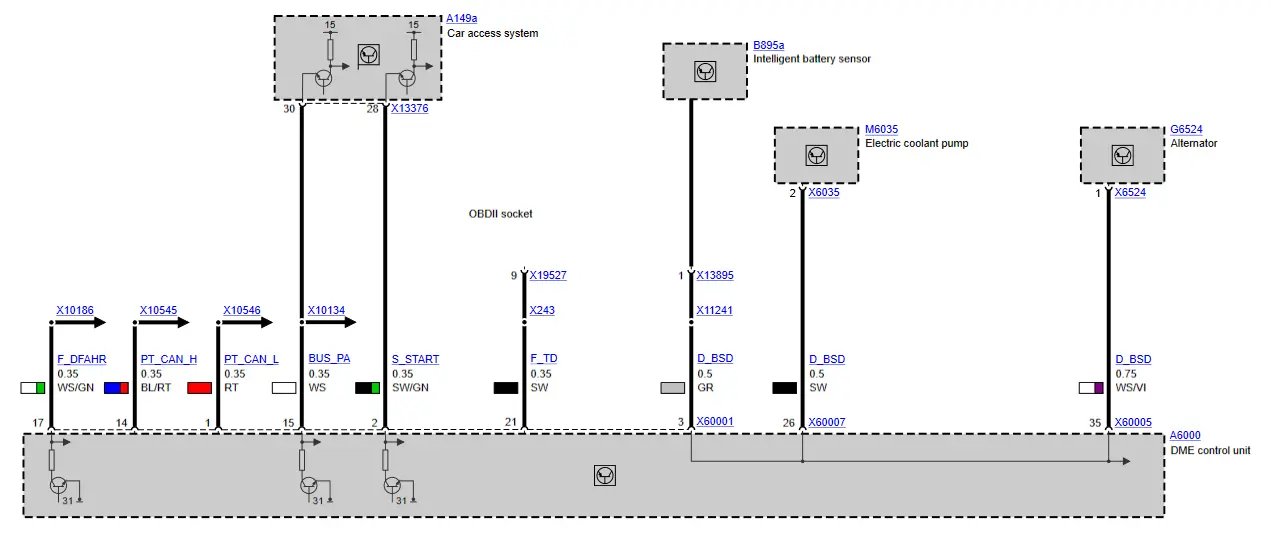
- Review of the wiring diagrams in order to check the wiring.
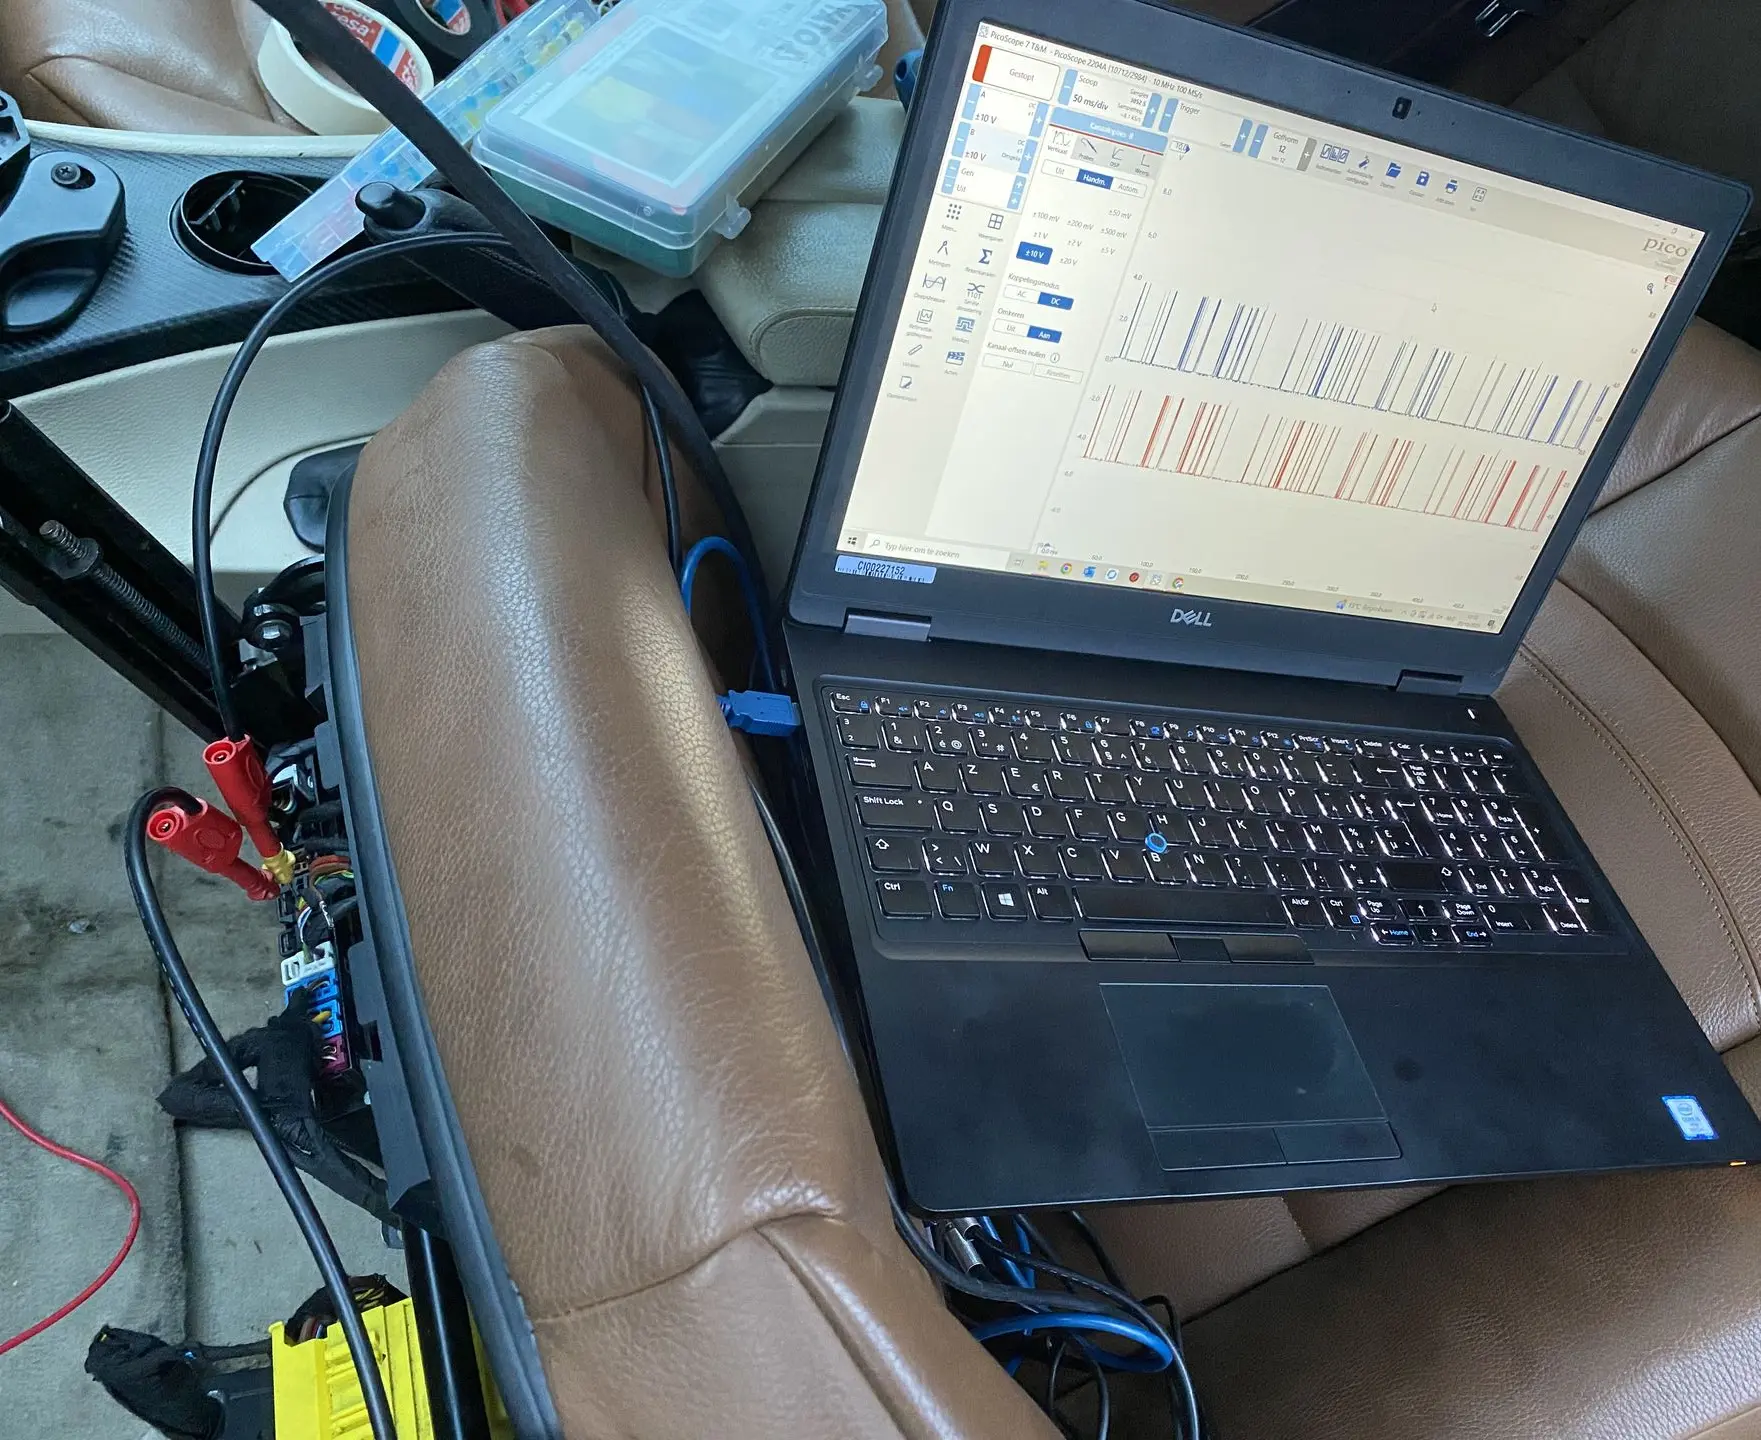
- BSD line fully tested with oscilloscope and multimeter.
- Signal and resistance measured between IBS – alternator – DME – water pump.
- Wiring exposed along the resprayed right flank, where the BSD cable runs.
- Live data in ISTA compared with the oscilloscope measurement.
- We even temporarily disconnected the water pump to see whether the signal would come back.
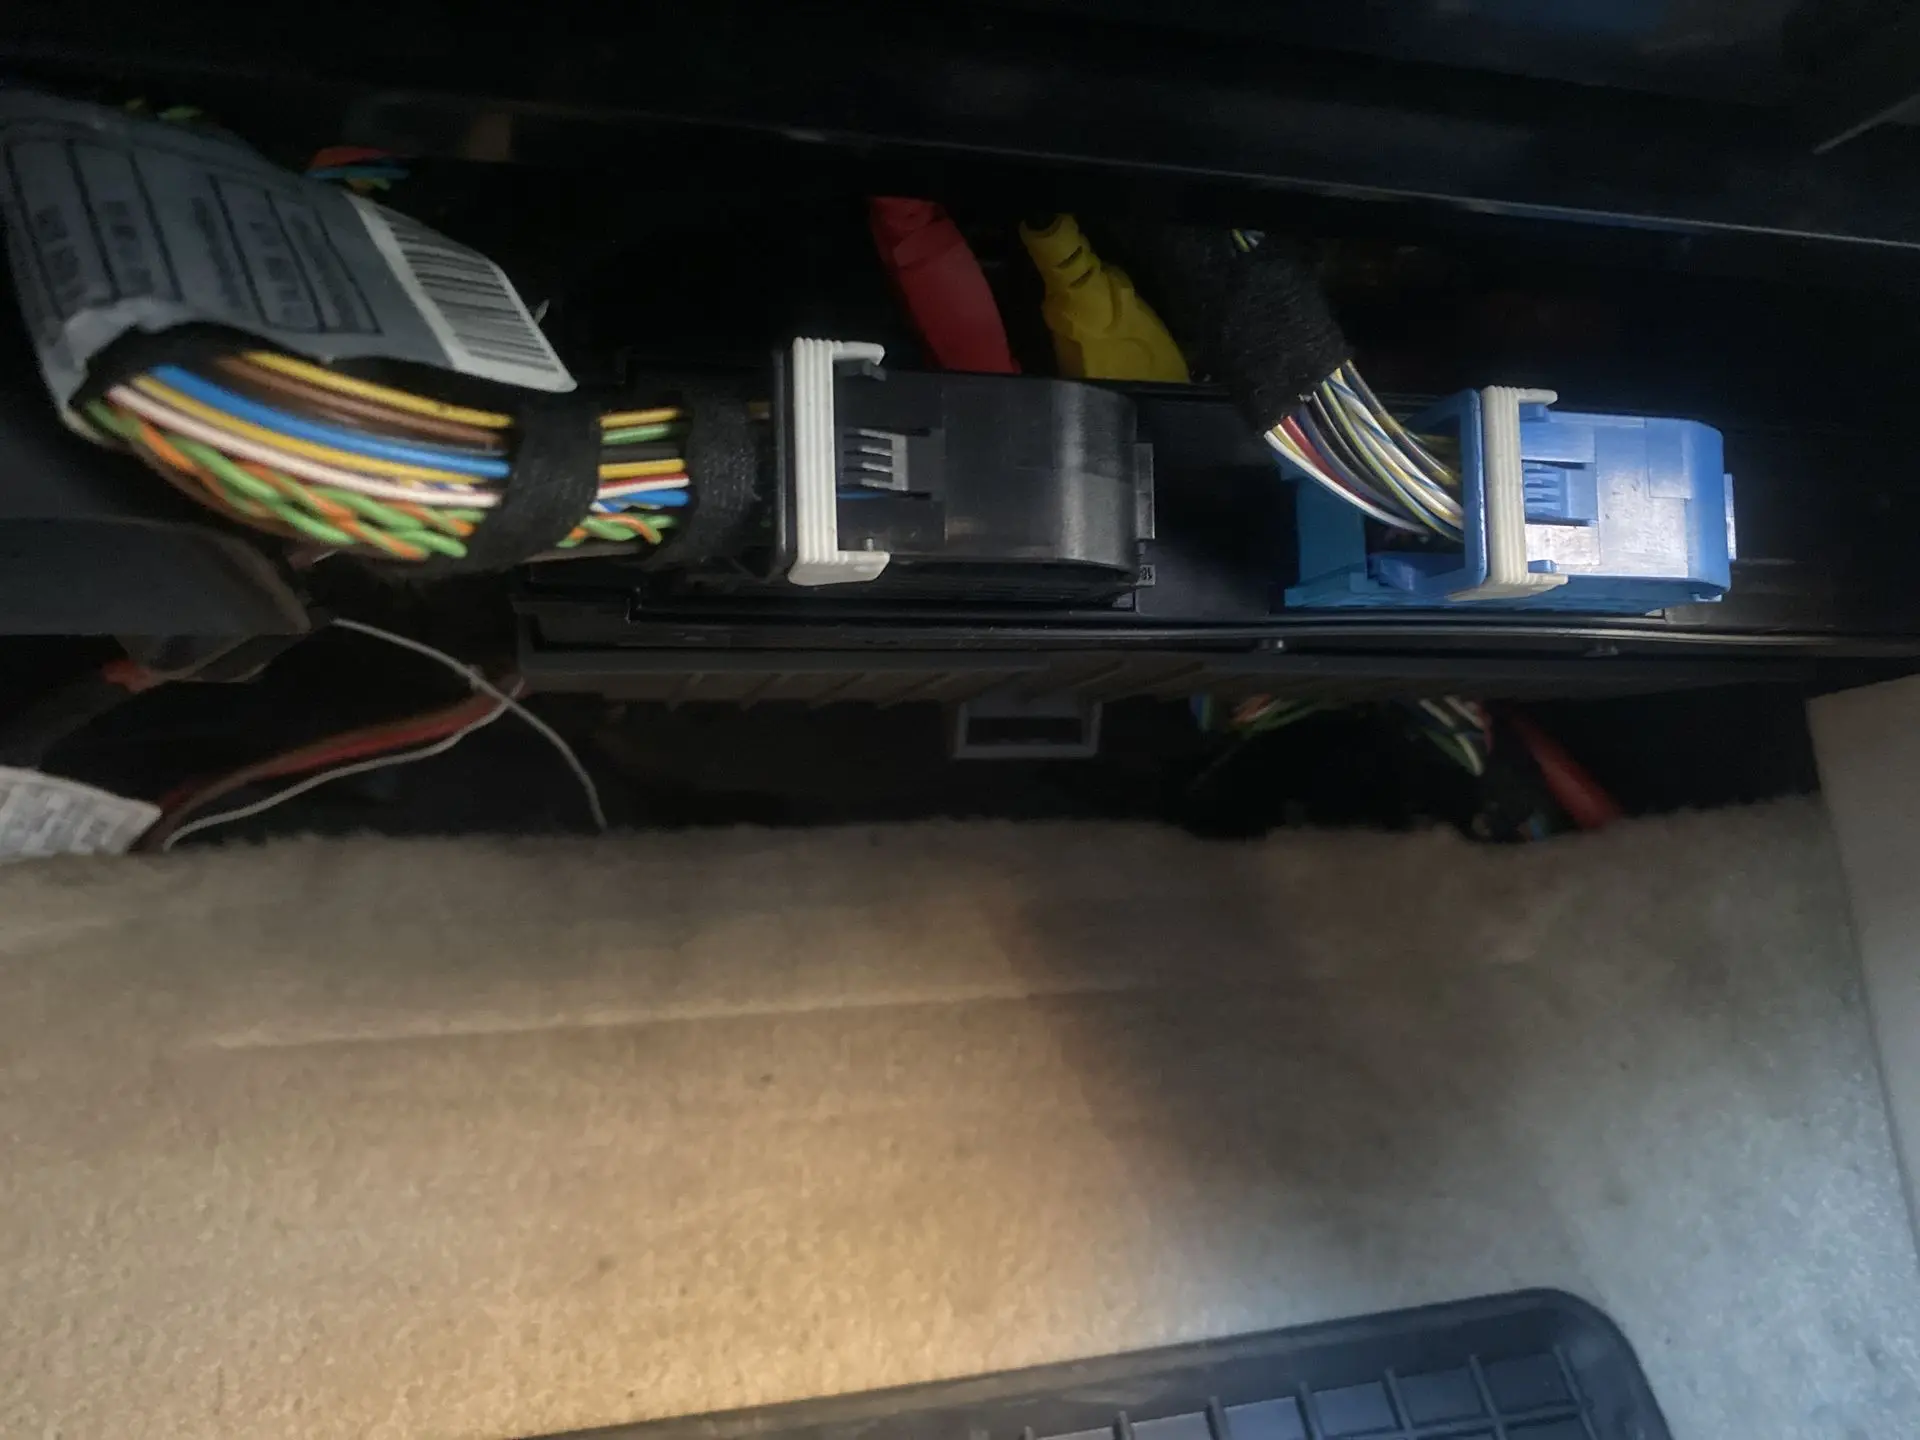
The blue connector X13895 on the IBS at the rear, which goes to the wiring harness toward the front, was partly broken through and had been poorly put back together, possibly causing a bad contact. We firmly reattached this connector so that this communication is no longer interrupted.
We took an extra look at the wiring that runs along the right rear quarter panel, since it was clear it had been resprayed. So there was a real chance that a cable of the BSD line had been damaged in an accident. Even a small cable break can cause a bad signal. However, that was not the case. Only the connector was broken.
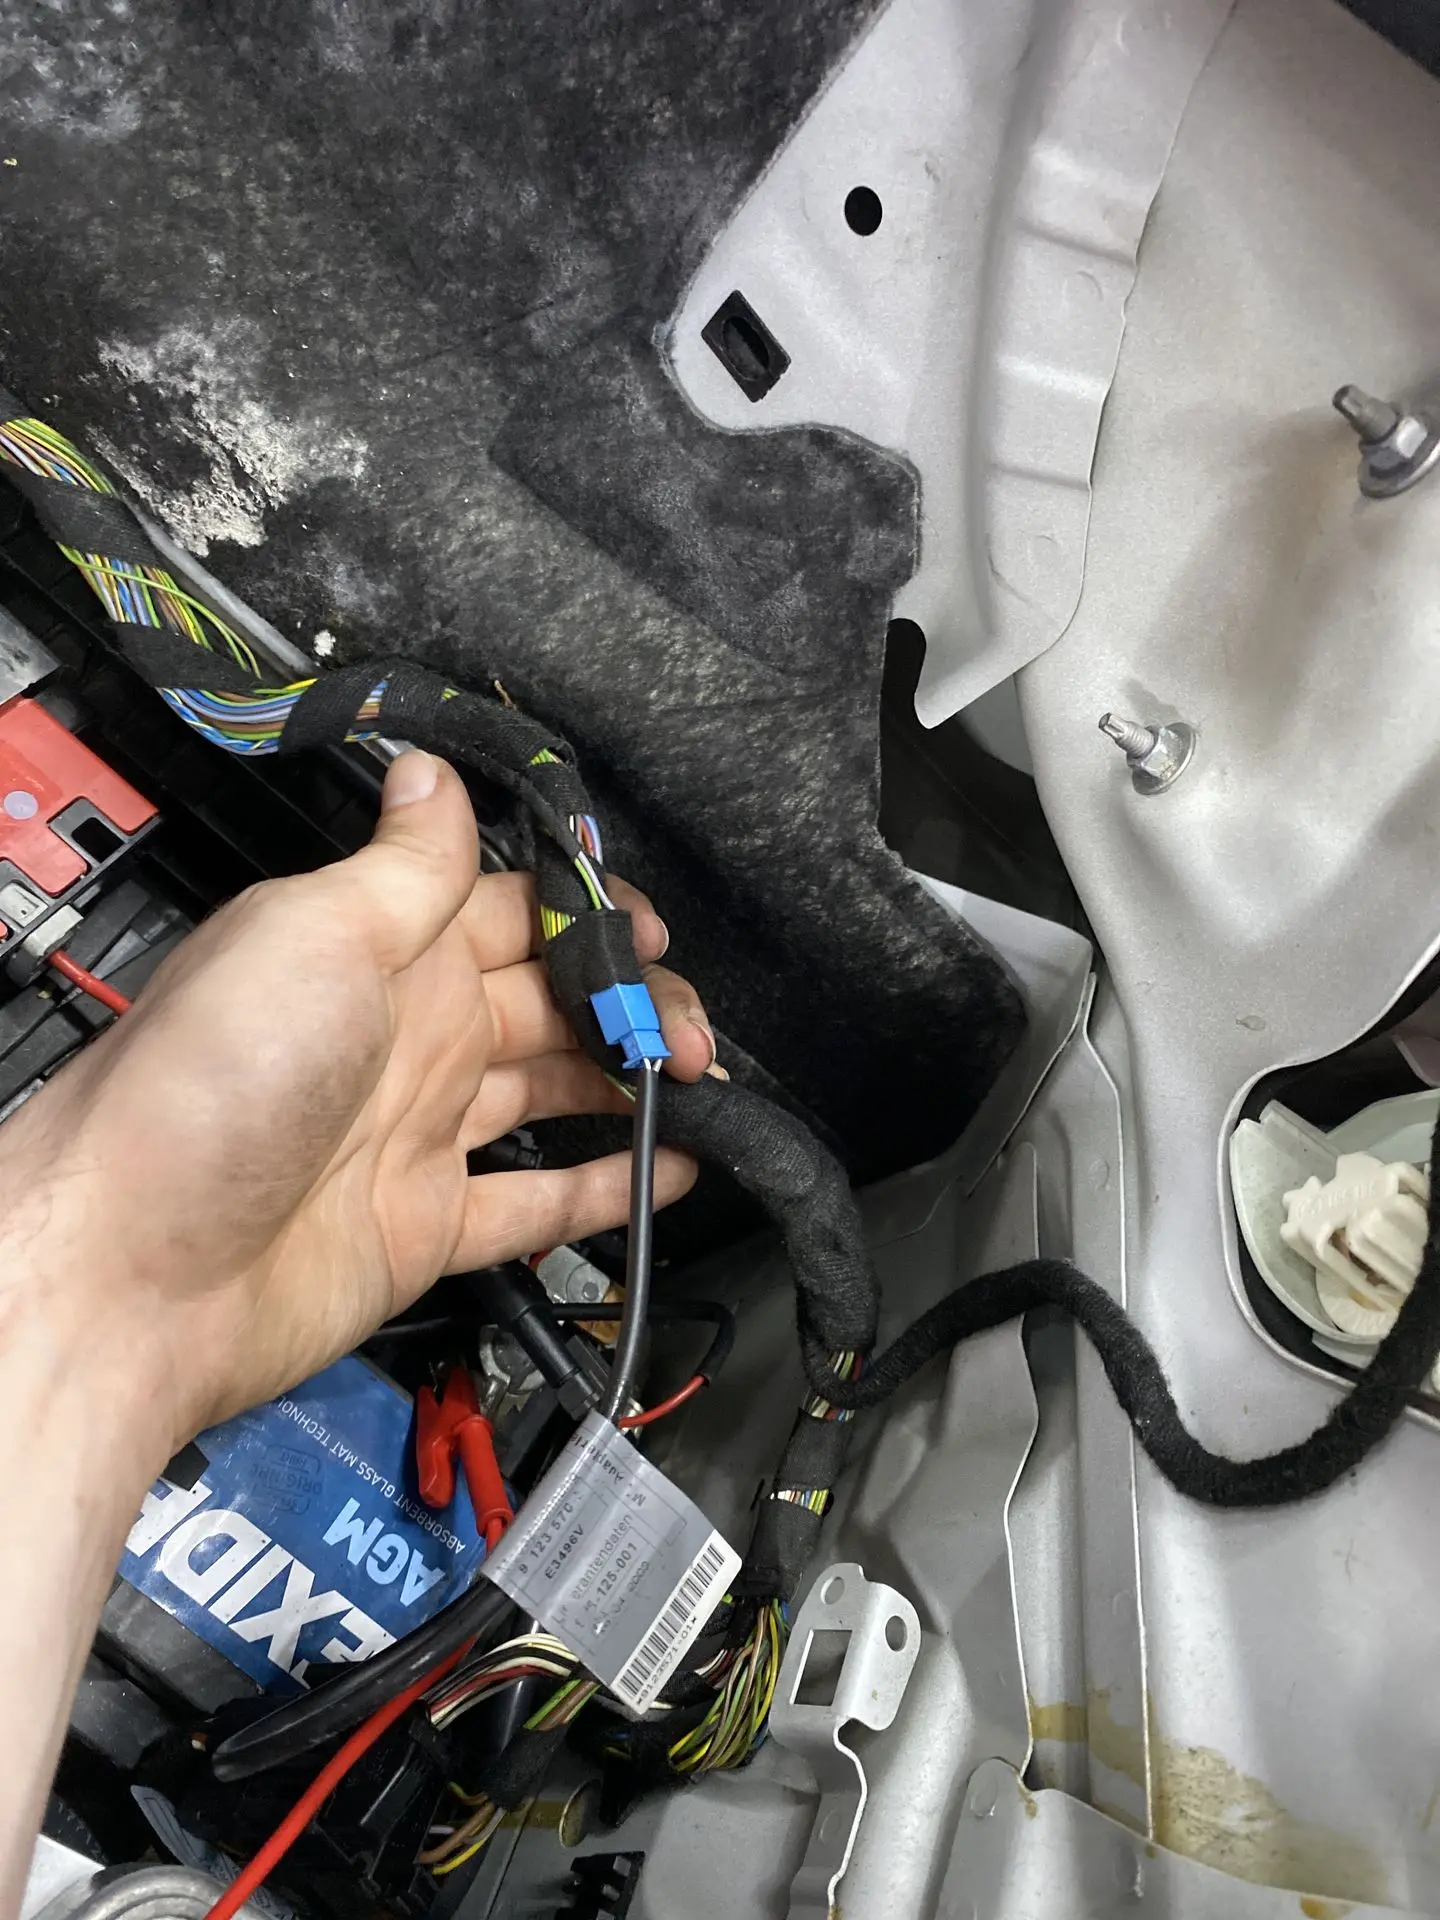
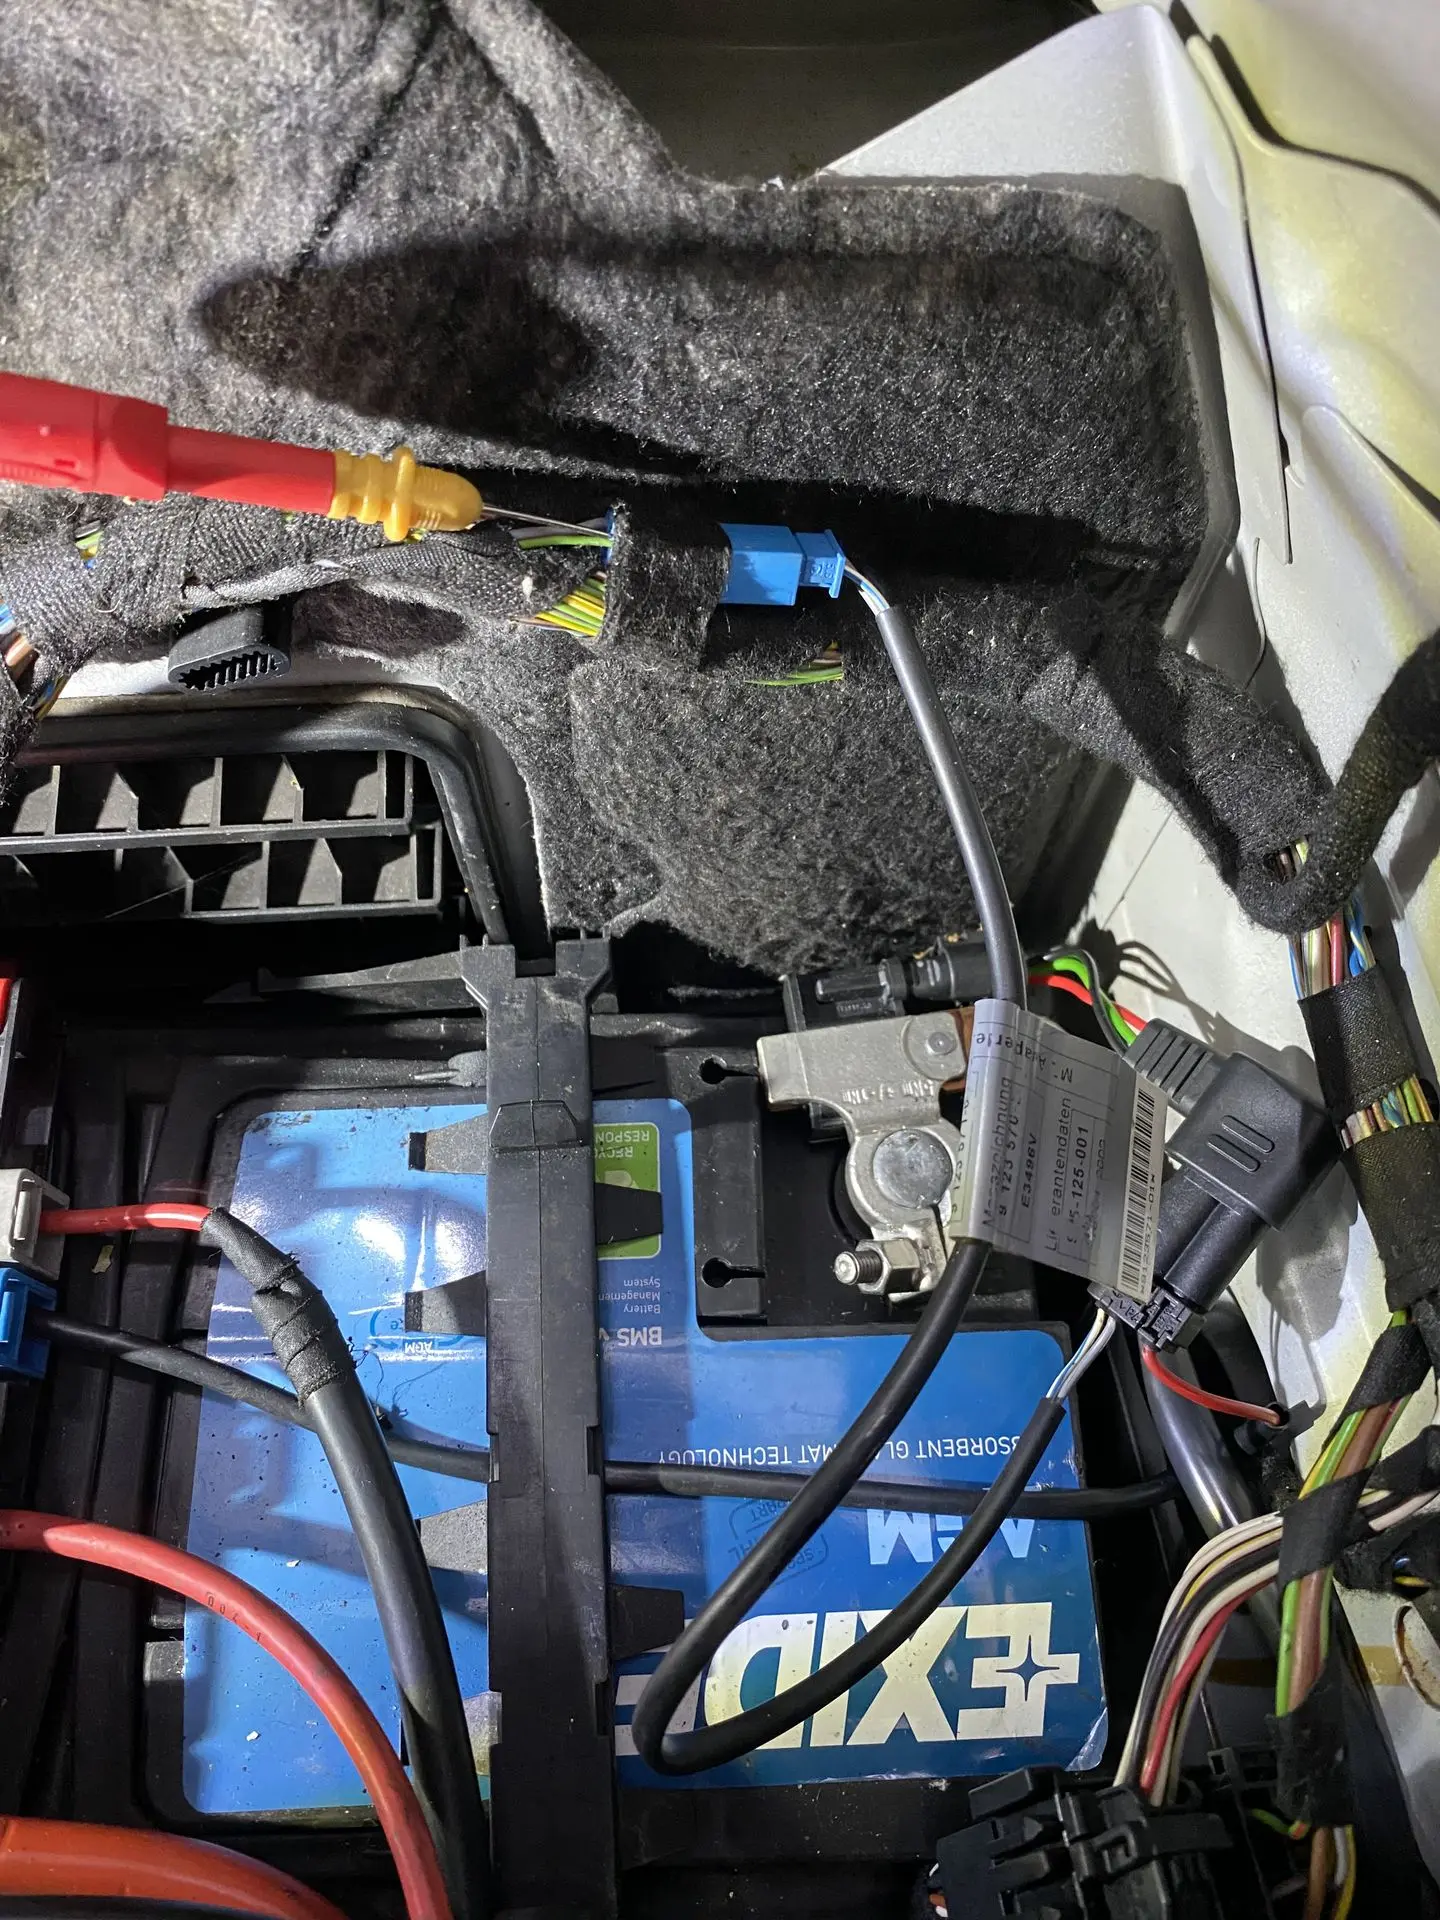
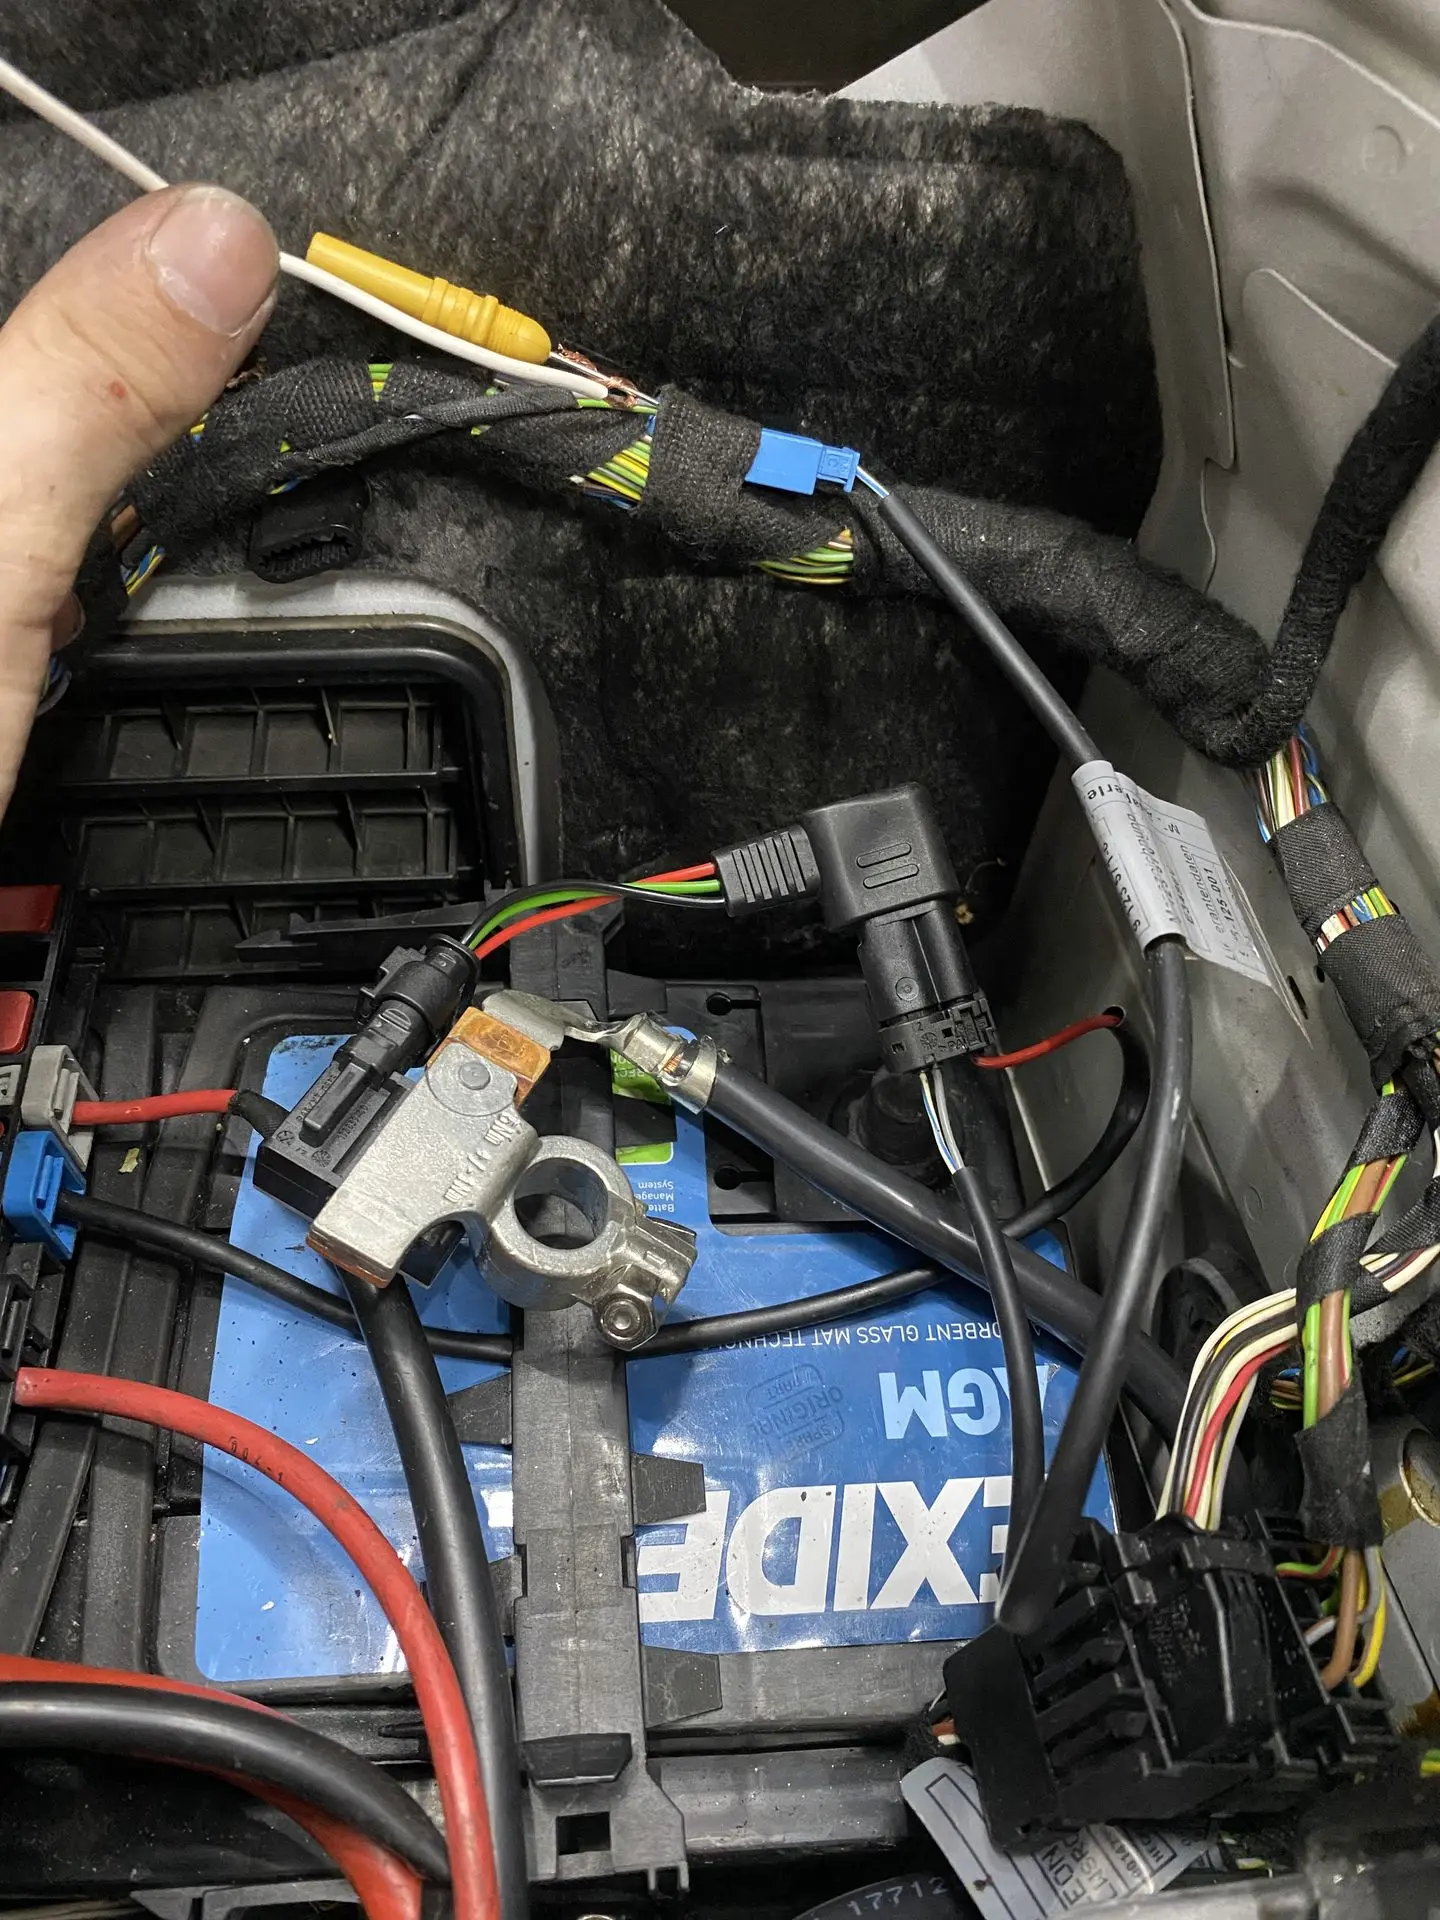
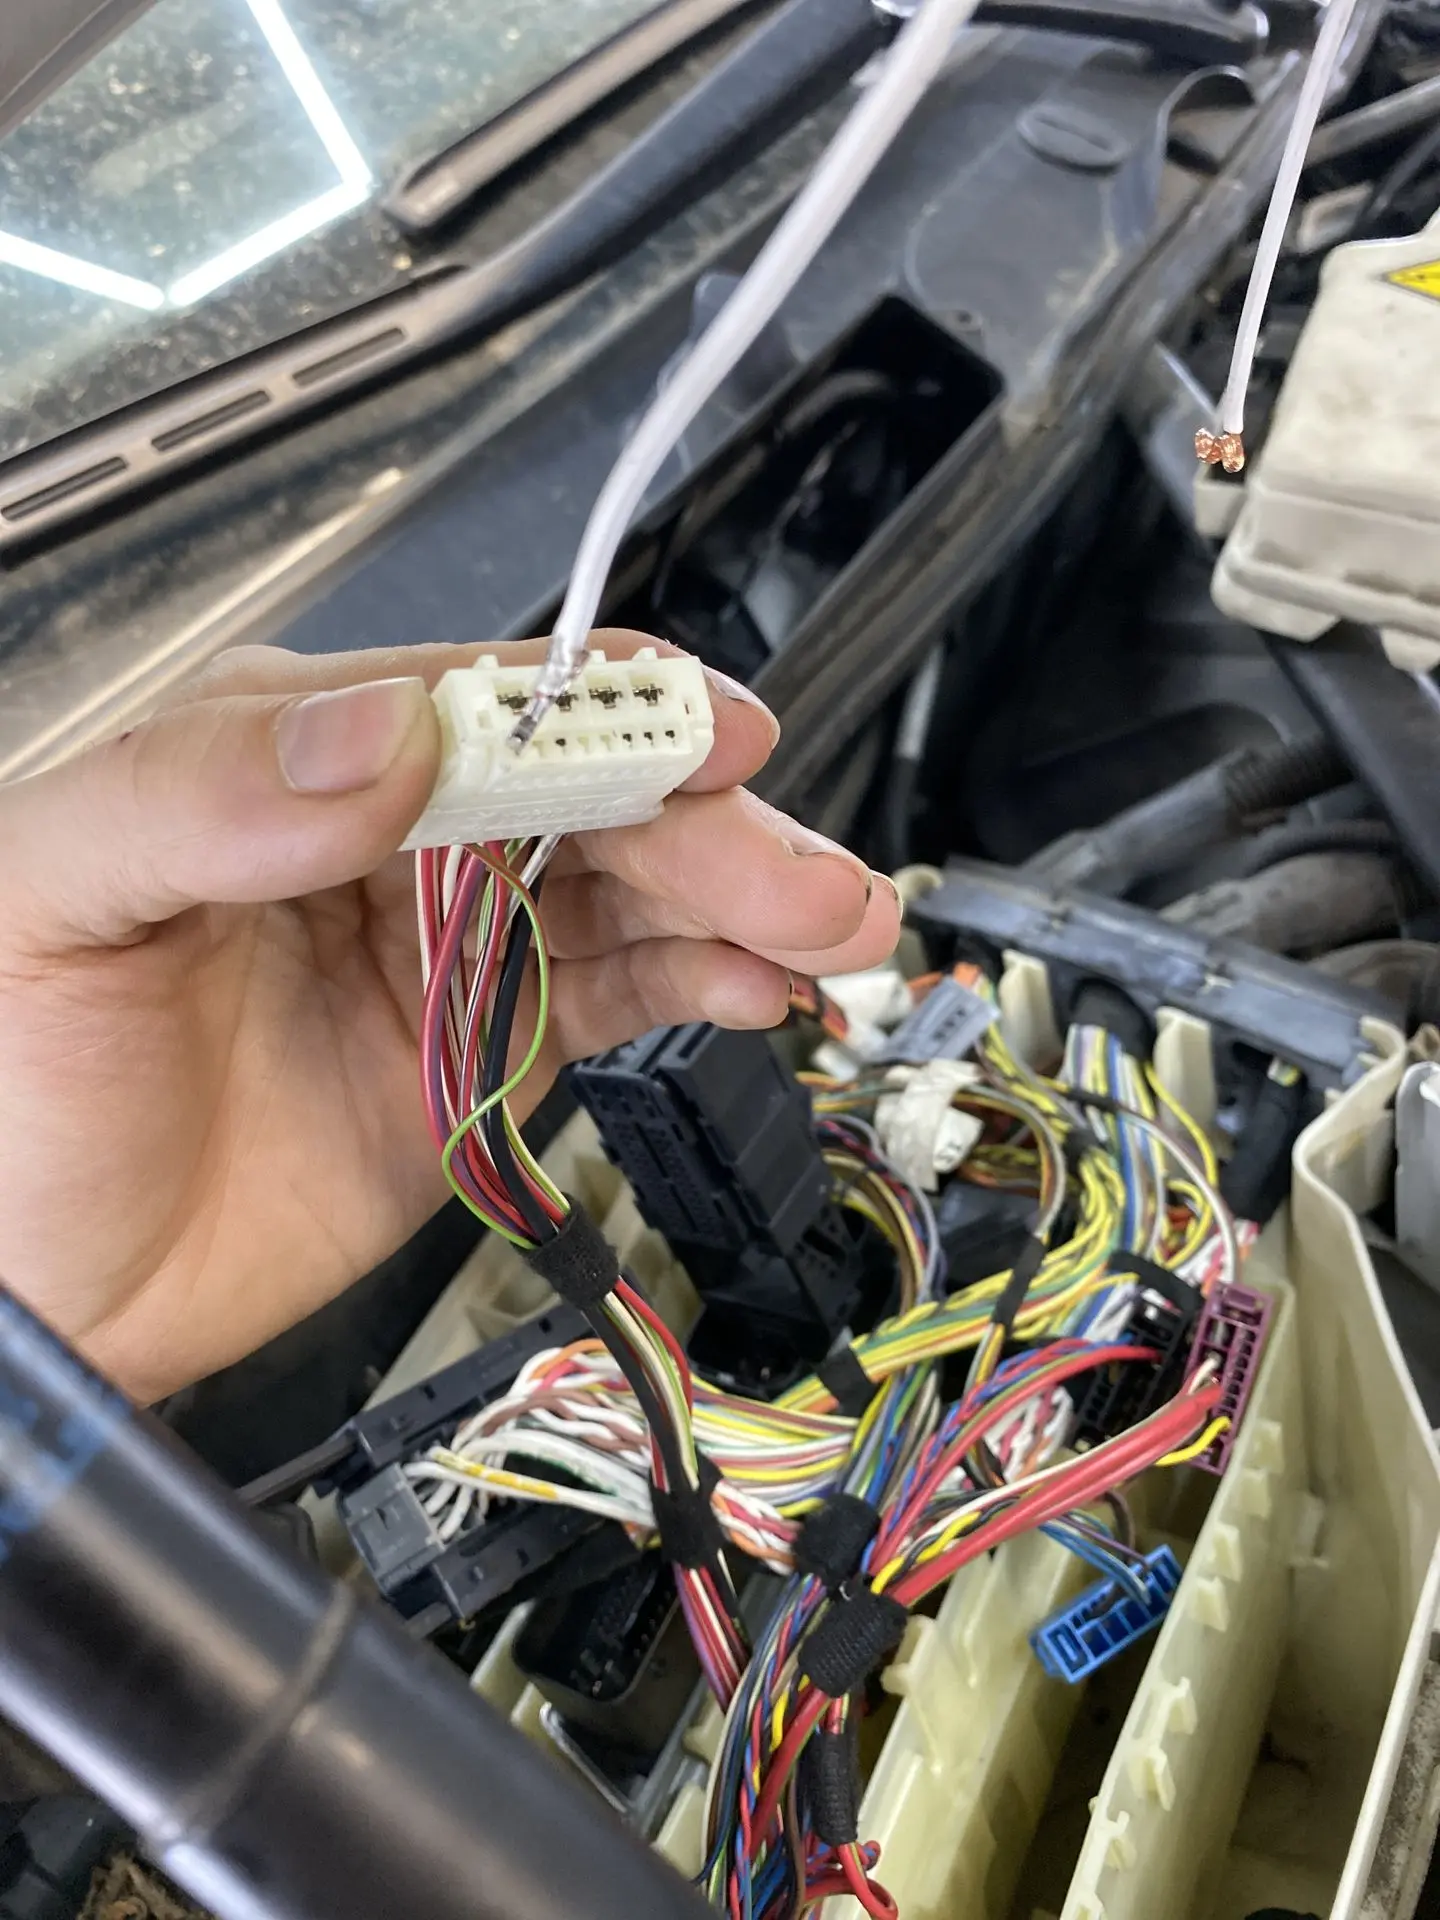
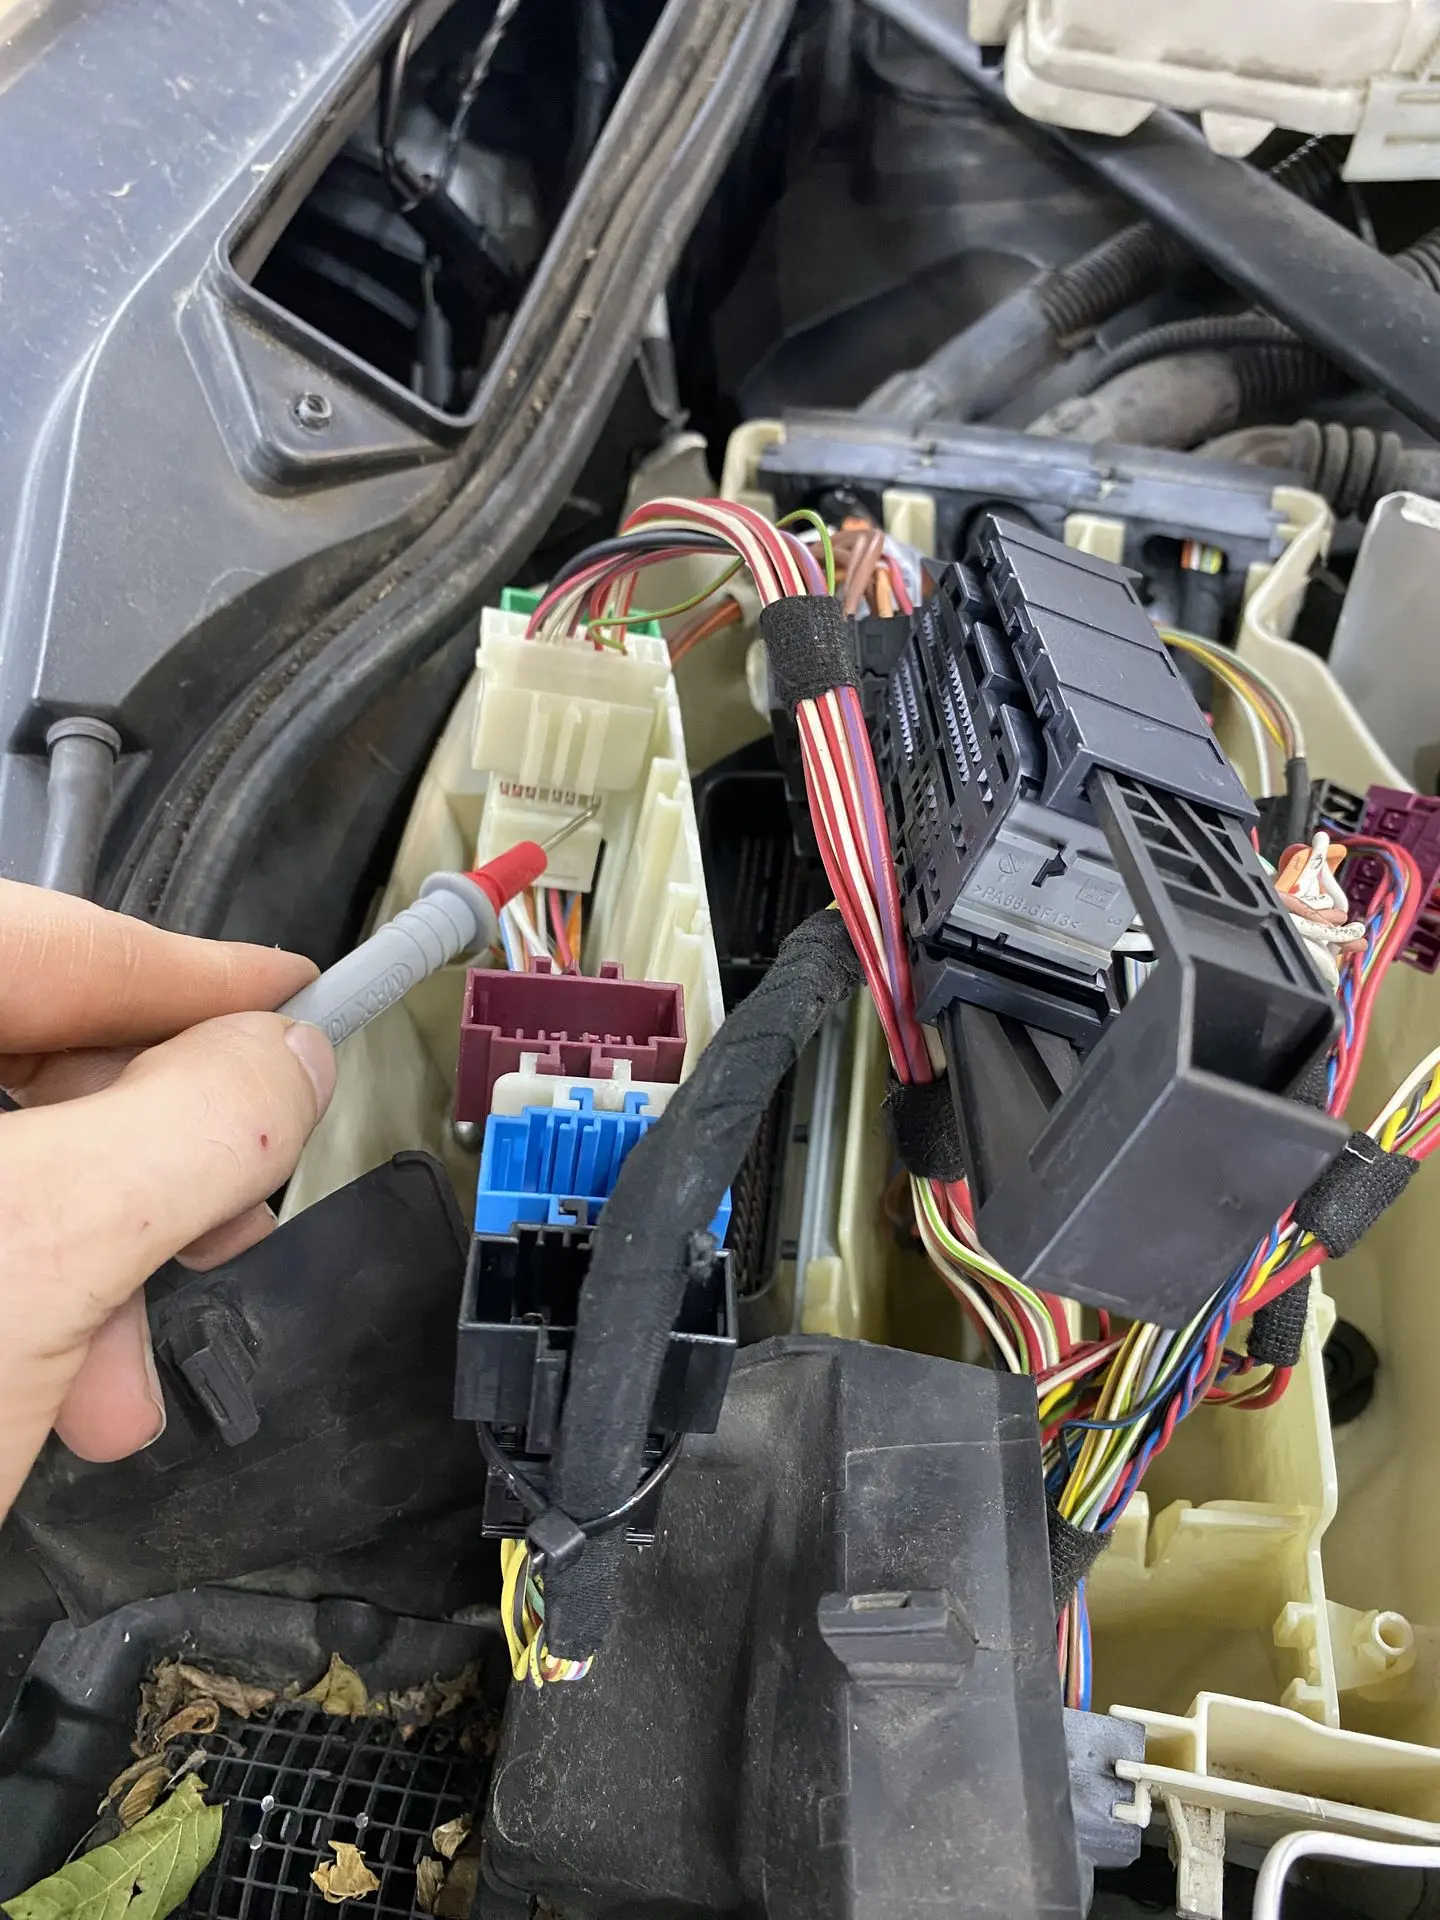
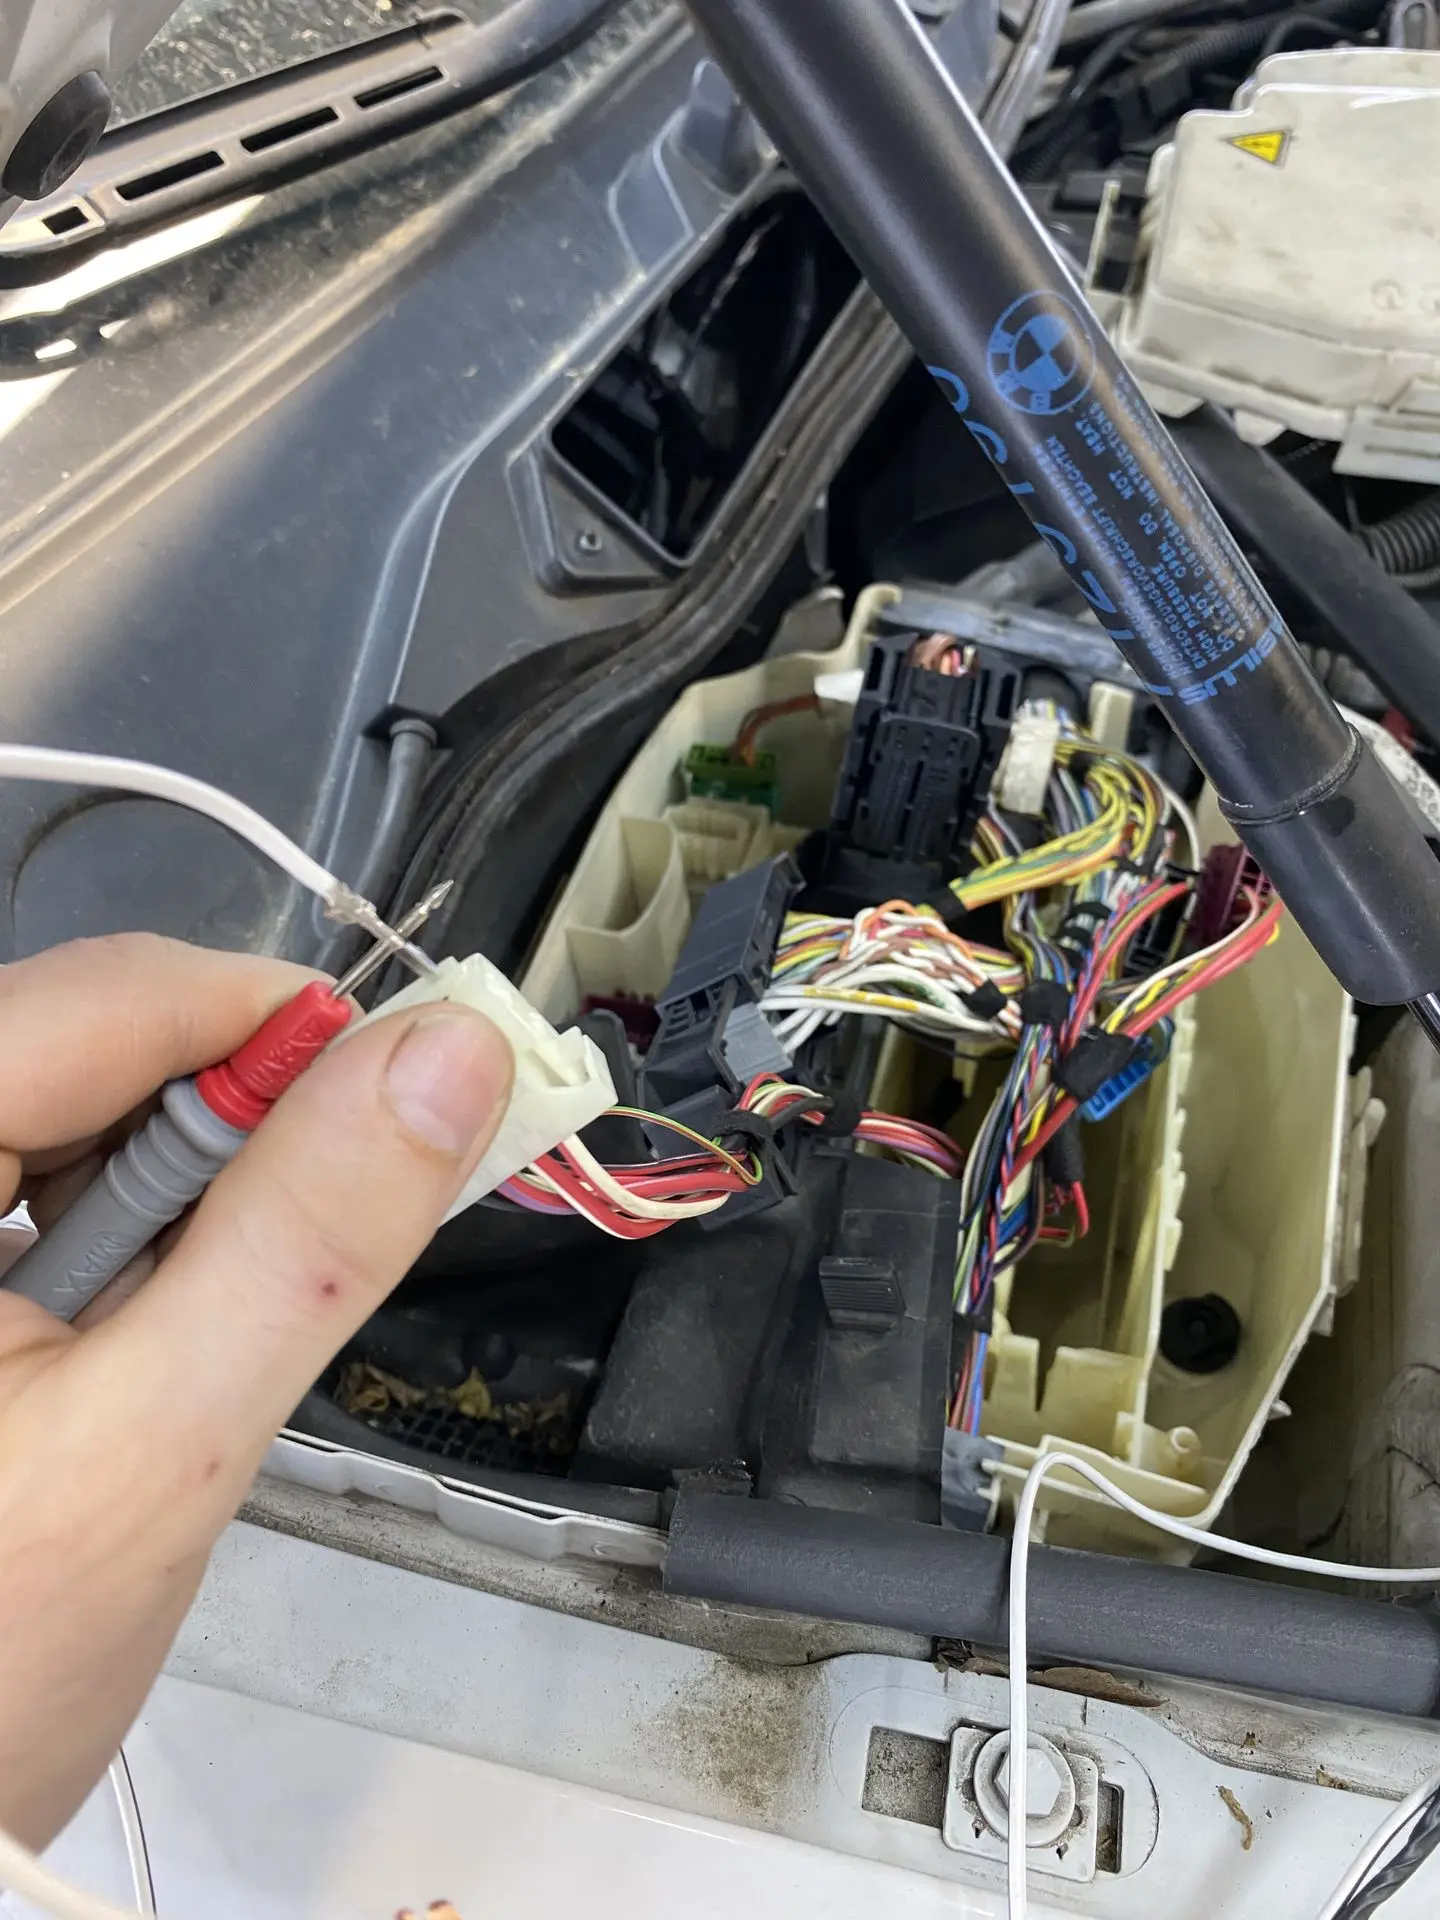

After checking all the wiring, all of which was fine, it was time to look further at the other participants on the IBS - BSD line. To explain what that actually is, we will clarify it for you.
What is the BSD line in a BMW?
BSD stands for Bit Serial Data. It is a single-wire communication line that BMW uses to let various components talk to the engine control unit (DME or DDE).
On this line you will find, among others:
- The alternator (generator) – reports the charging status.
- The IBS (Intelligent Battery Sensor) – measures voltage, current and temperature of the battery.
- The electric water pump – reports how much coolant is circulating.
- The glow plug module (on diesels).
- And sometimes other components such as an oil level sensor.
Instead of all separate wires, all these components talk over the same line to the DME. That saves wiring, but the downside is: if one participant causes interference, the entire line can go down.
How does that work in practice?
The DME continuously sends digital signals over the BSD line. Each connected component "reports" its status:
- The alternator reports how much it is charging.
- The IBS tells how full the battery is.
- The water pump reports its speed.
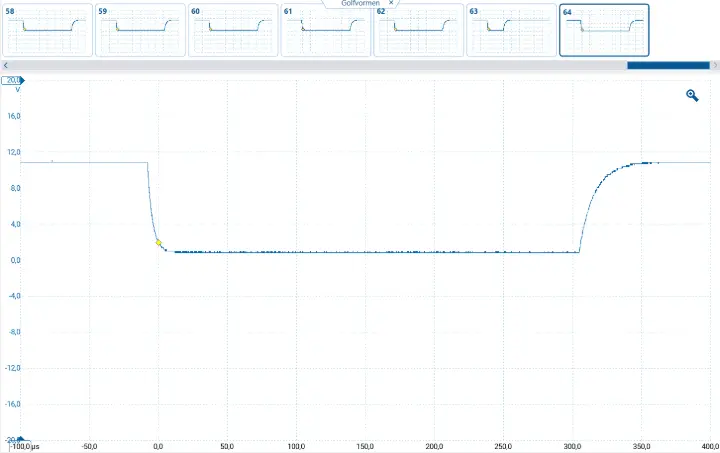
When everything works, the oscilloscope shows a pulsing signal.
If one component fails (e.g. a faulty alternator), the line stays flat → the DME no longer receives data → fault codes appear from 1 or more participants.
Why is this important for the customer?
A general garage only sees: “fault in IBS” or “communication with water pump missing”.
We know that this does not mean all those components are broken at the same time, but that a fault on the BSD line is involved.
That is why we measure with the oscilloscope directly on the line. In this case we saw a flat signal → the alternator was not communicating → cause found.
We checked this by first checking the connectors. As we said earlier, a bad connector can cause a poor contact and take away the signal. The wiring of course has to be good too. If there is a wire break somewhere, as we first suspected at the resprayed right rear quarter panel, then the whole line no longer works either. If all of that is fine and the IBS sensor has already been replaced, then we have to look at the rest. The participants on this BSD line are:
- The IBS - already replaced
- The DME - wiring was fine and the chance of it being faulty is small
- The water pump - disconnected and the fault remained
- The alternator - the connector is very hard to reach on an E9x N43.

📉 Result: no communication → alternator faulty.
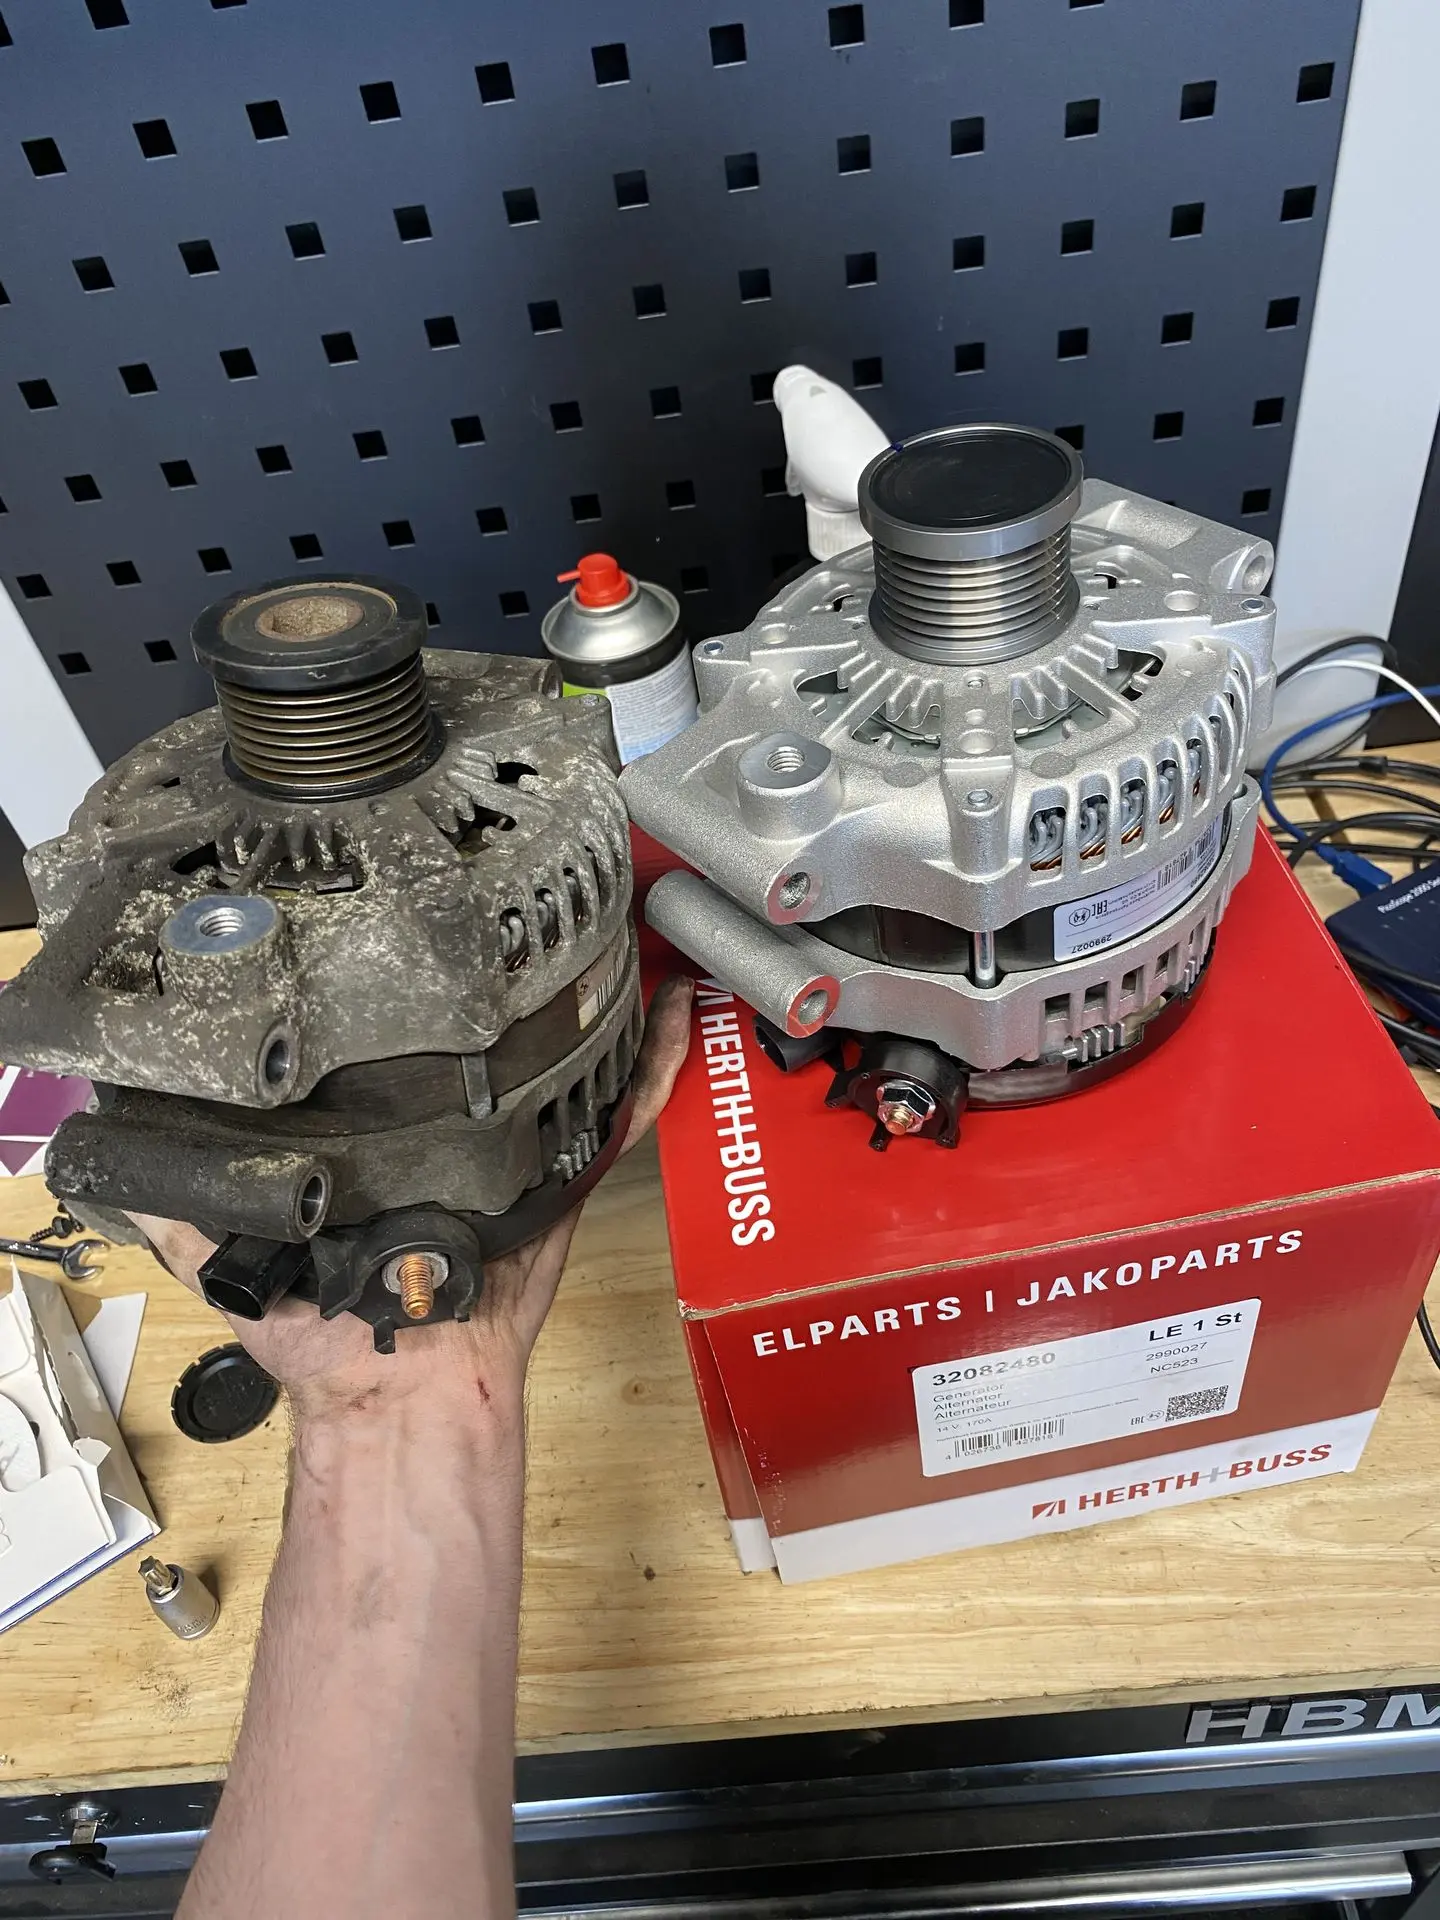
By measuring everything we could be sure of this. The alternator was also charging poorly and did not have a good charging current signal. It was also still the original alternator, so after more than 15 years of service it is not strange that it has failed.
Probably caused by not registering the new AGM battery → voltage spike → BSD line of the alternator damaged.
Where most garages would only replace an alternator once the customer breaks down because the alternator is no longer charging (enough), we were able to intervene in time and prevent further damage. Once replaced, we can see the signal on the BSD line come back.
Replacement of alternator, tensioner and serpentine belt – with a 5-year warranty
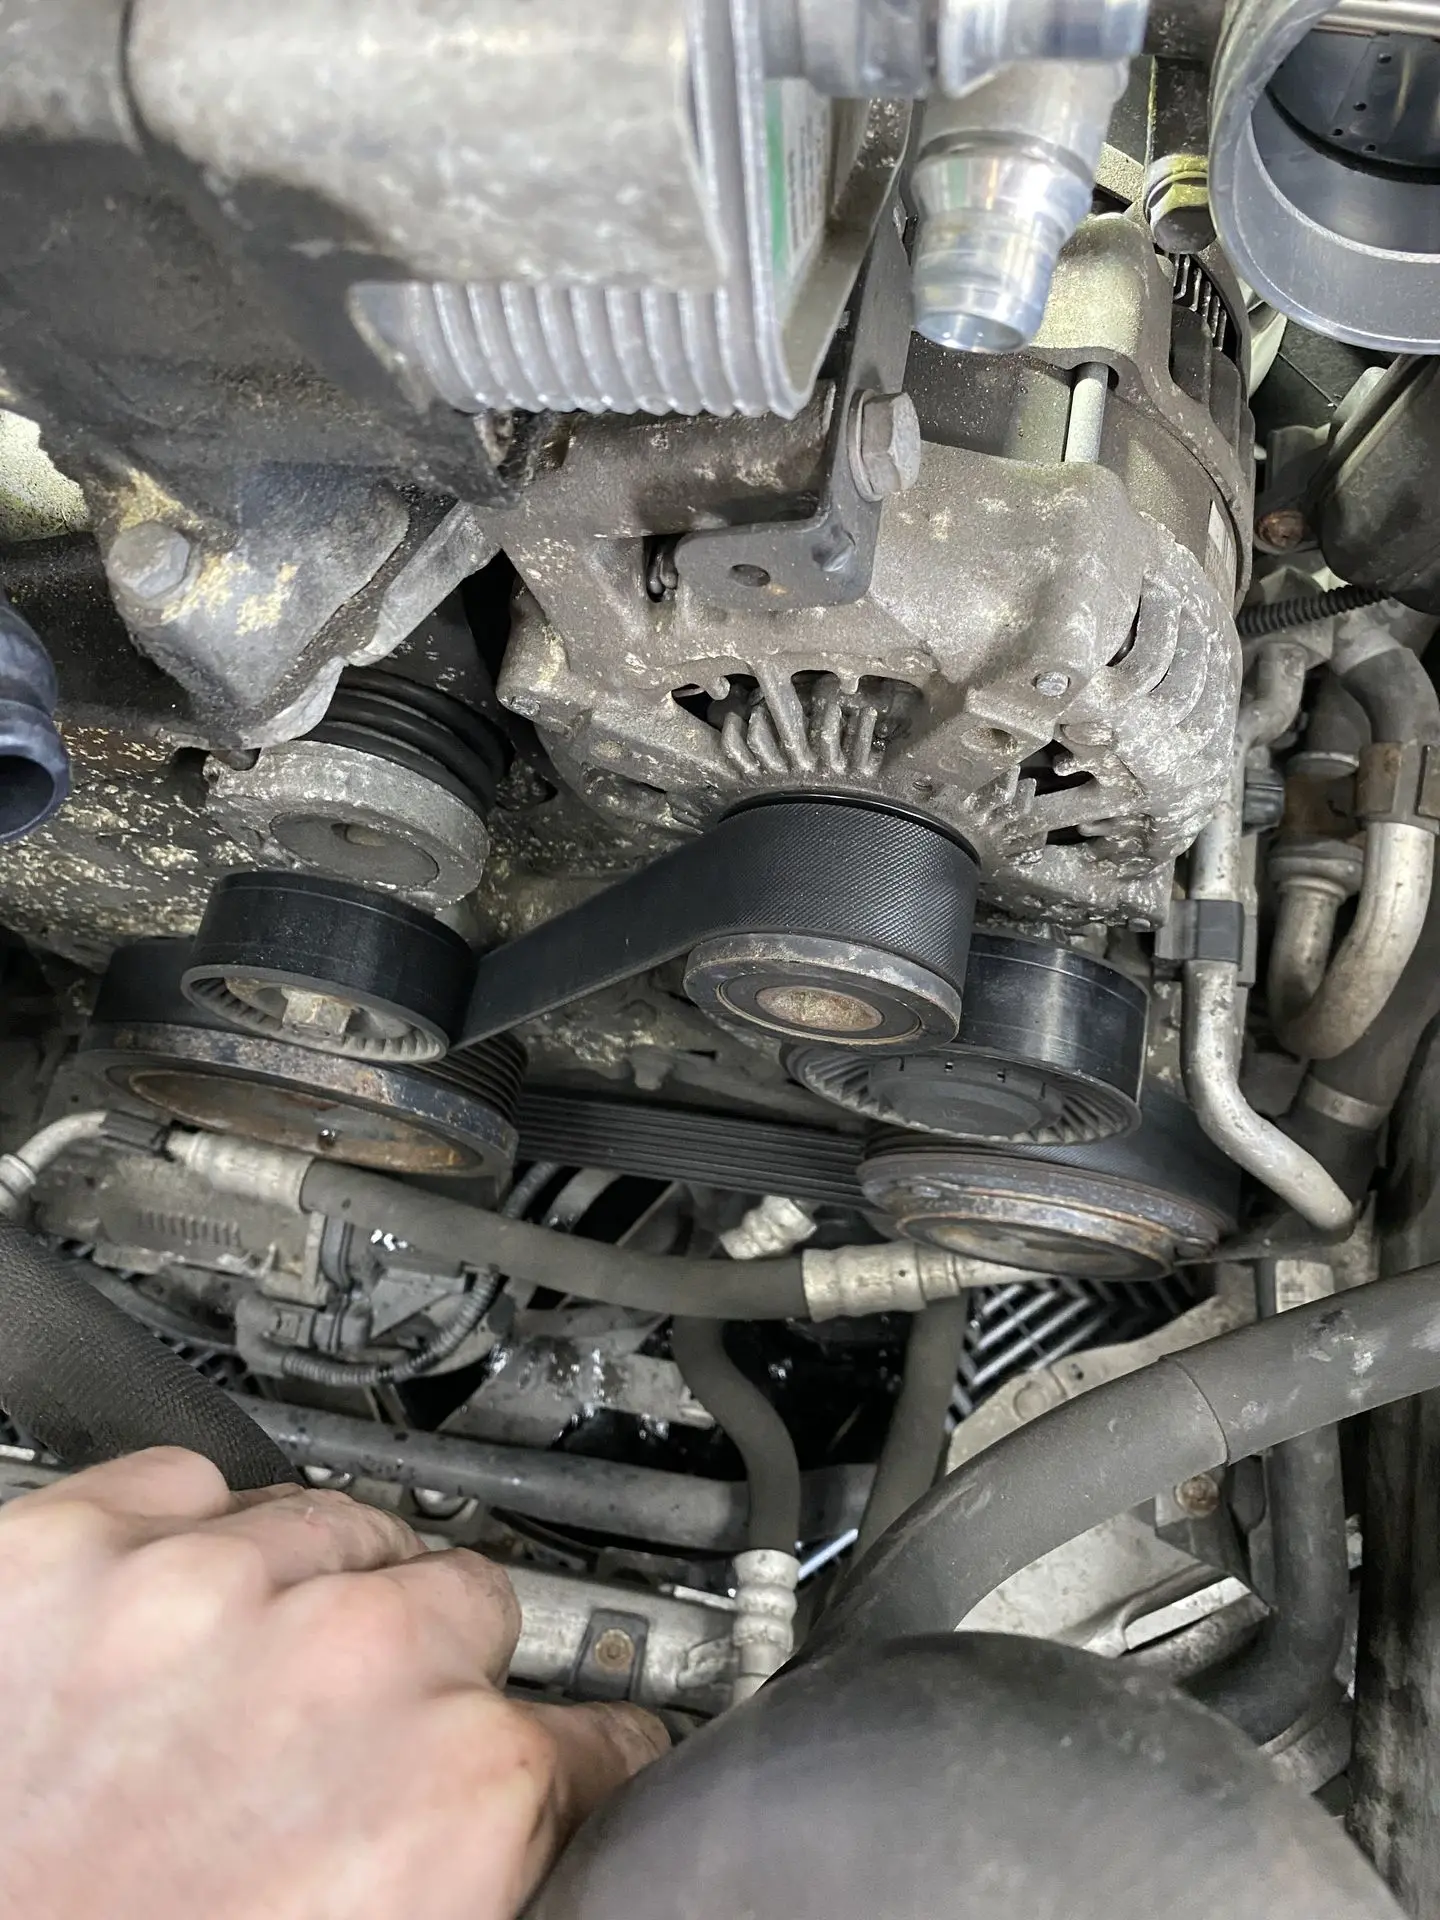
After our diagnosis it was clear that the alternator was disrupting the BSD line. That is why we replaced the faulty alternator with a quality alternator from Herth & Buss.
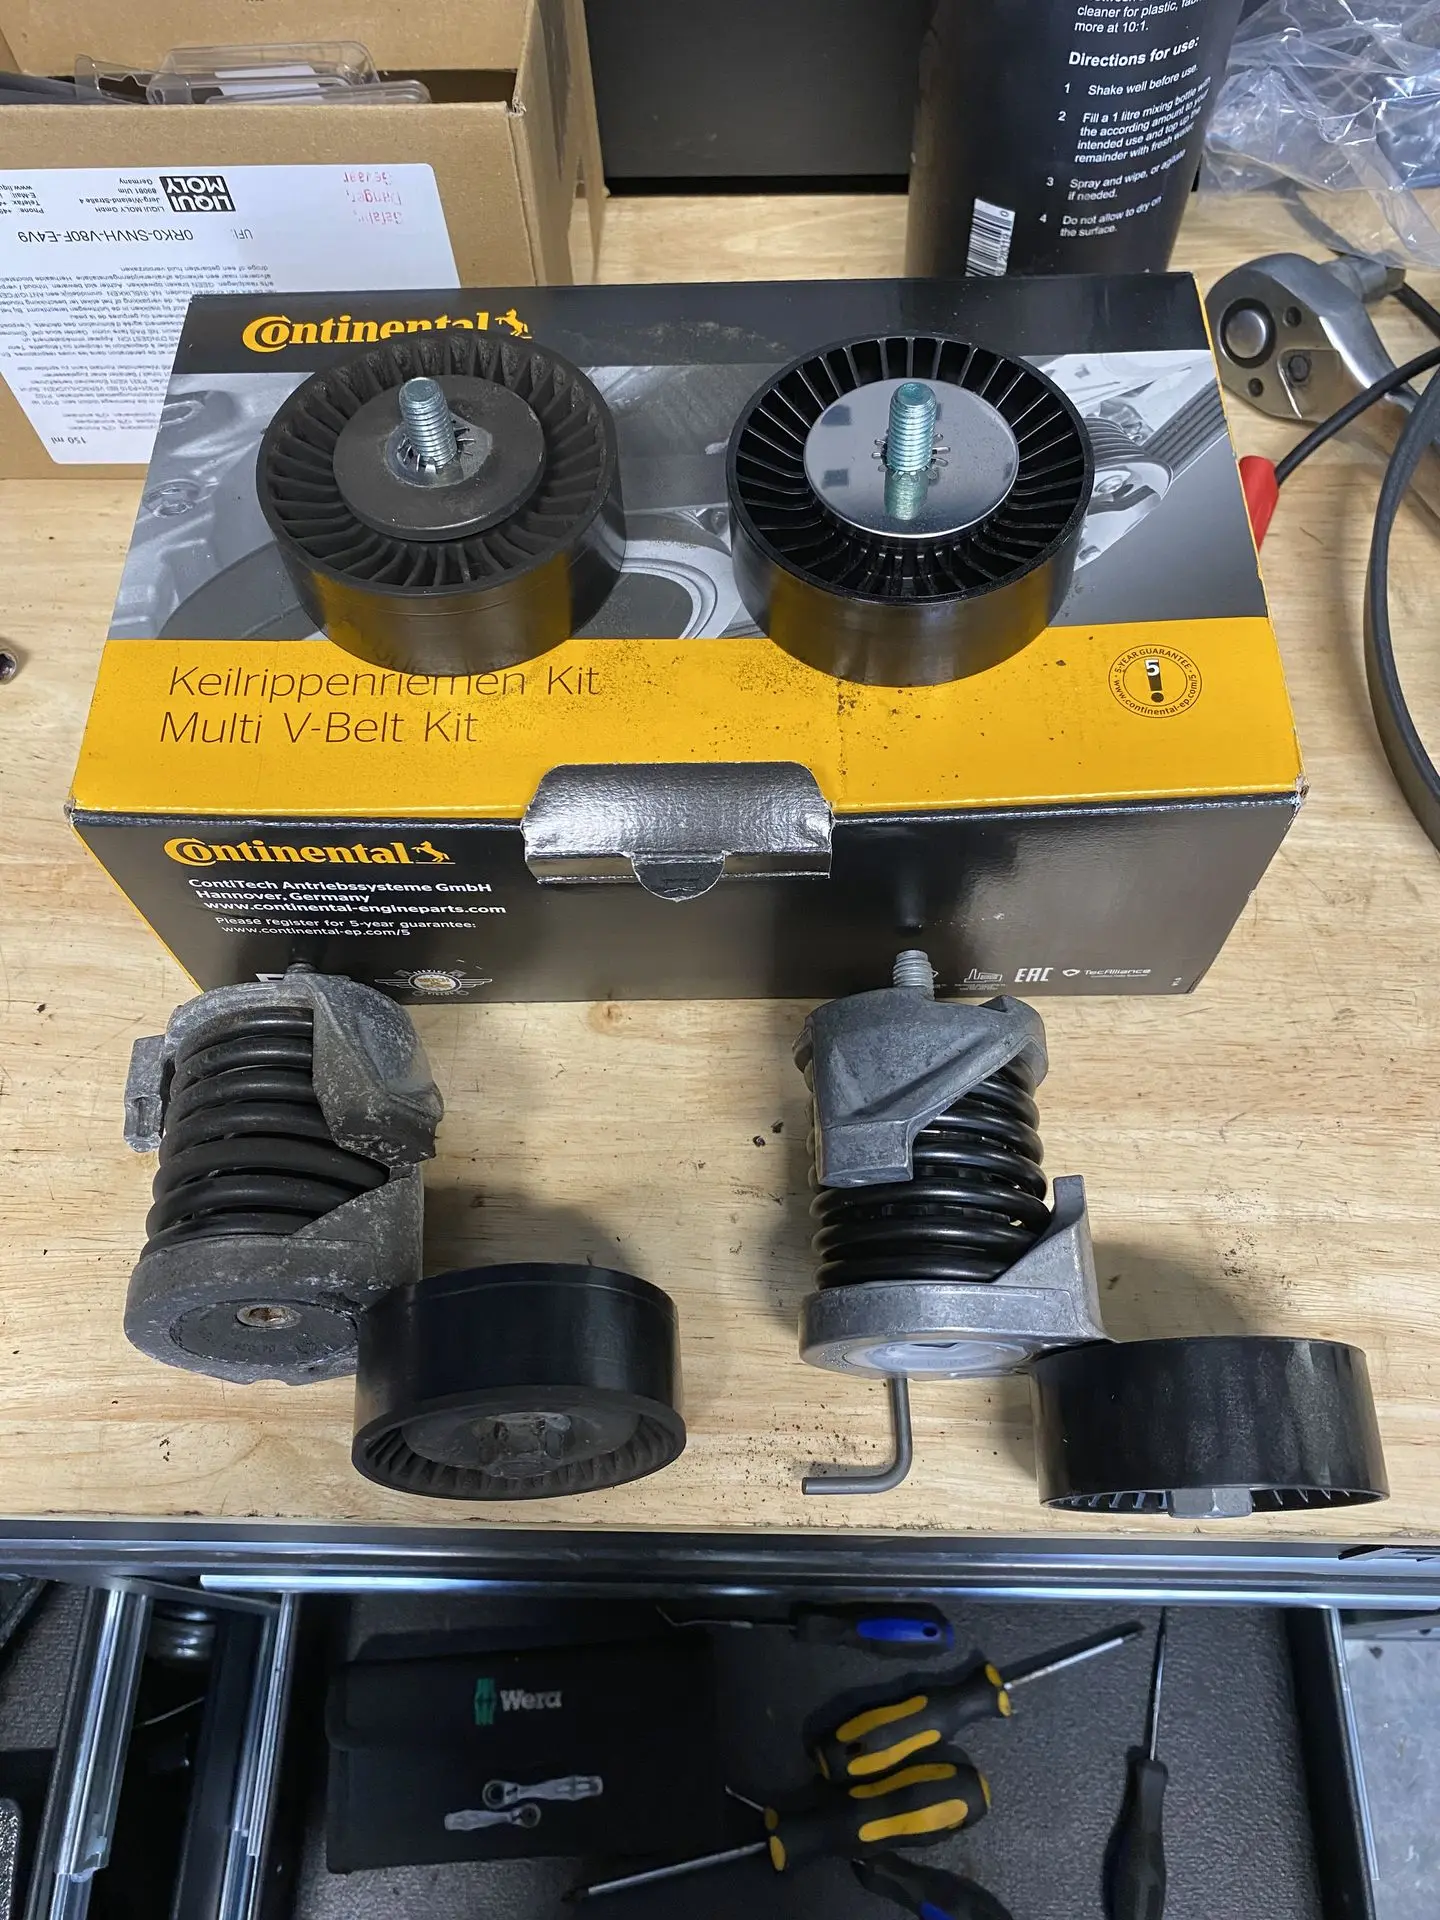
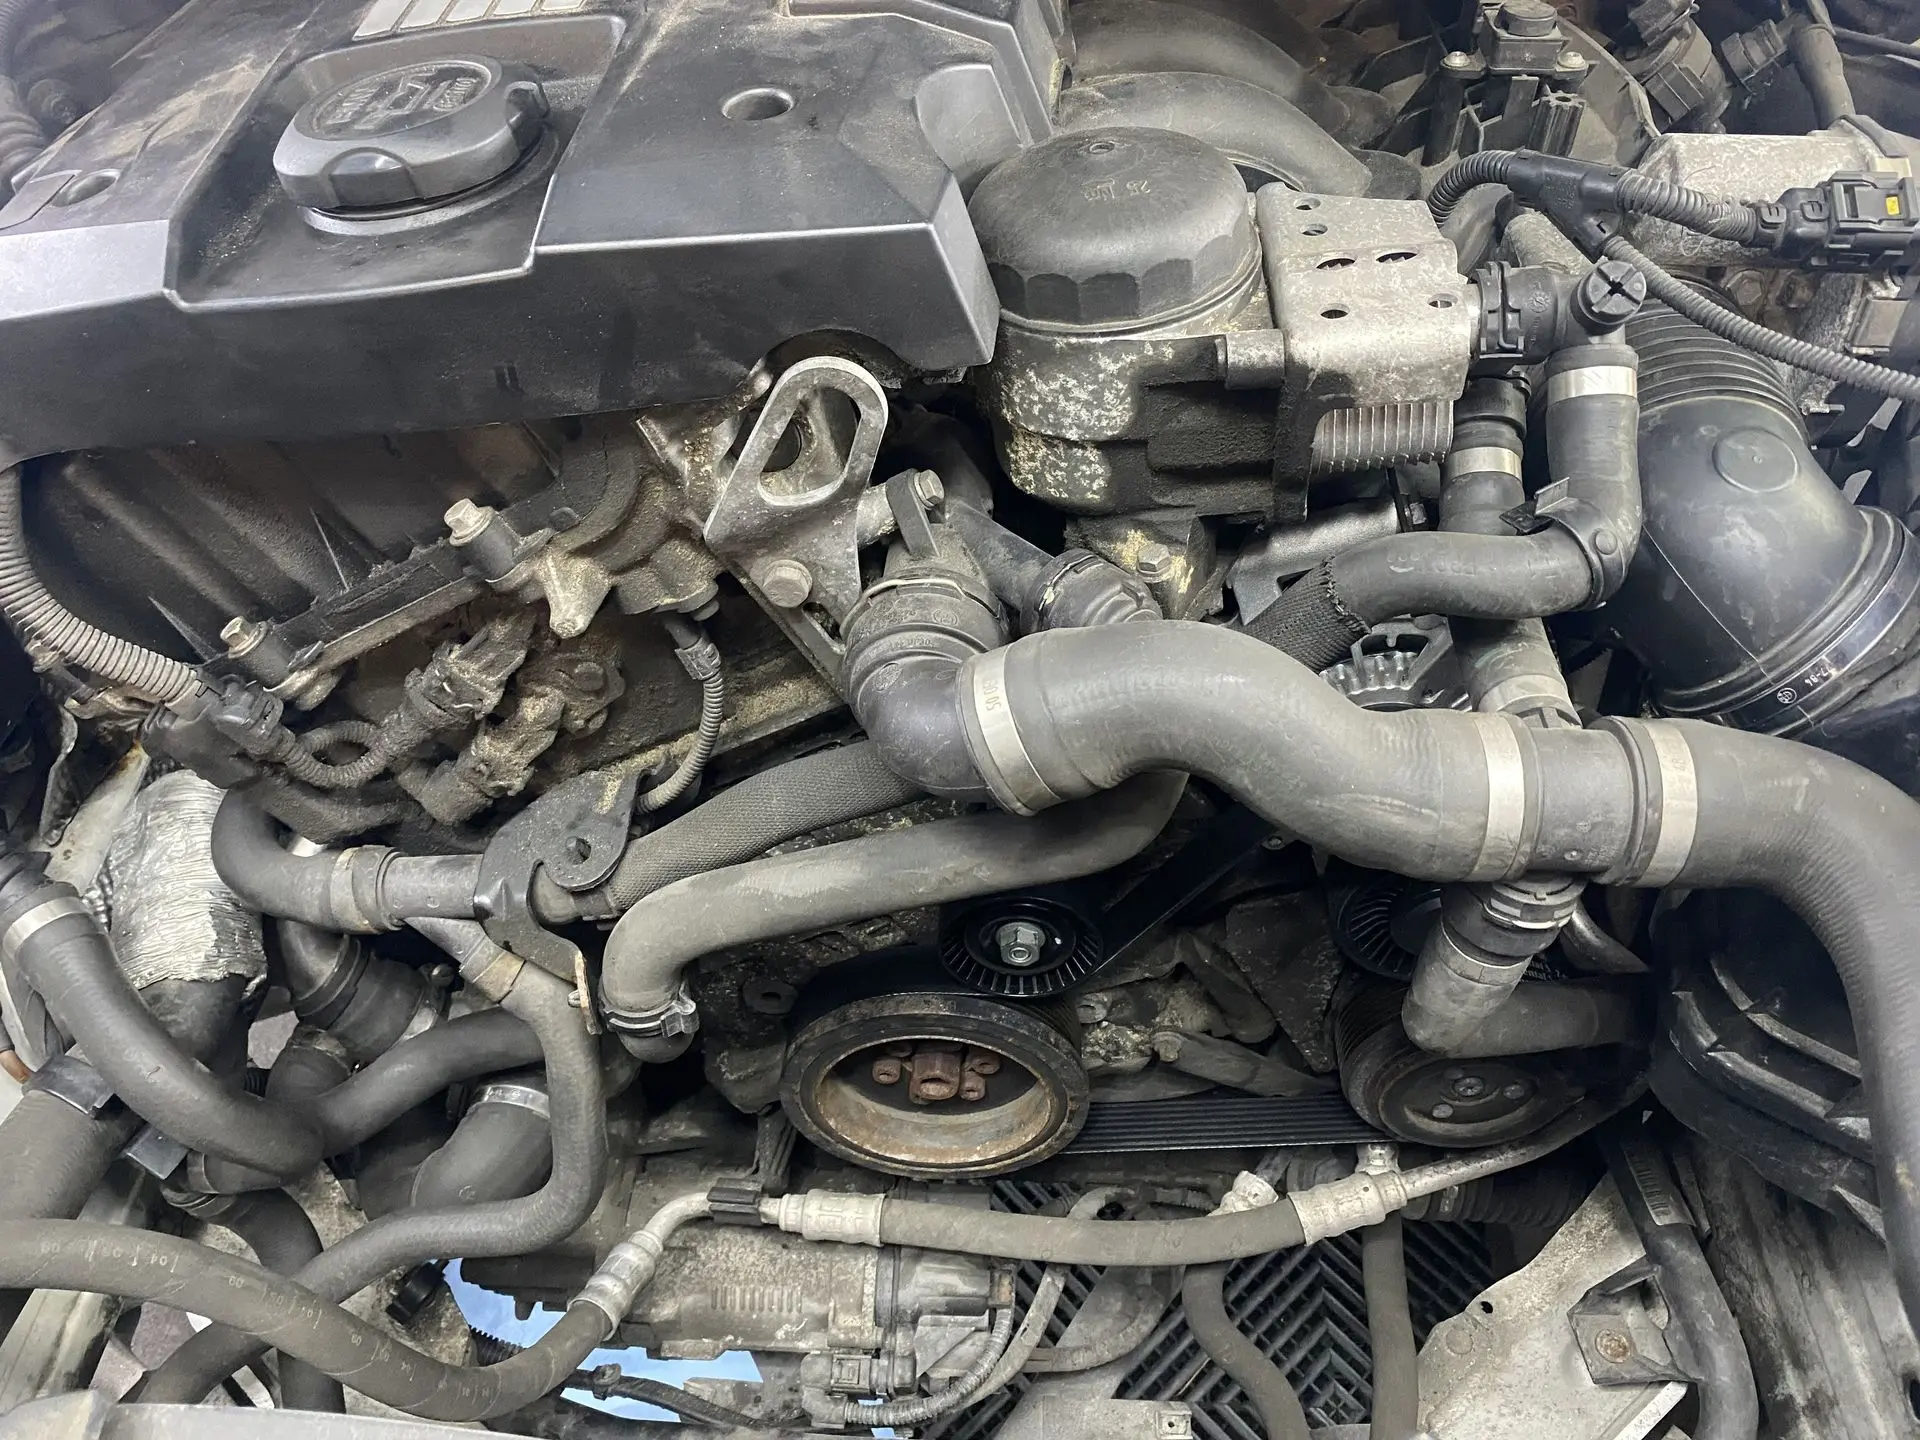
Because at BimmerStore we always work preventively, we replaced the serpentine belt, tensioner and idler pulley at the same time. This prevents the customer from having to come back within a few months with noise, a broken belt or charging problems.
✅ New alternator fitted
✅ Belt, tensioner and idler pulley replaced (Continental kit)
And it does not stop there:
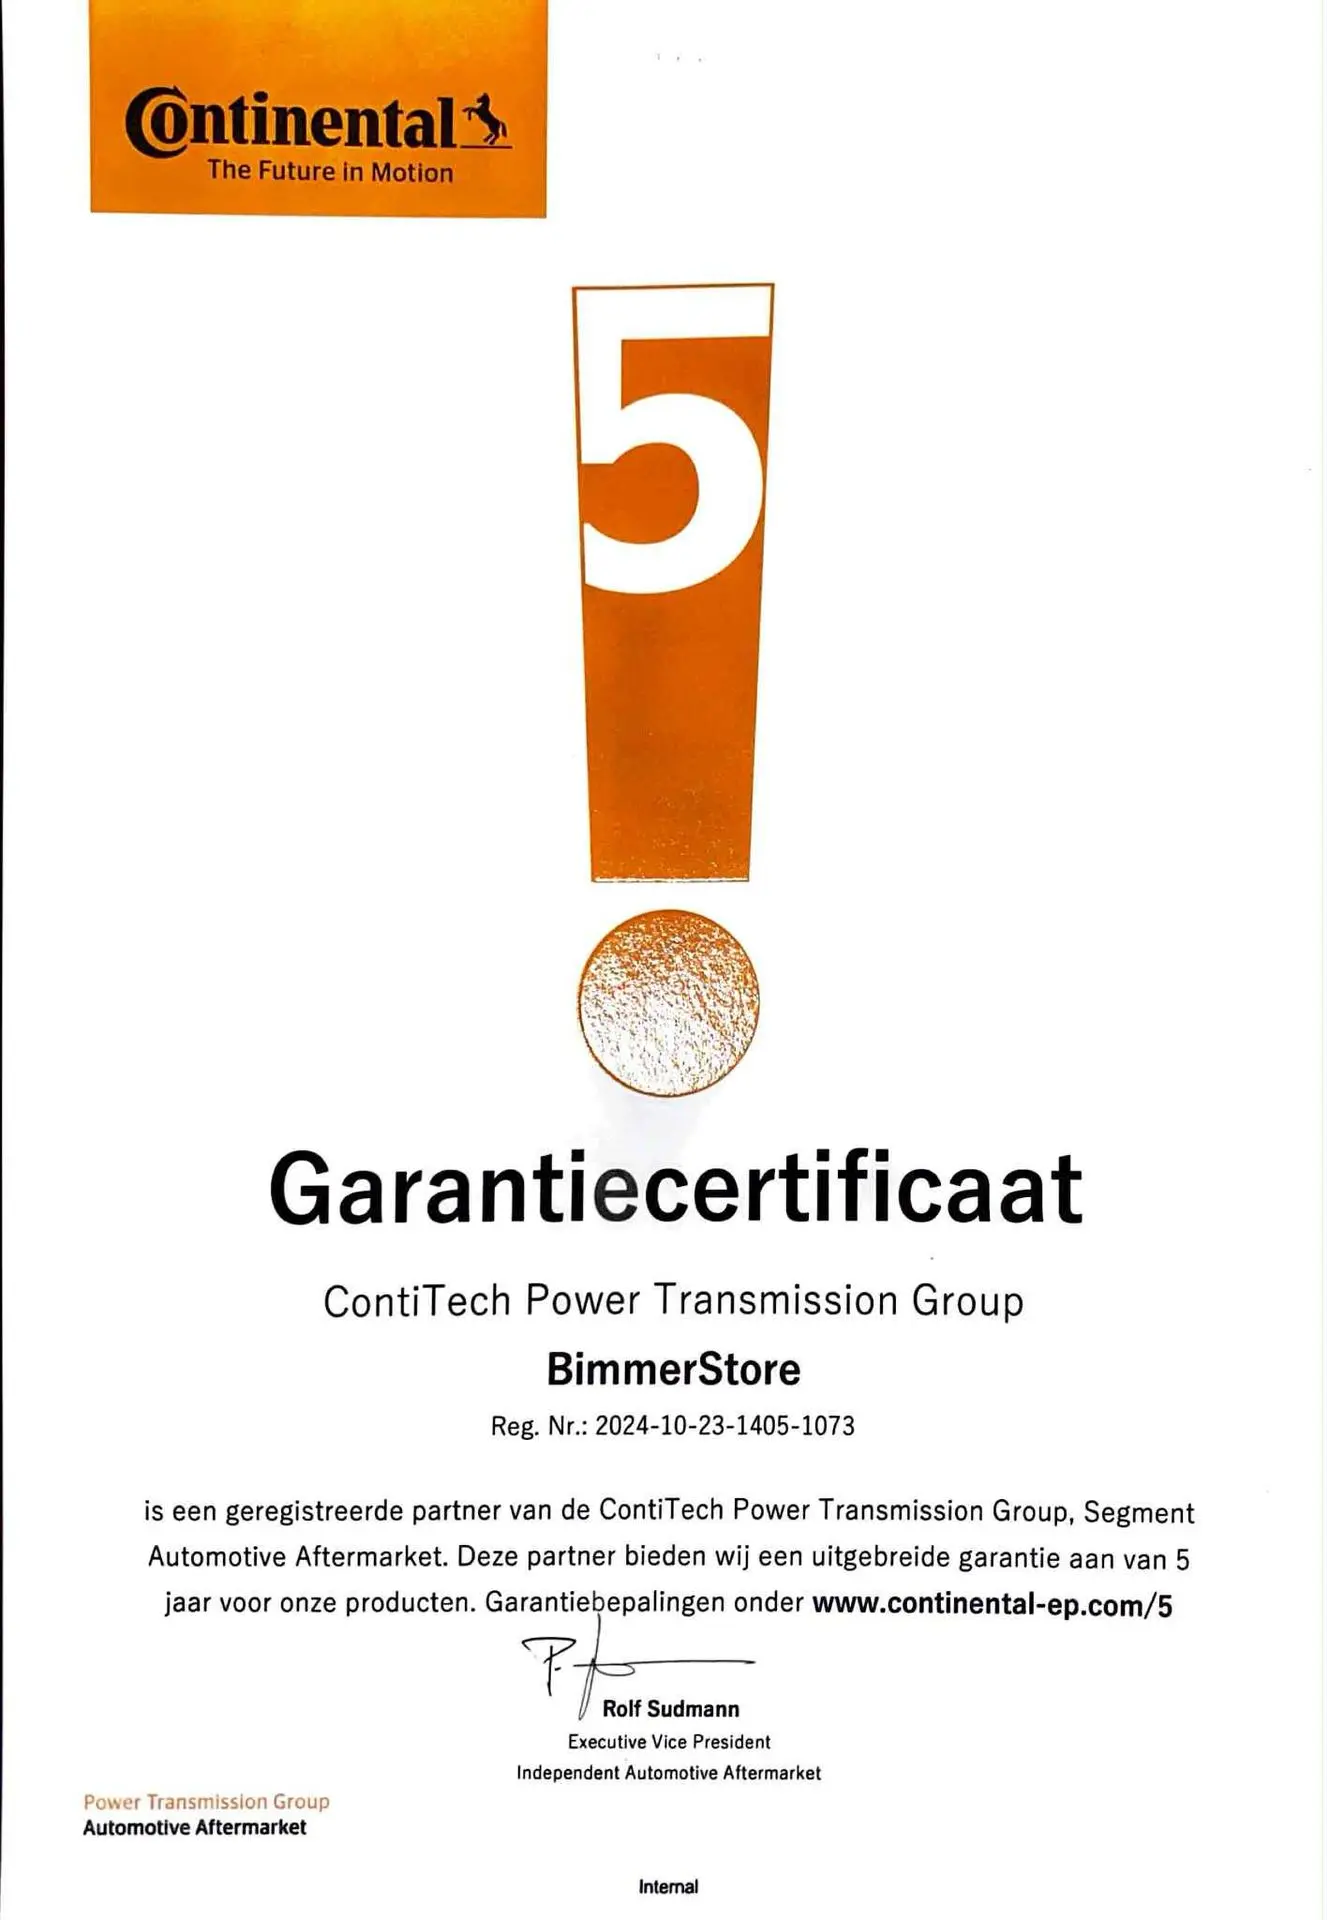
BimmerStore is a recognized Continental partner. Thanks to the training completed and certification, customers get a 5-year warranty on all Continental parts we fit.
Step 3: Water ingress rear left
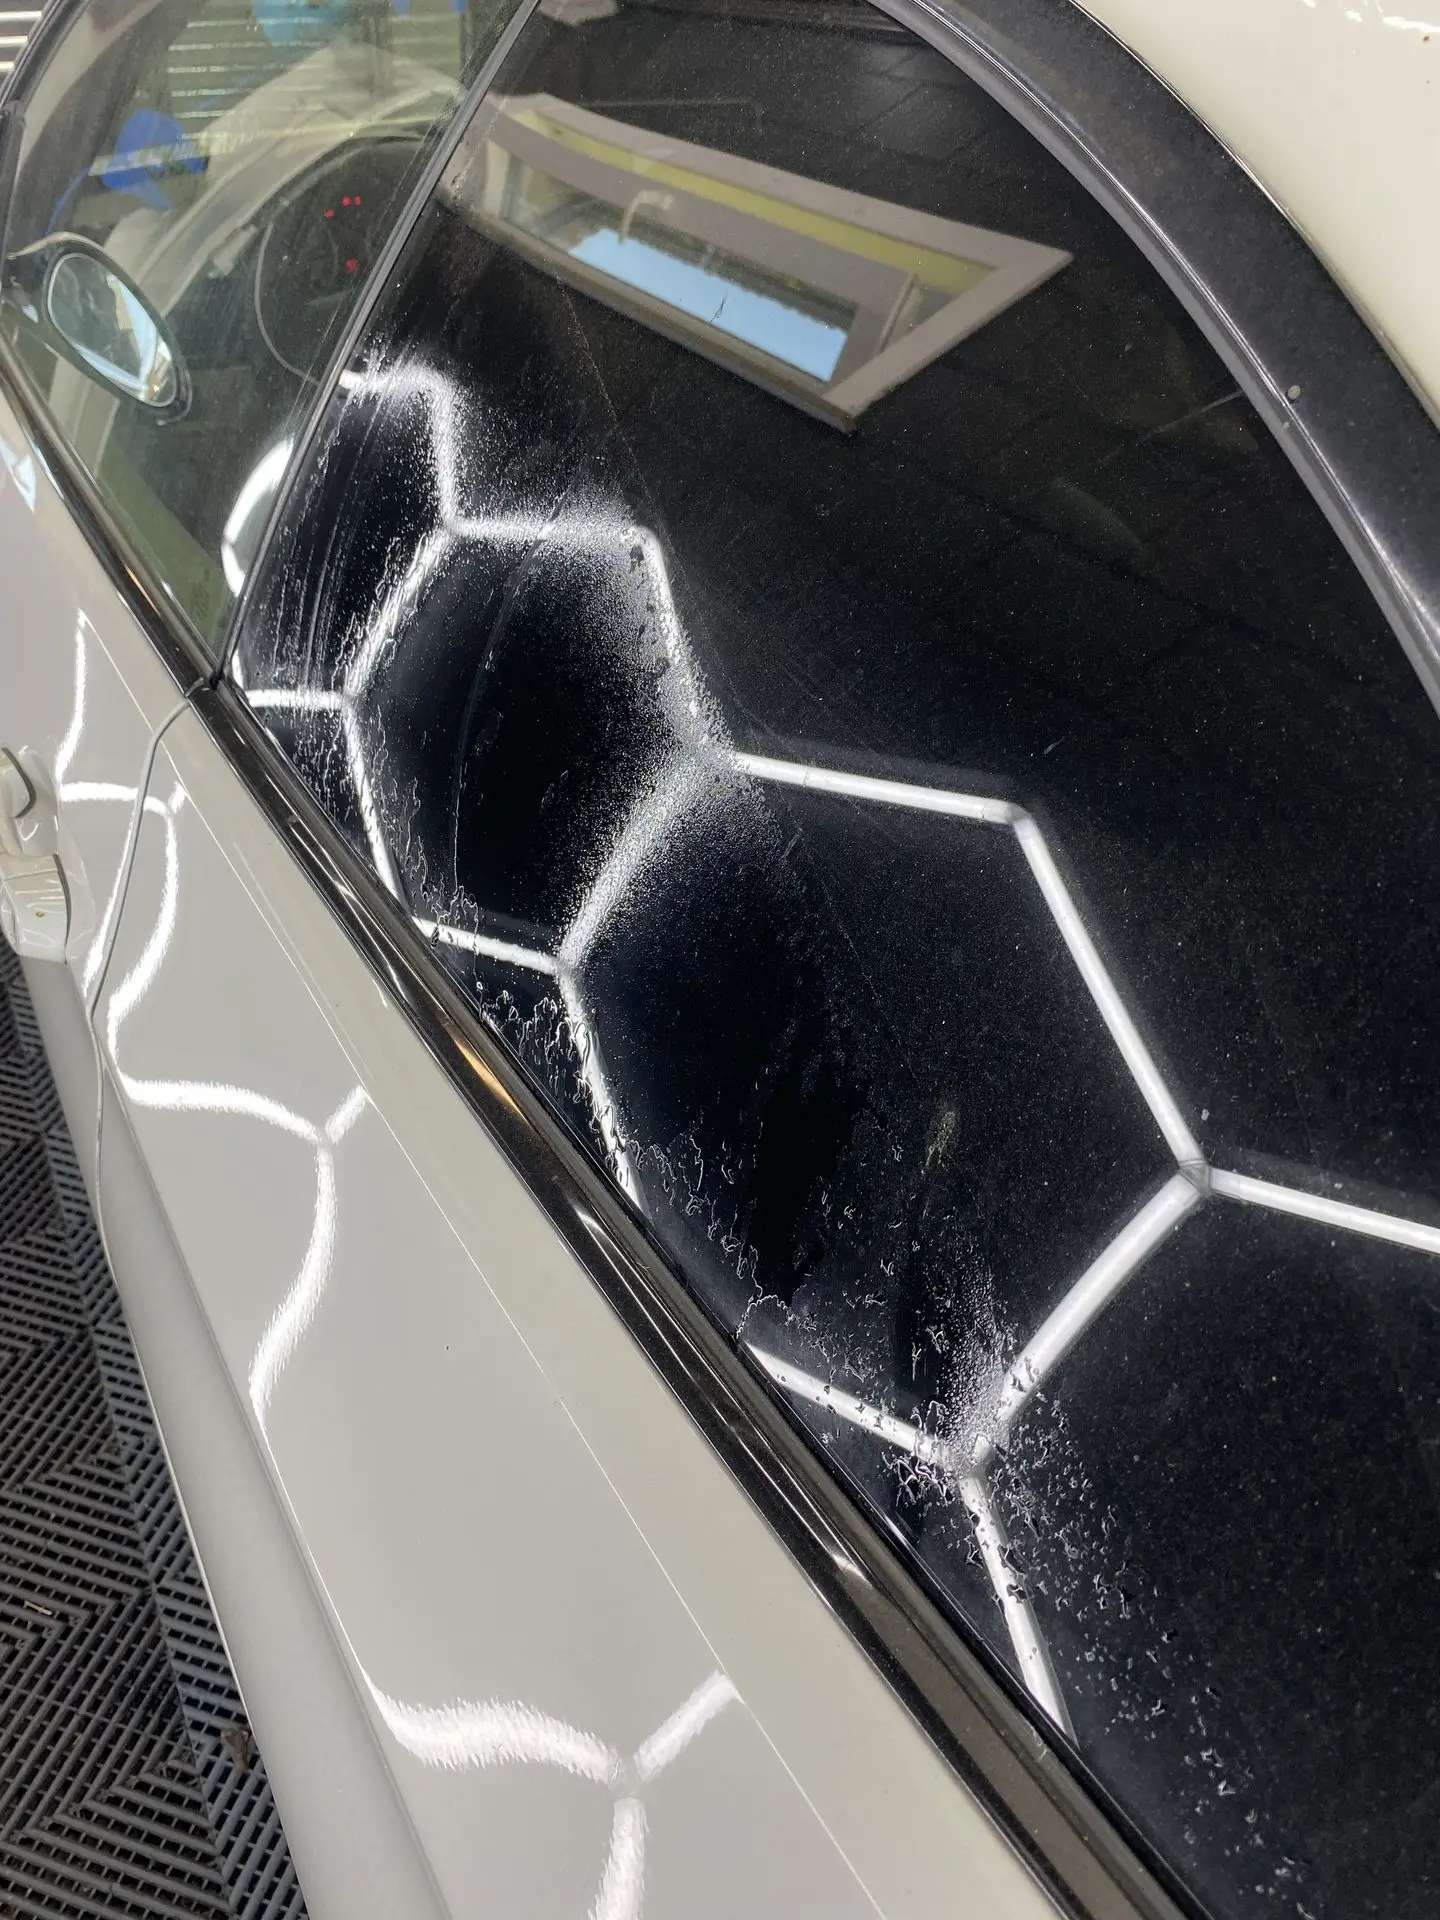
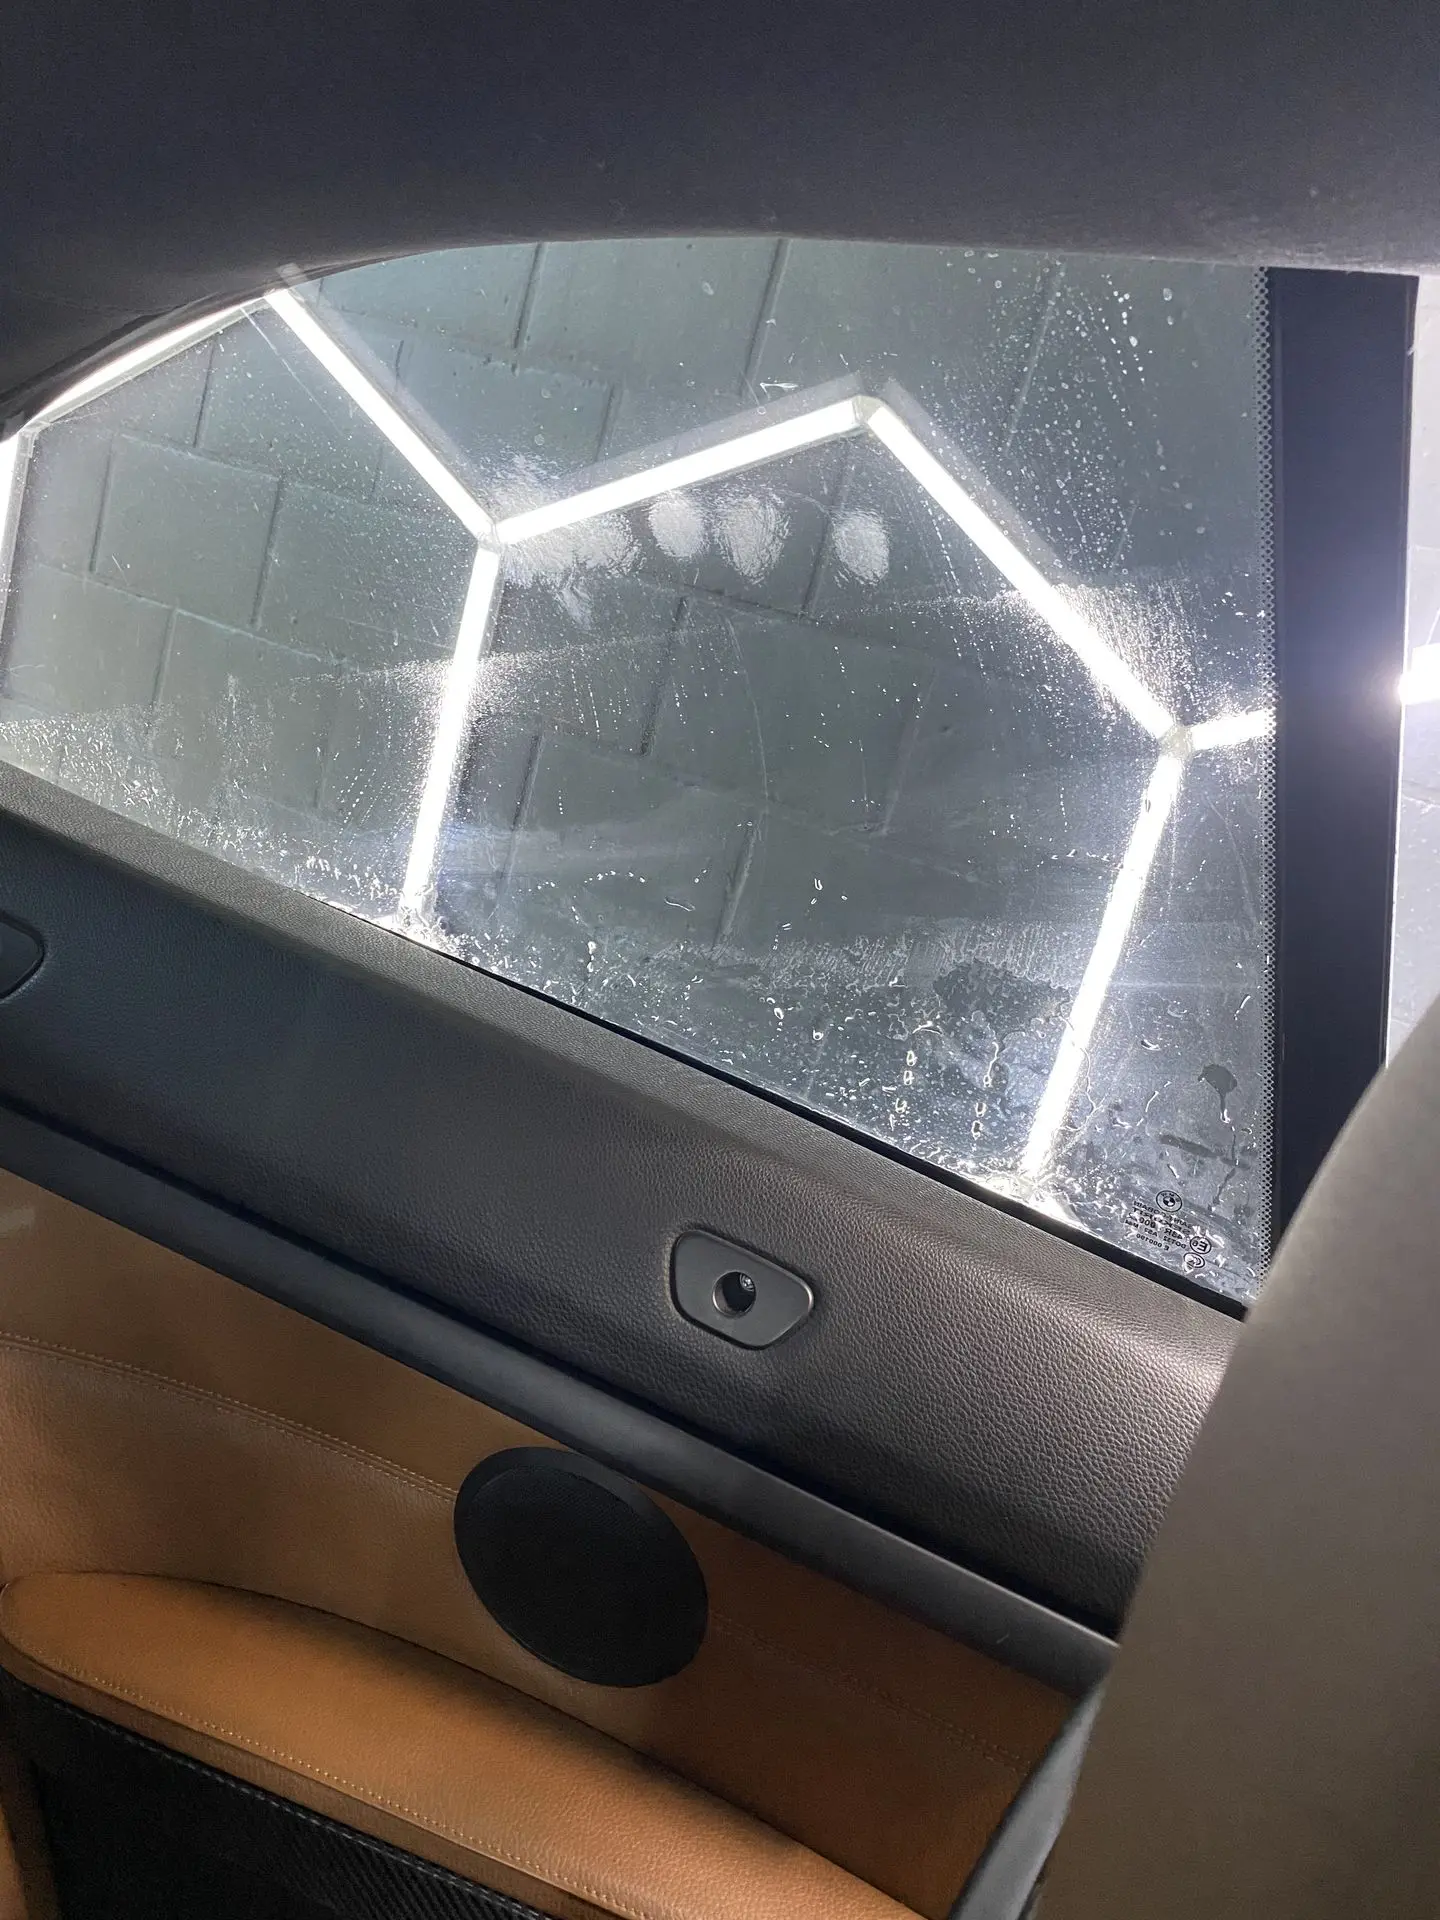
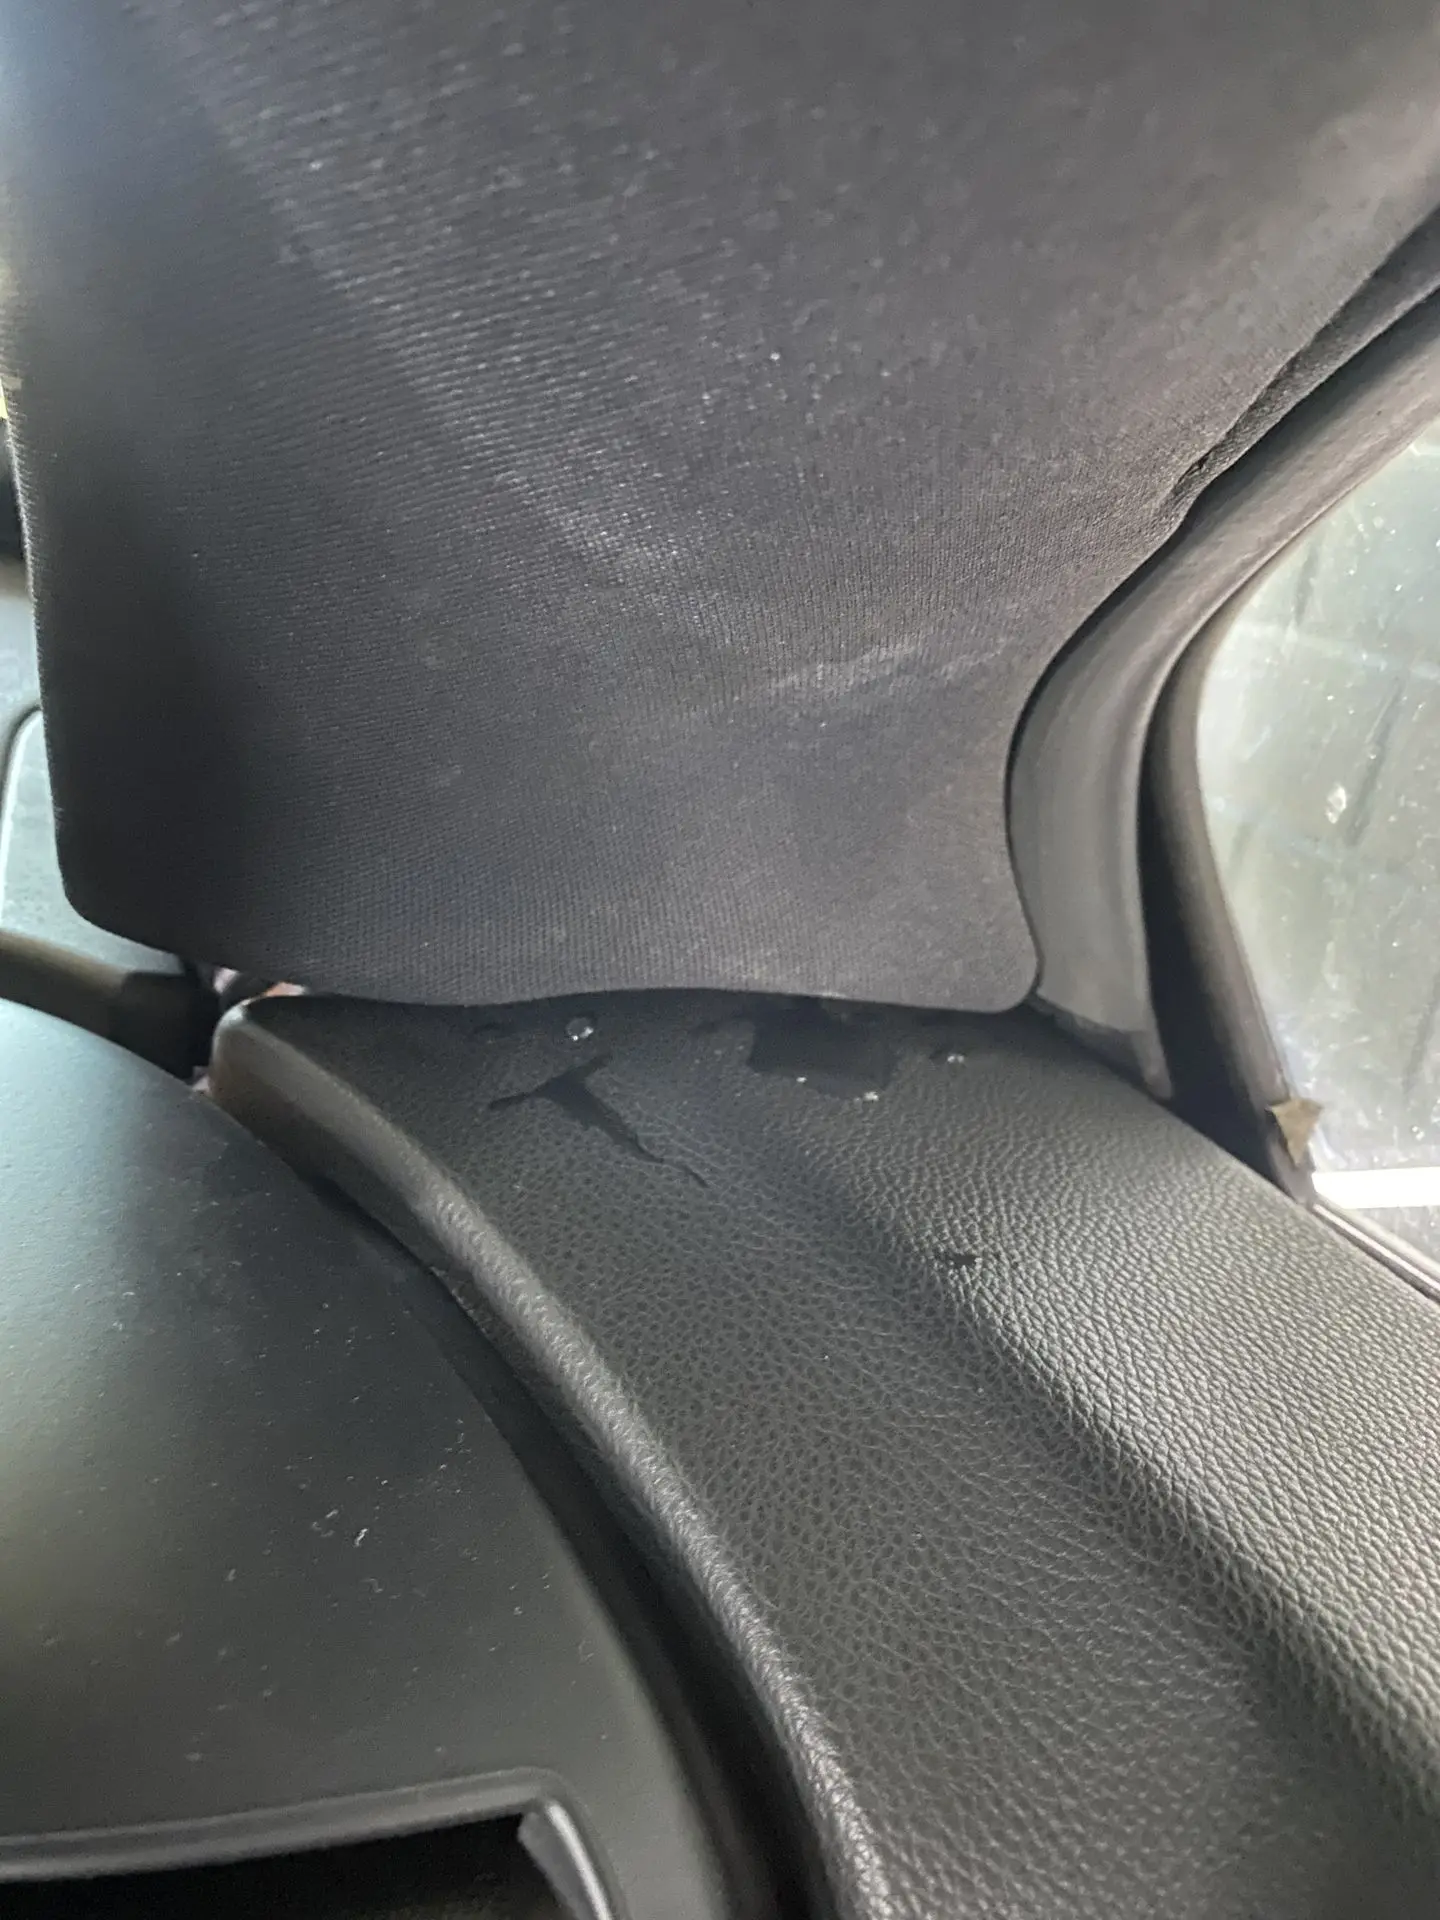
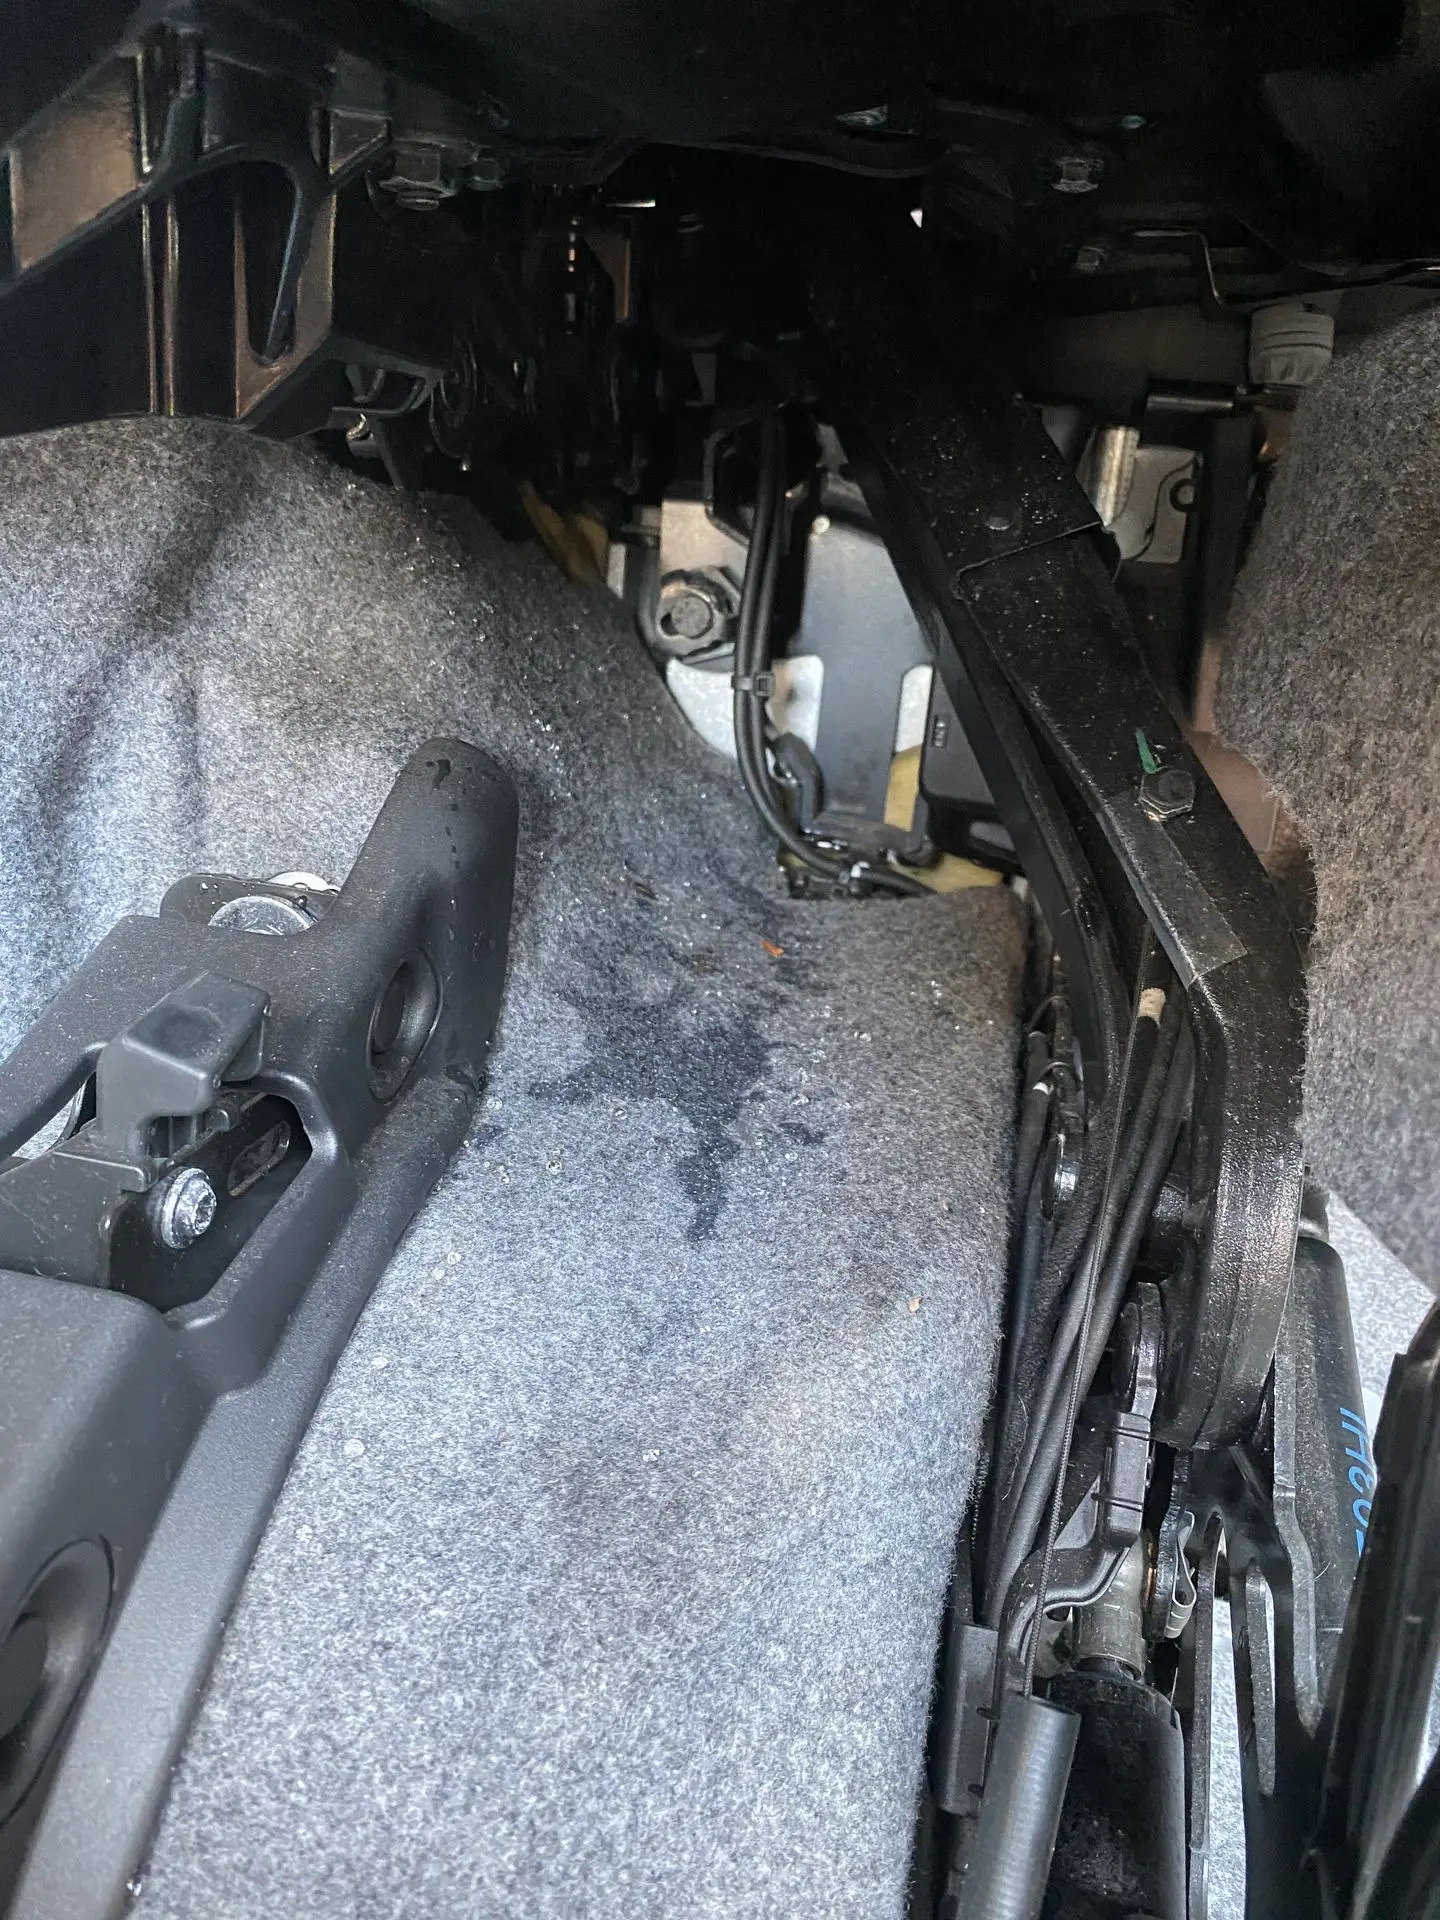
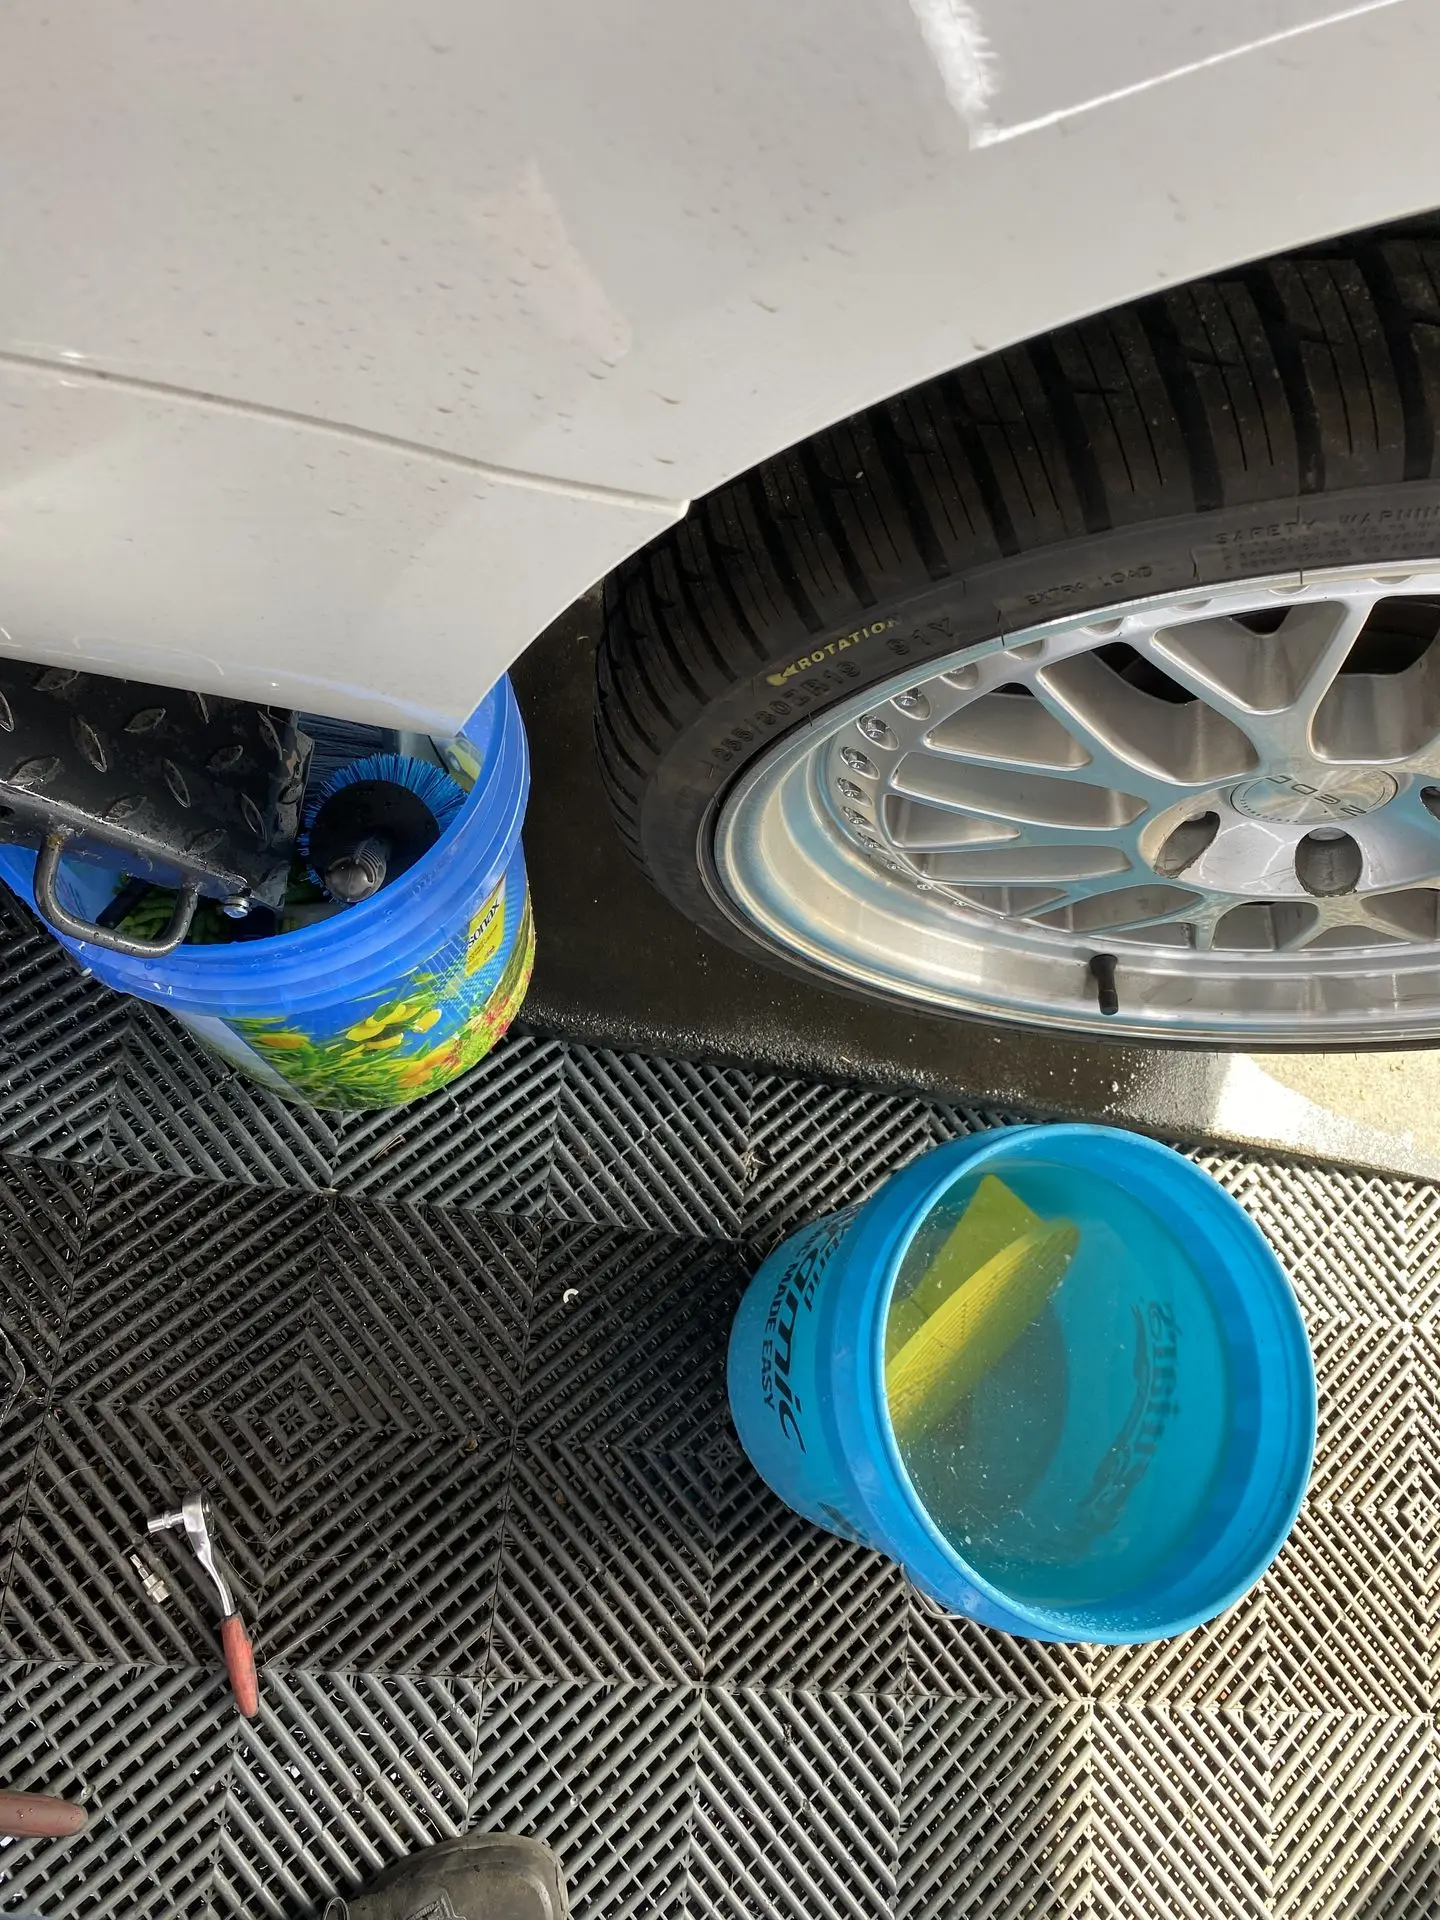
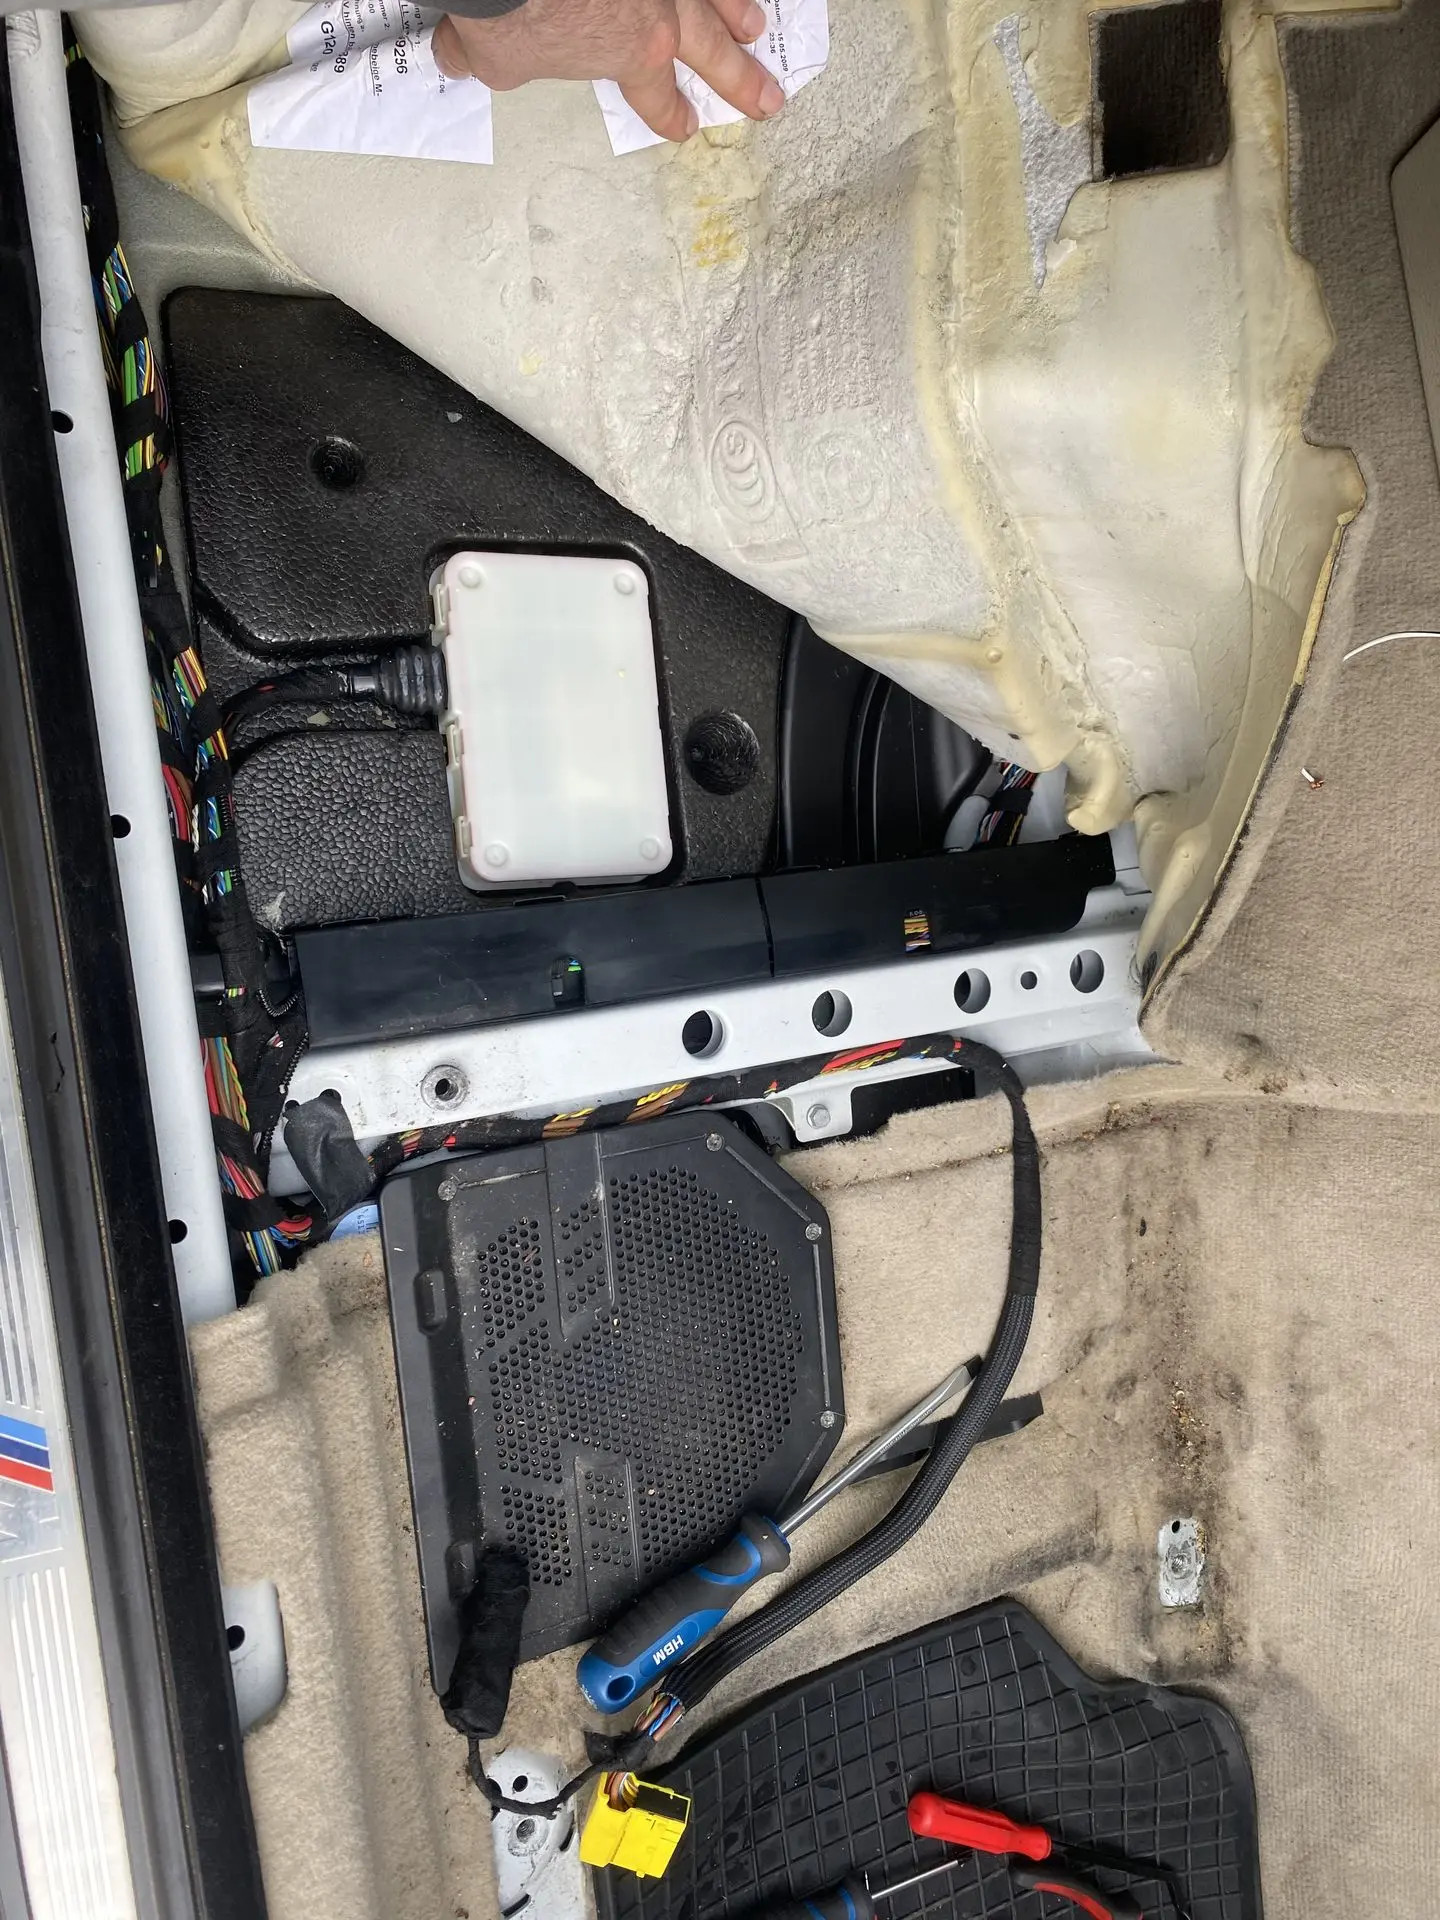
During the diagnosis we discovered a hidden problem: 20 liters of water behind the left side panel. Sooner or later moisture causes corrosion and short circuits.
✅ Panel removed, water drained, interior dried.
✅ Drain channels and grommets cleaned and modified.
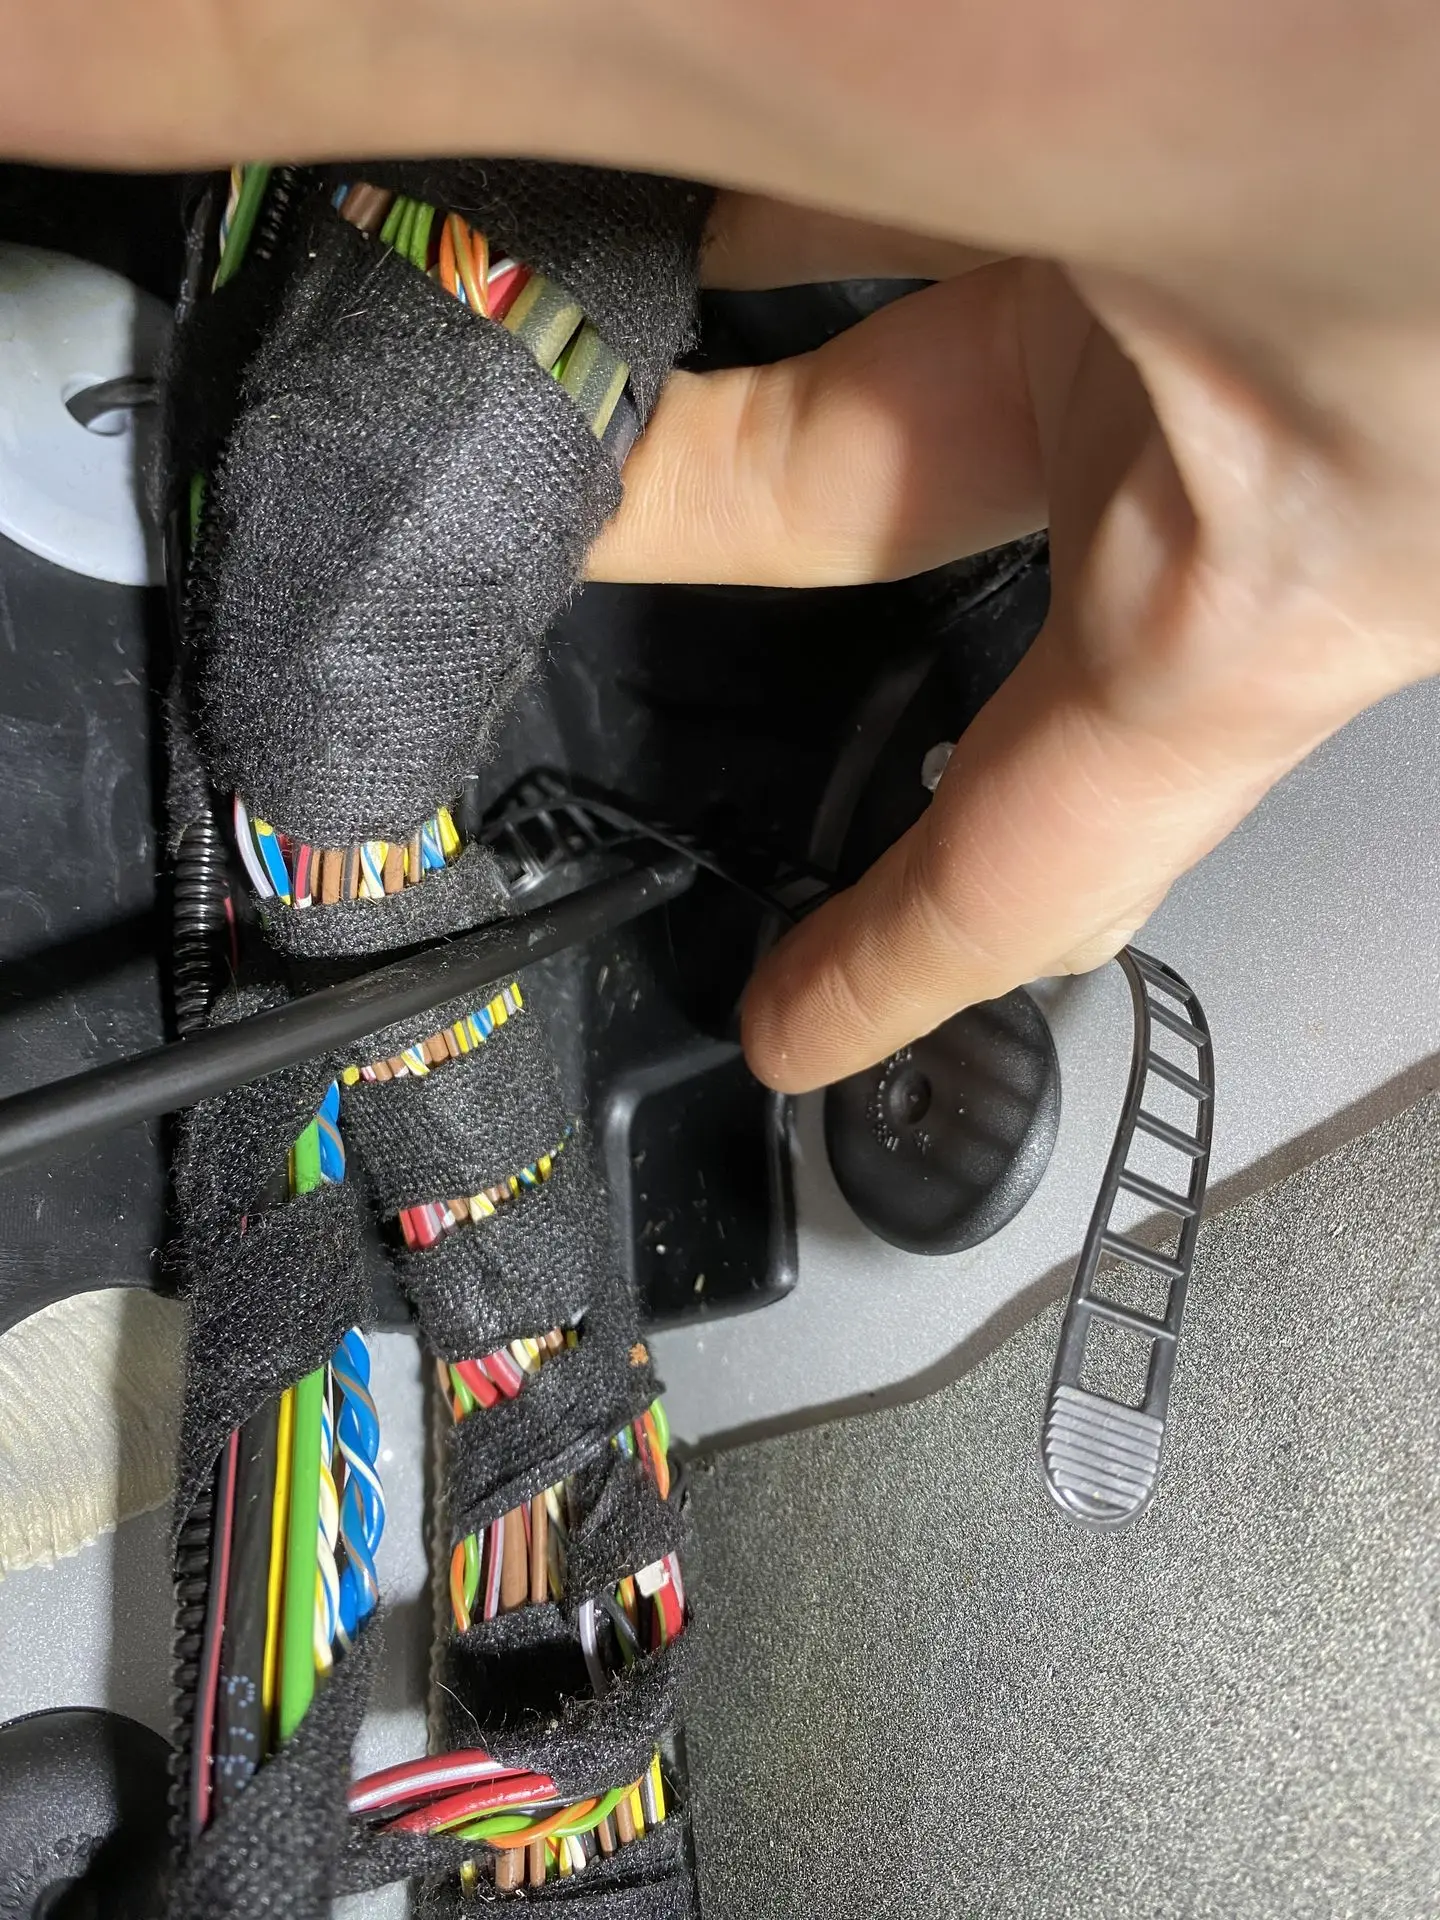
A classic problem on the convertibles is that the drain plug under the sill gets clogged, so the water can no longer get out. Some people therefore leave the plug out, but that can also cause dirt to build up. That is why we choose to modify the plug by drilling 4 holes of 3 mm in it, so that the water can still drain easily, but dirt cannot build up and block everything again. The drain channels are also cleaned and resealed where necessary. The interior is then dried again and the wiring is checked. Moisture creeps through the wiring, after all. Once it is in there and not dealt with, you can get more problems.

Step 4: Ride height control and FRM – measuring down to module level
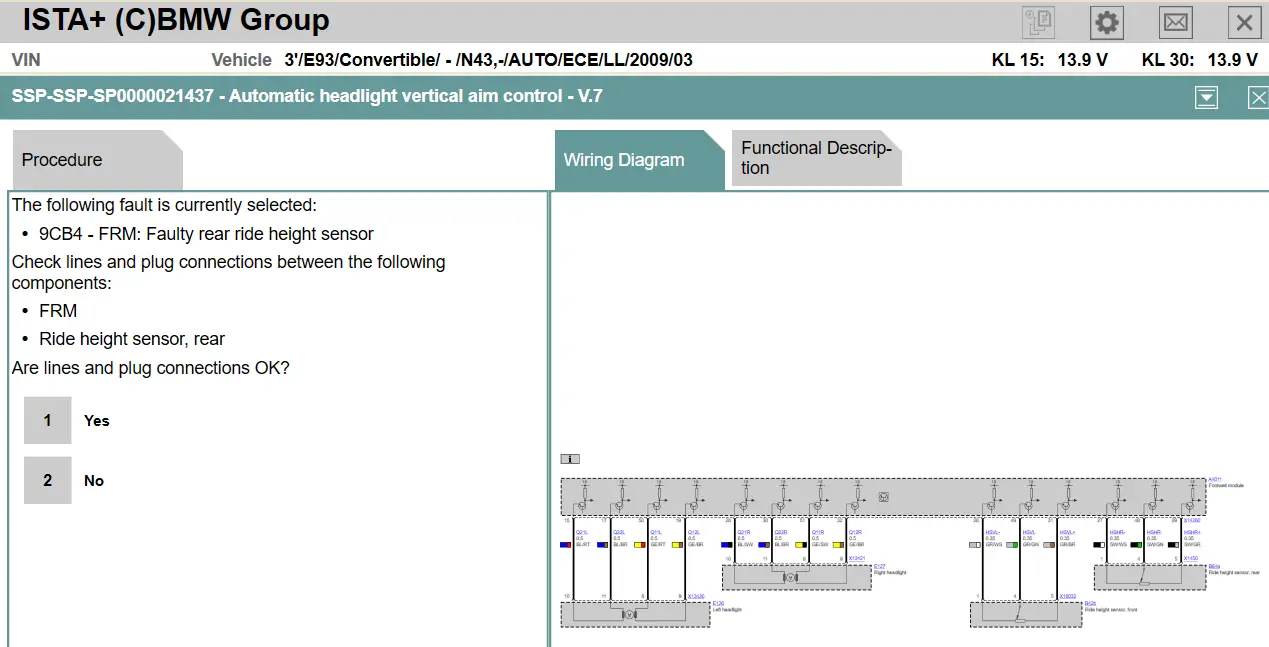
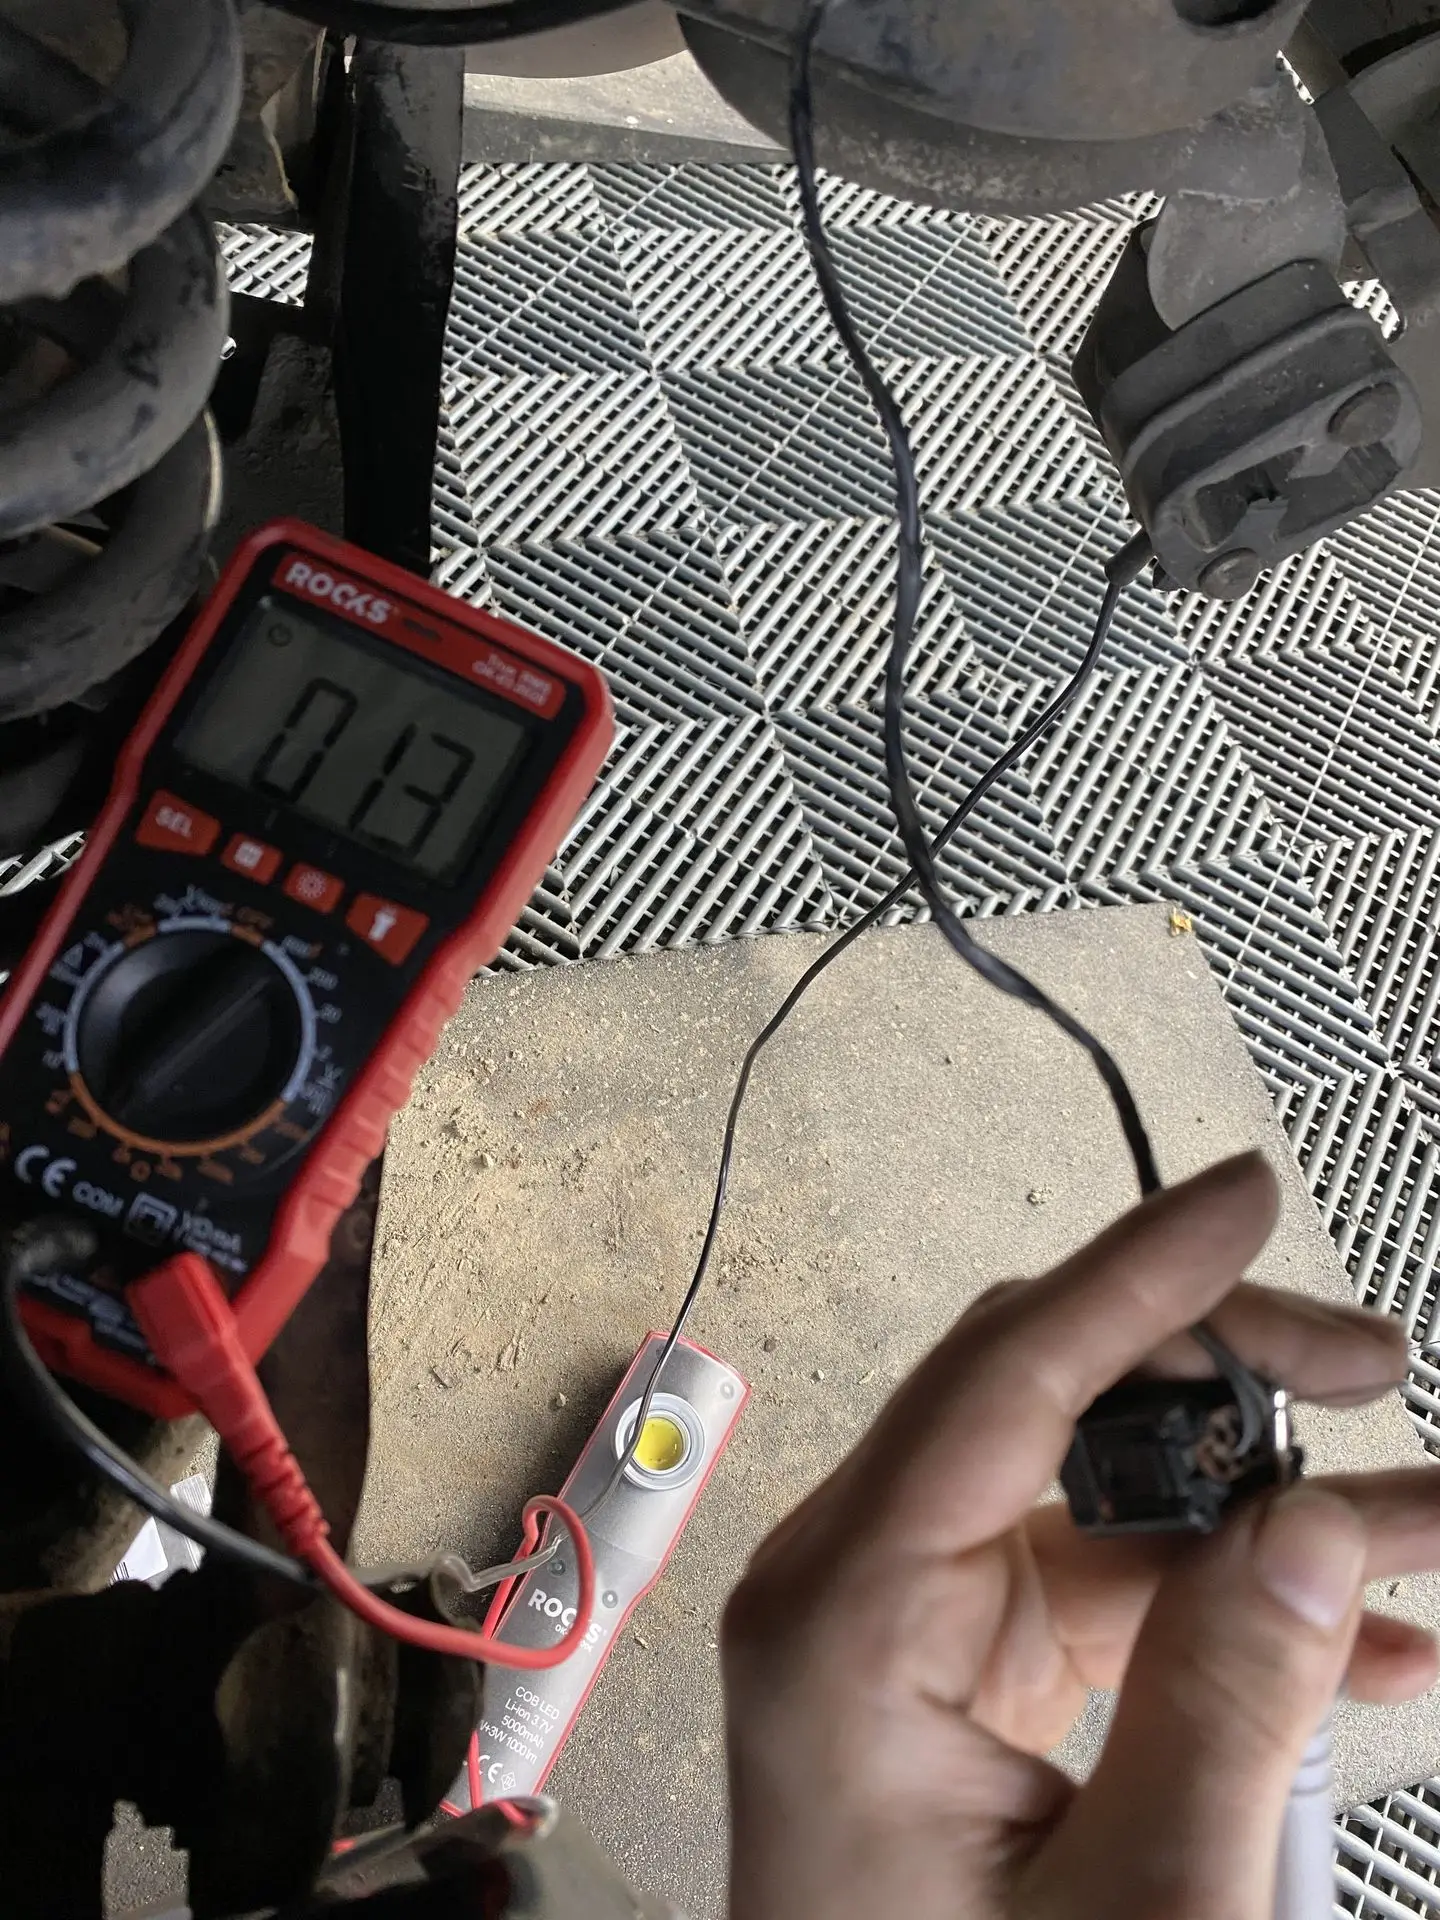
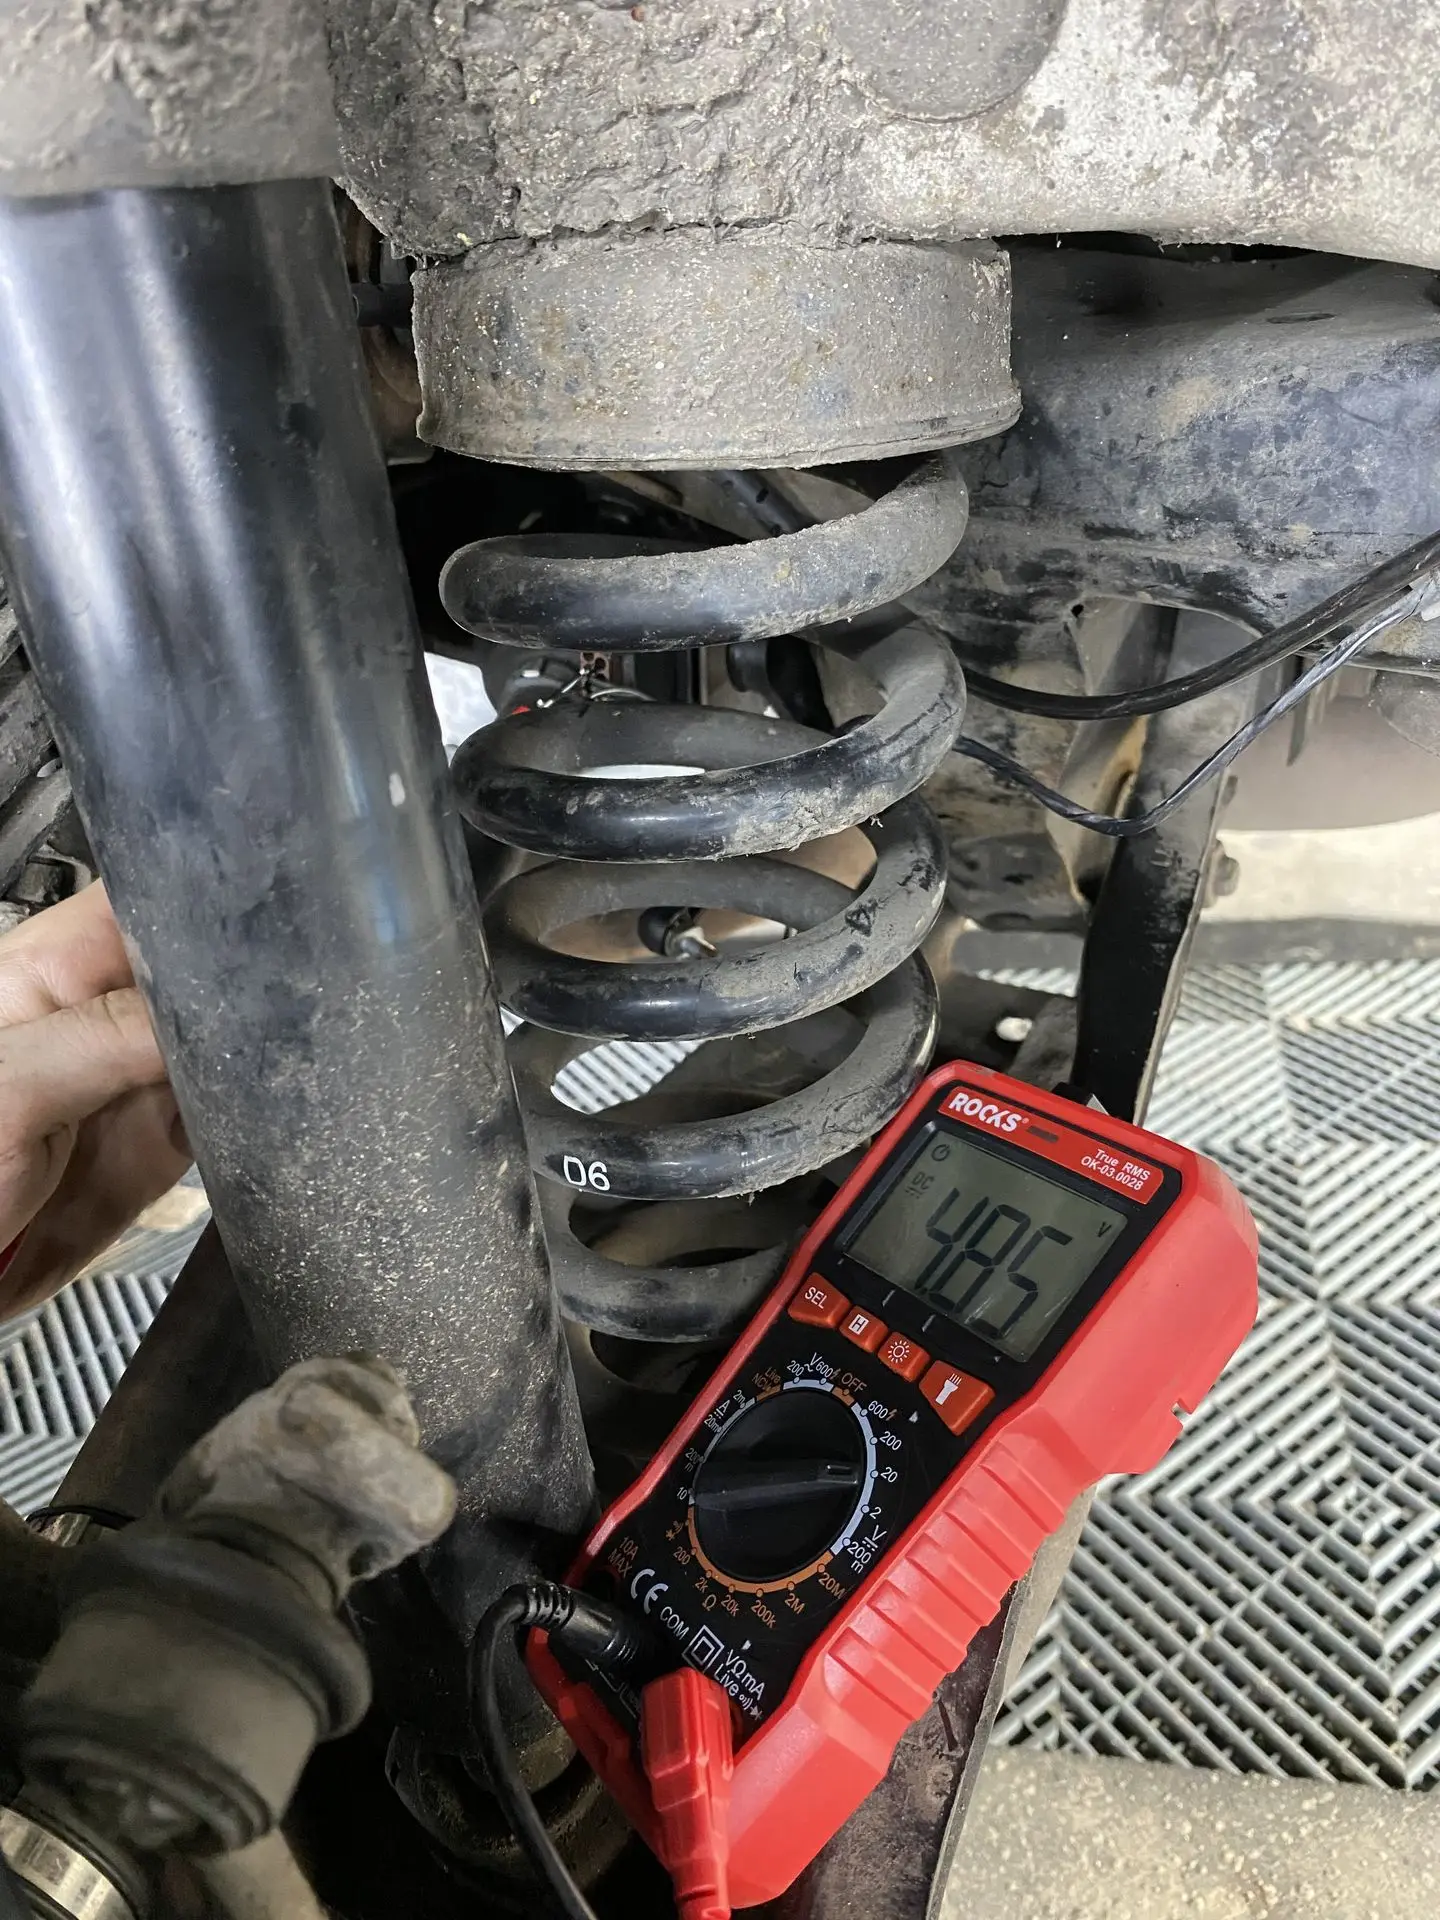
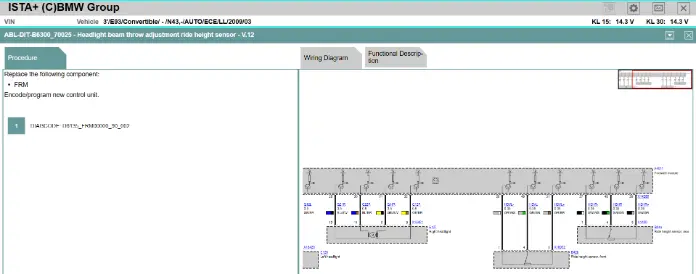
The rear ride height sensor fault code turned out not to be a simple sensor fault. What we did:
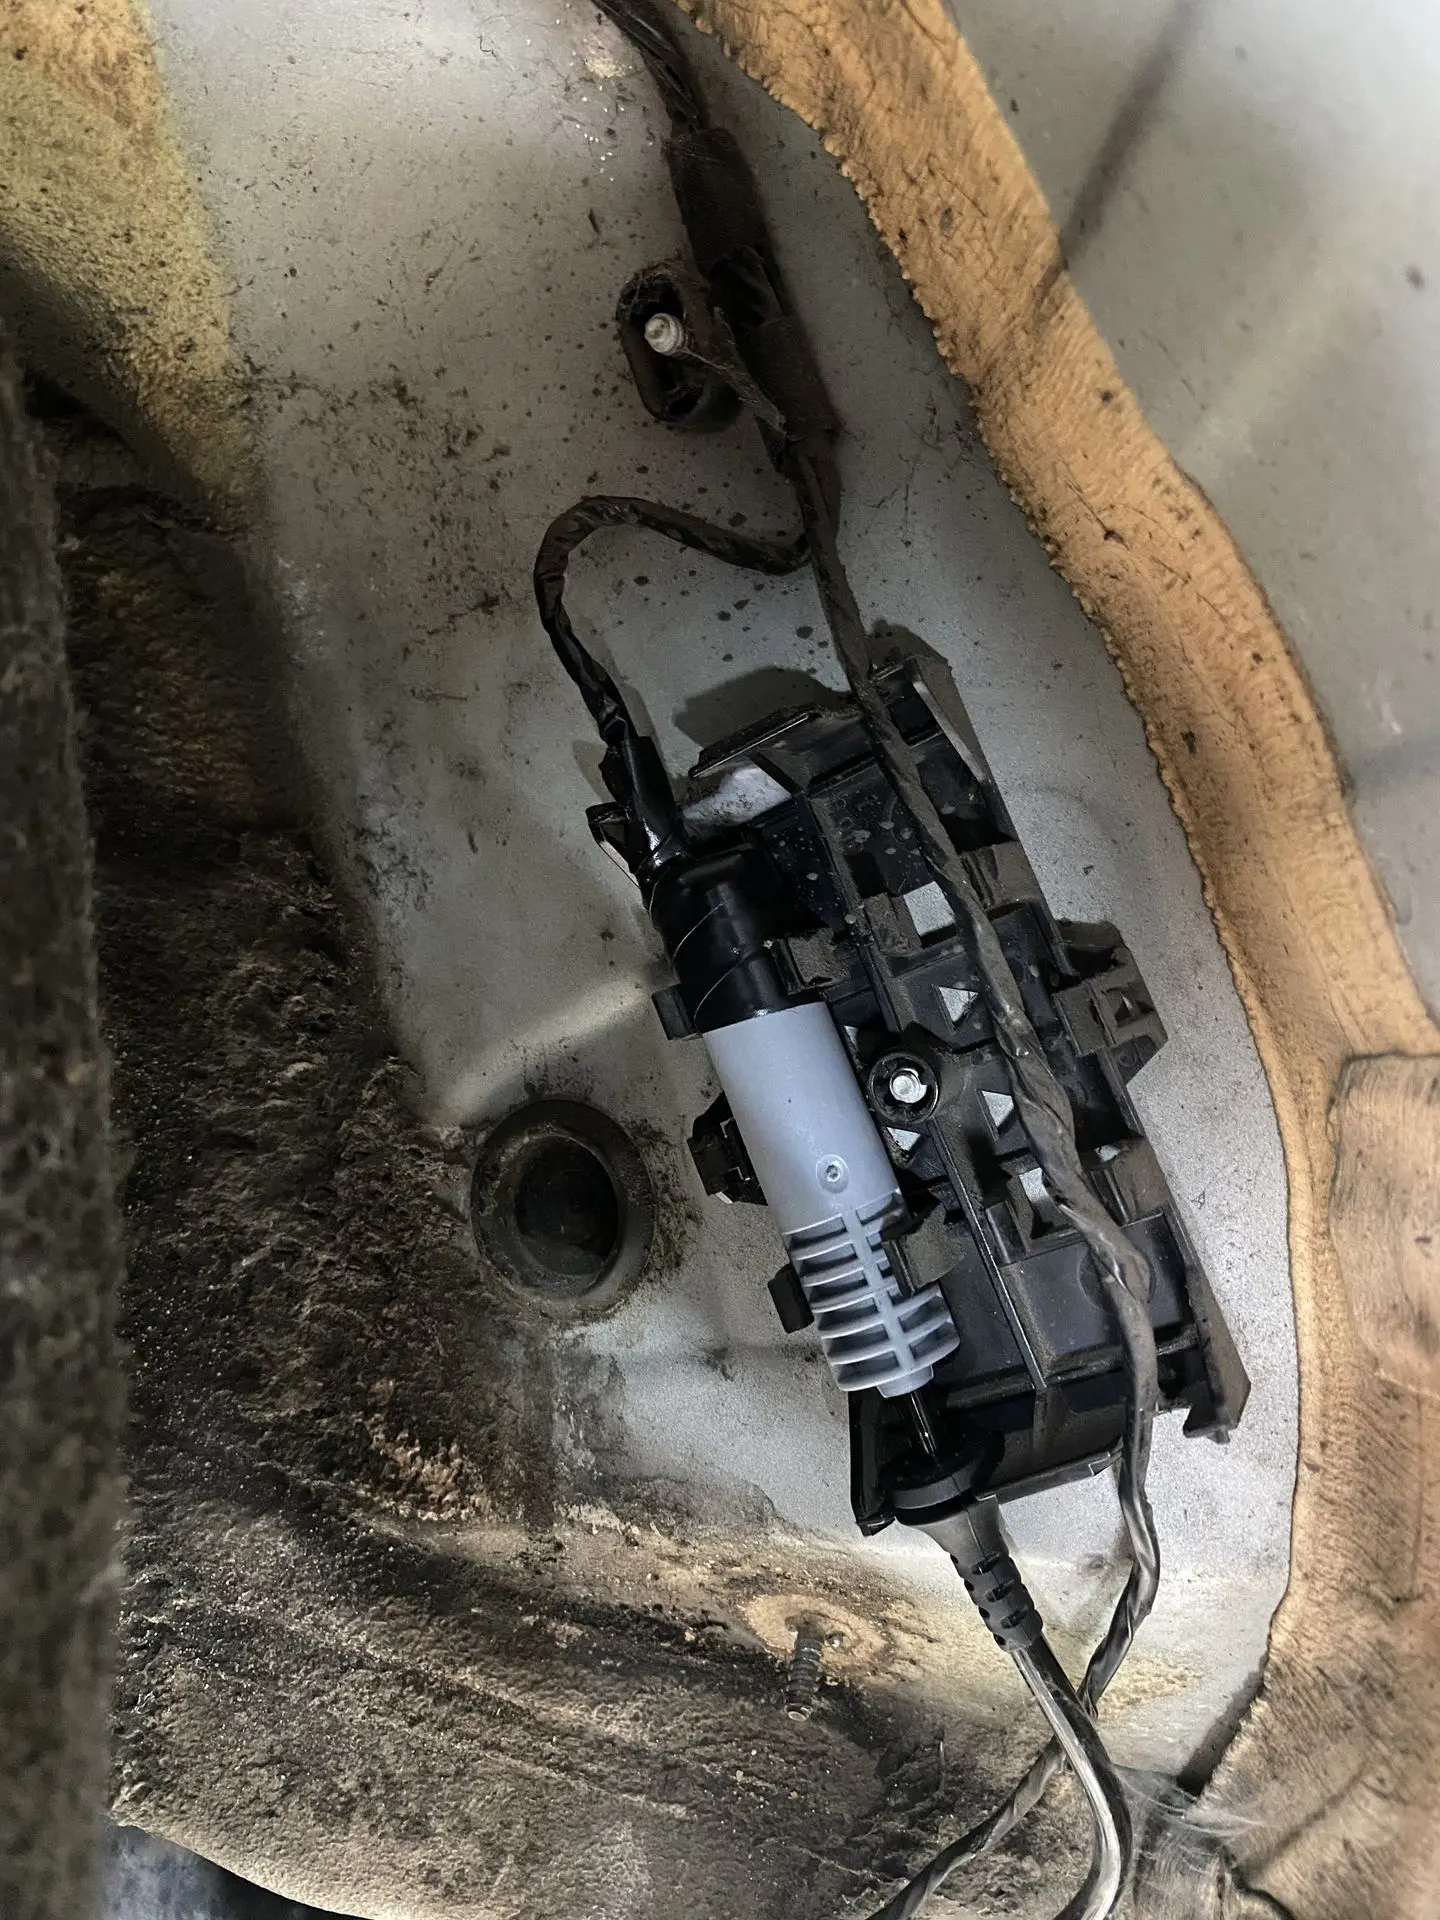
- The ride height sensor replaced.
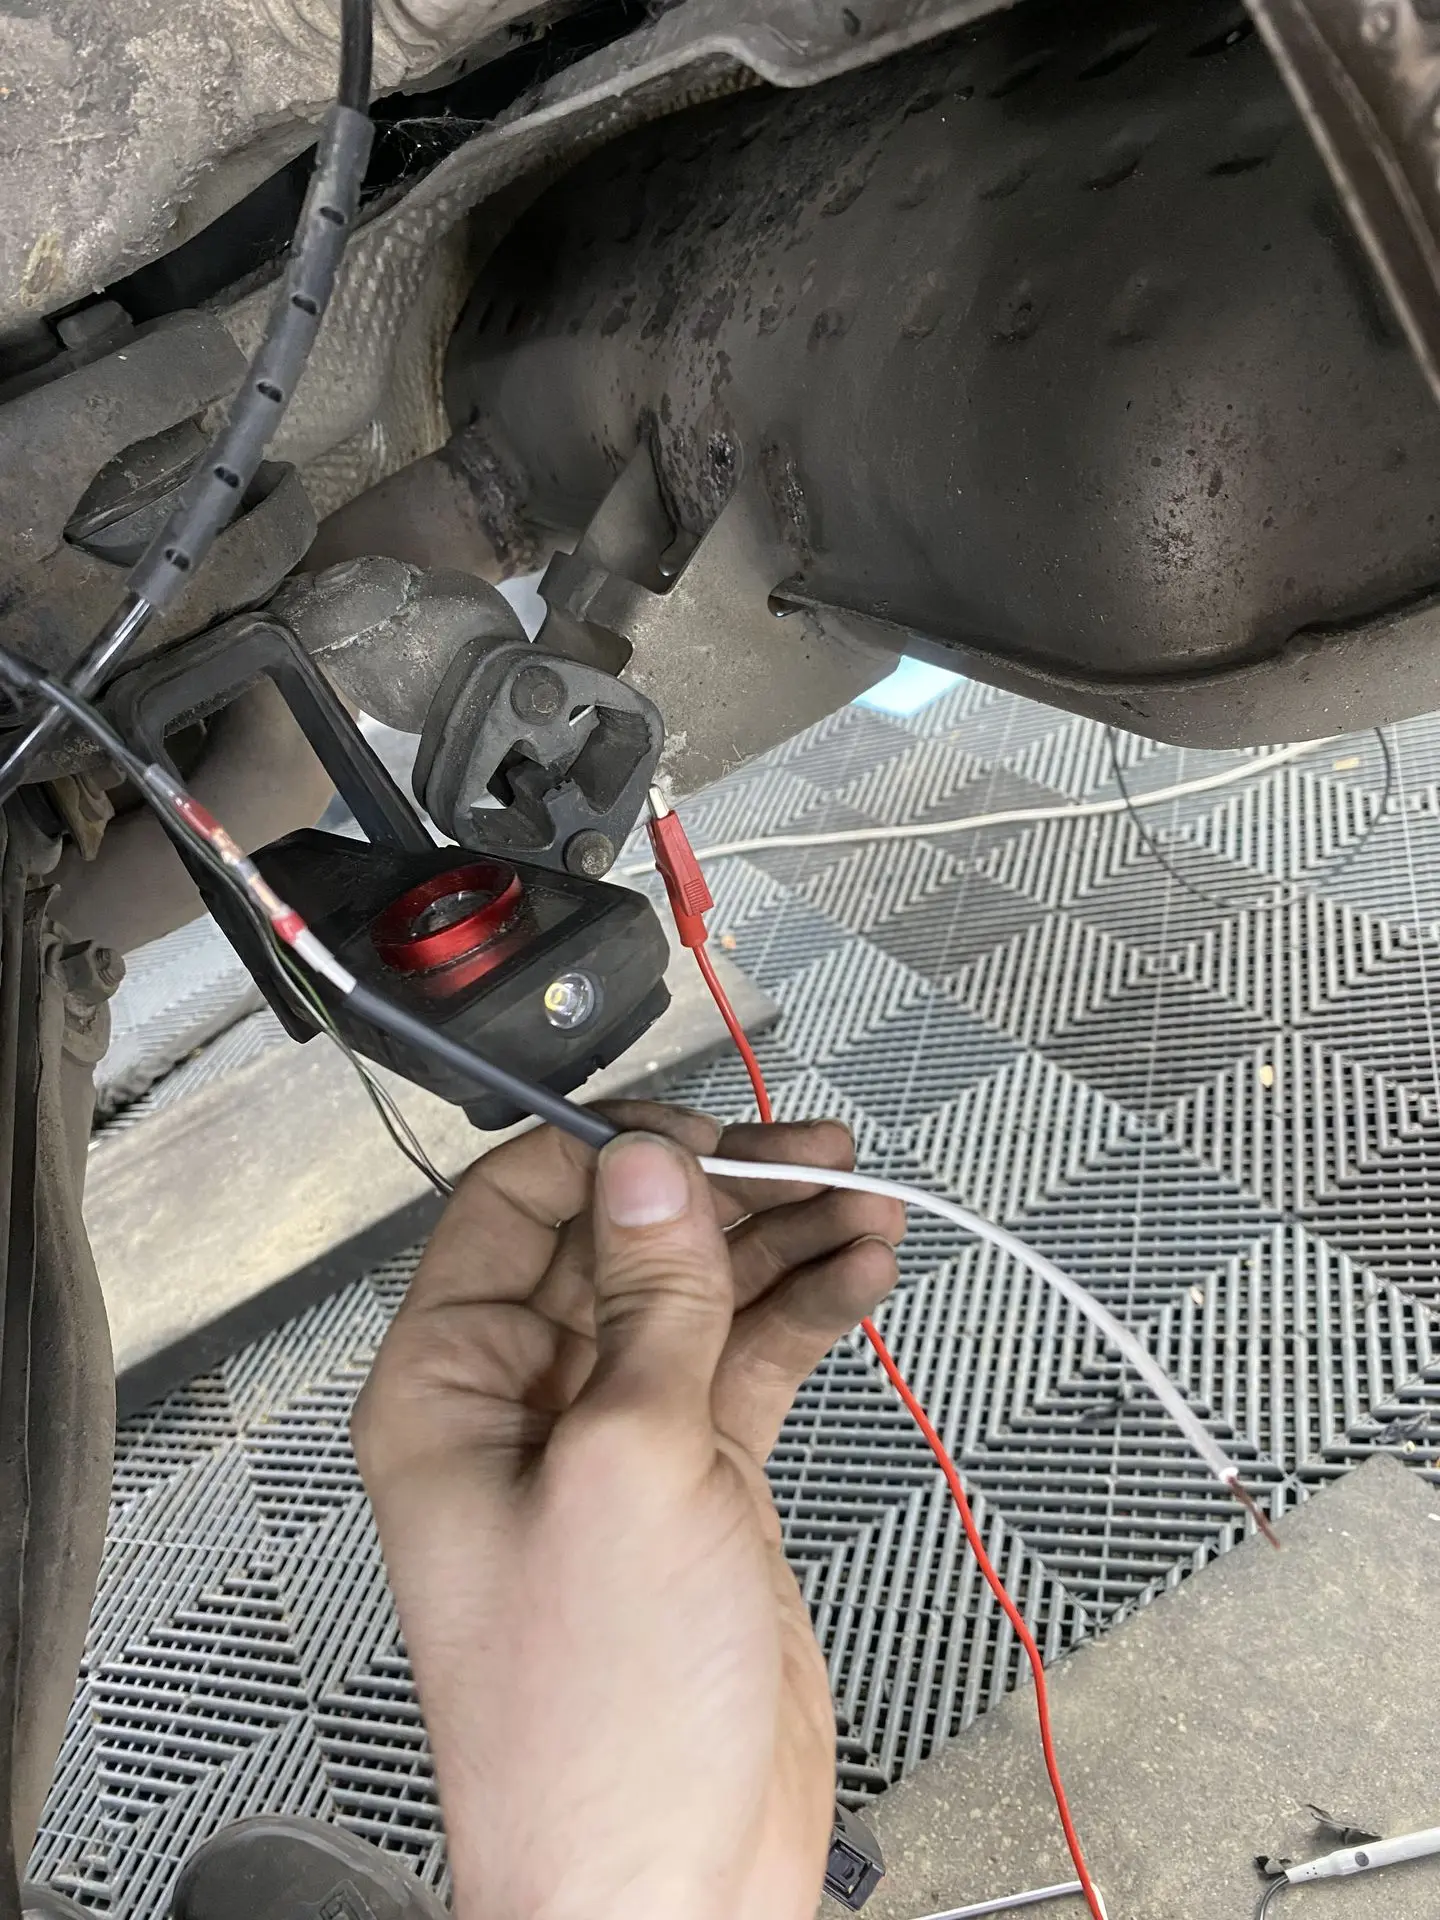
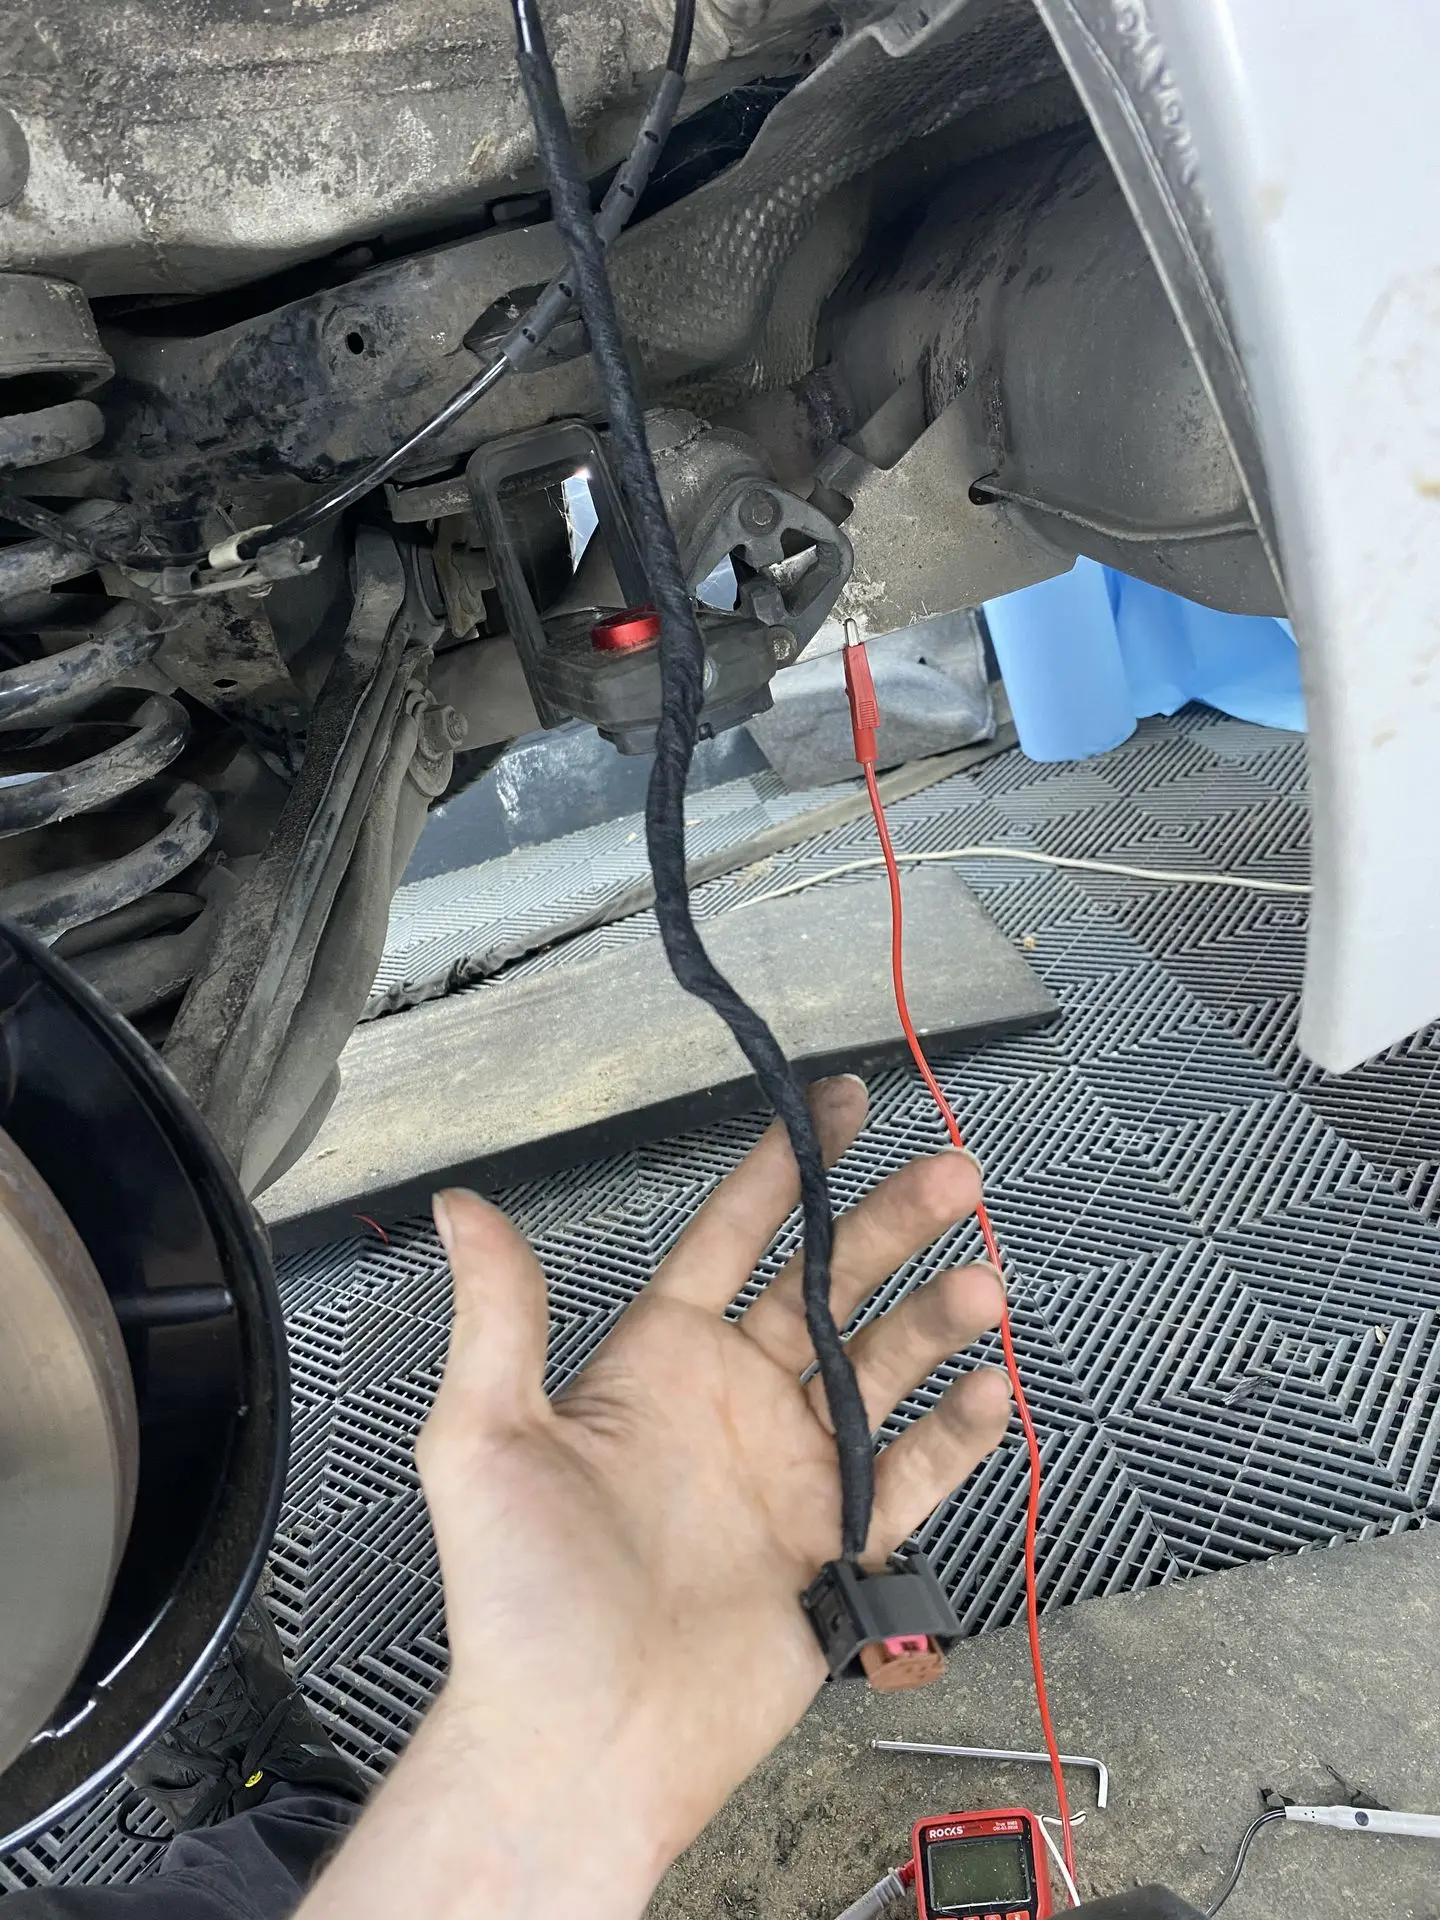
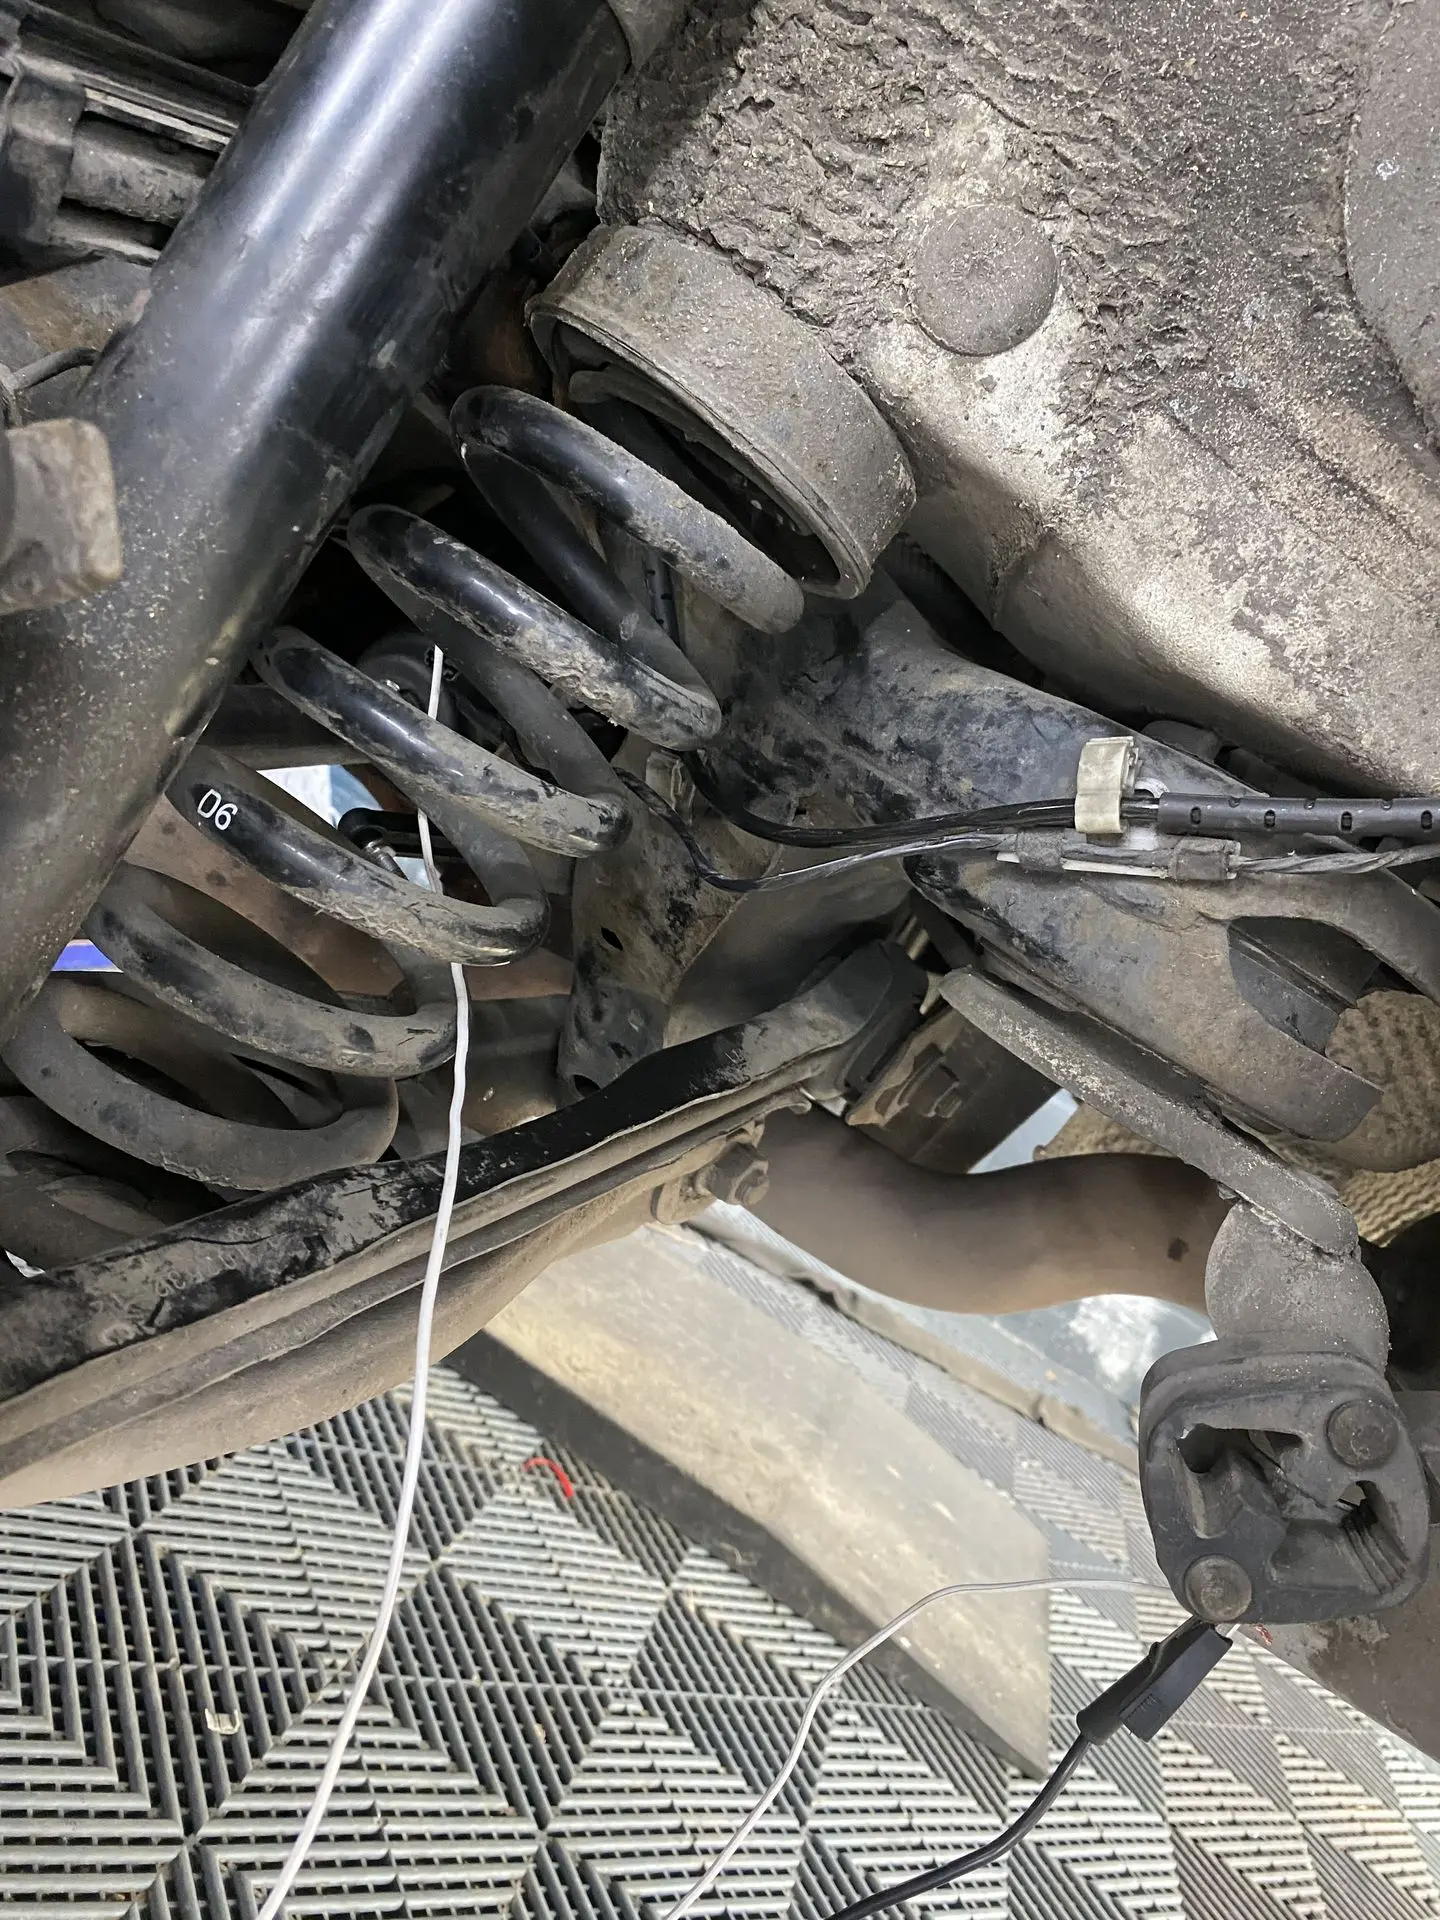
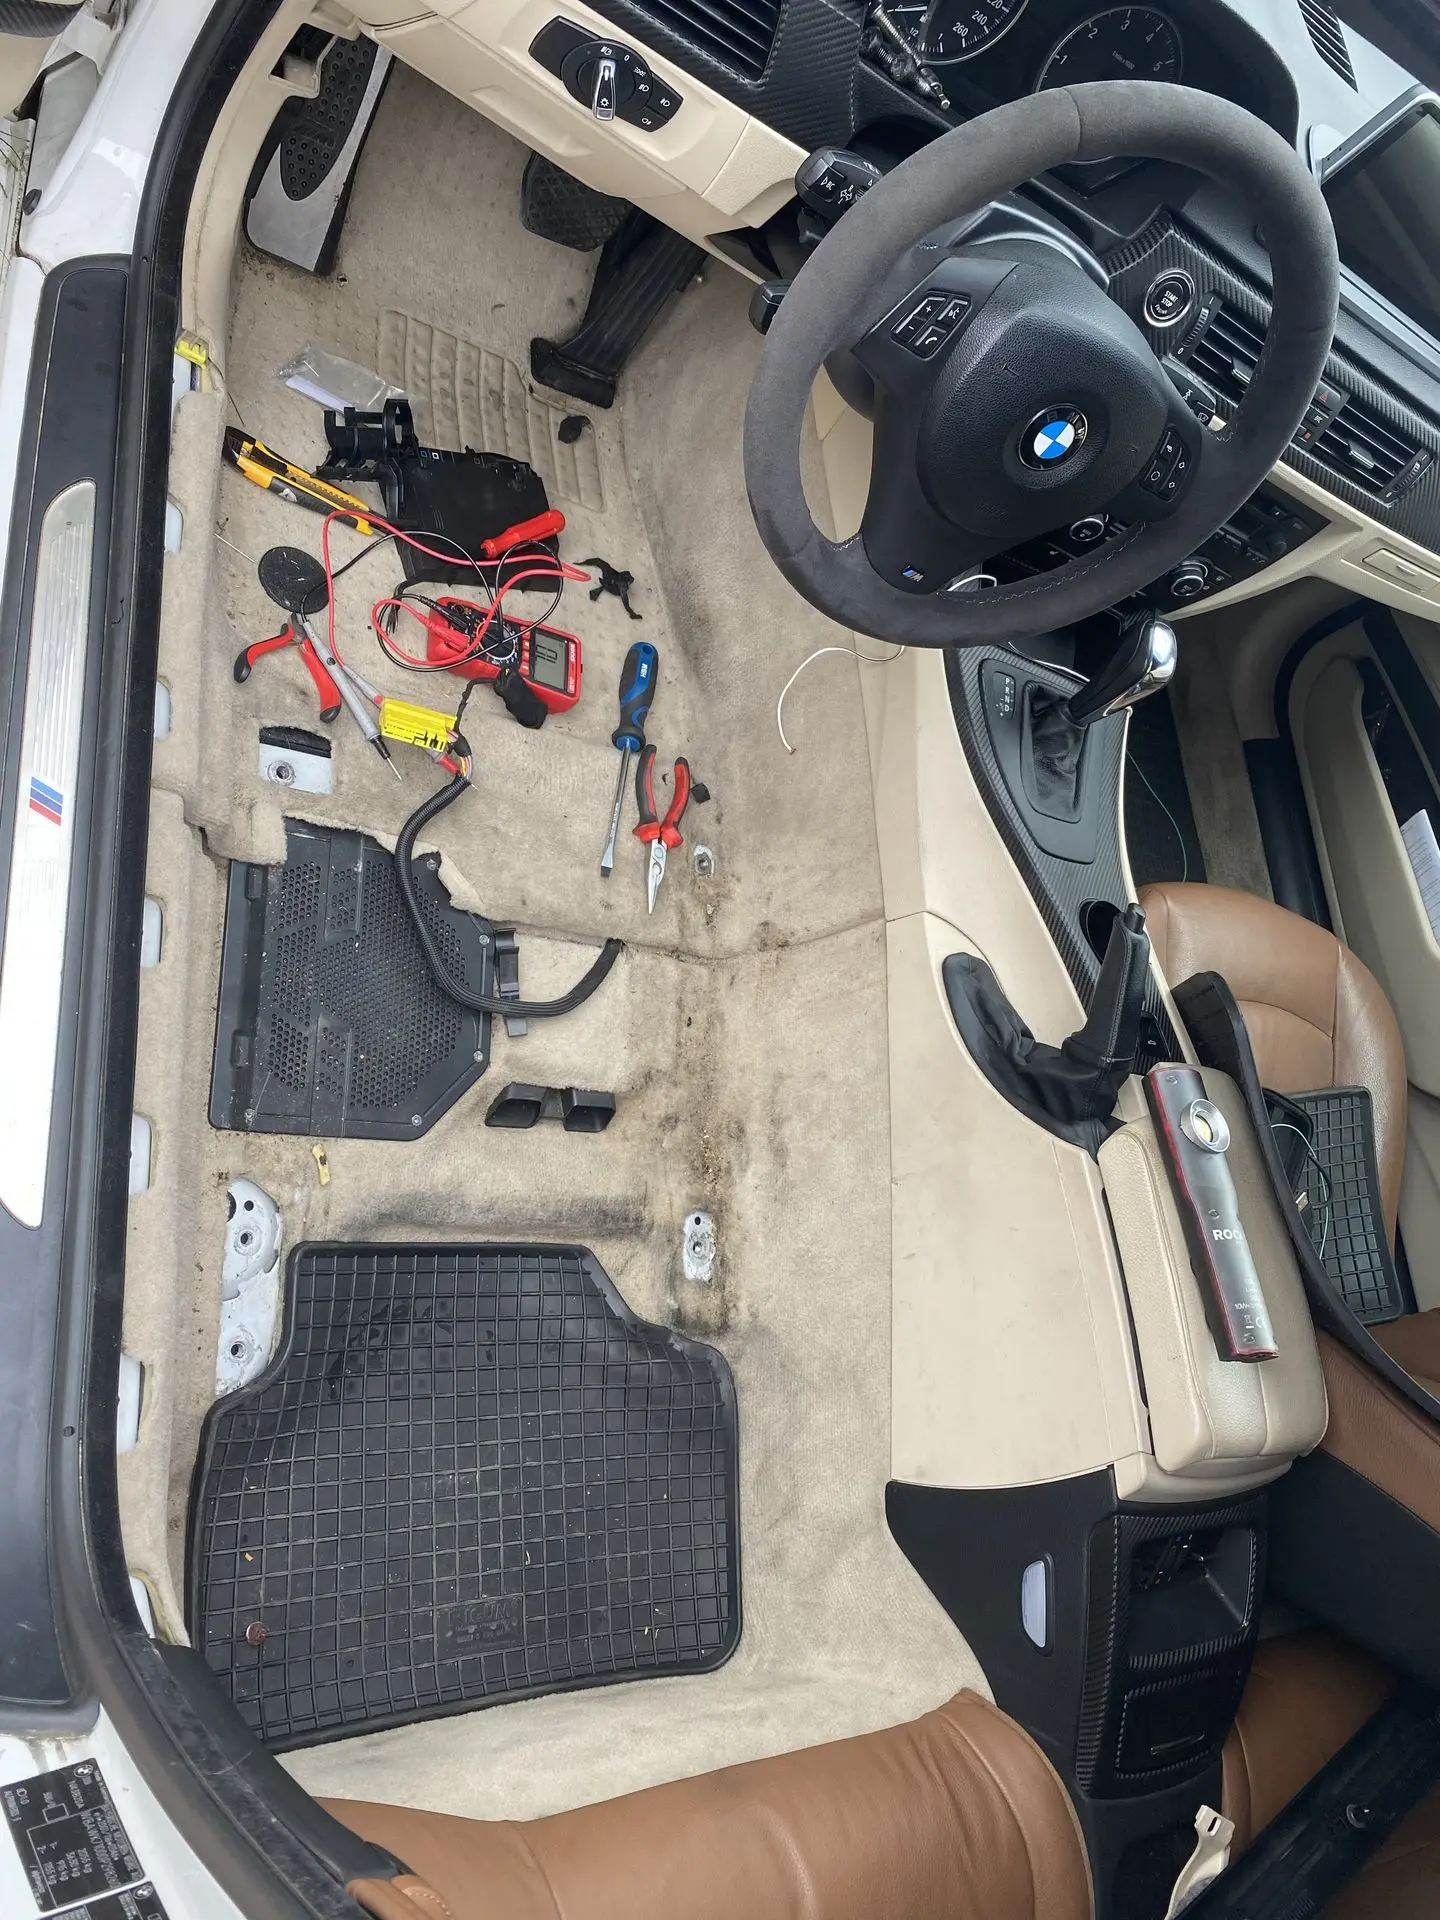
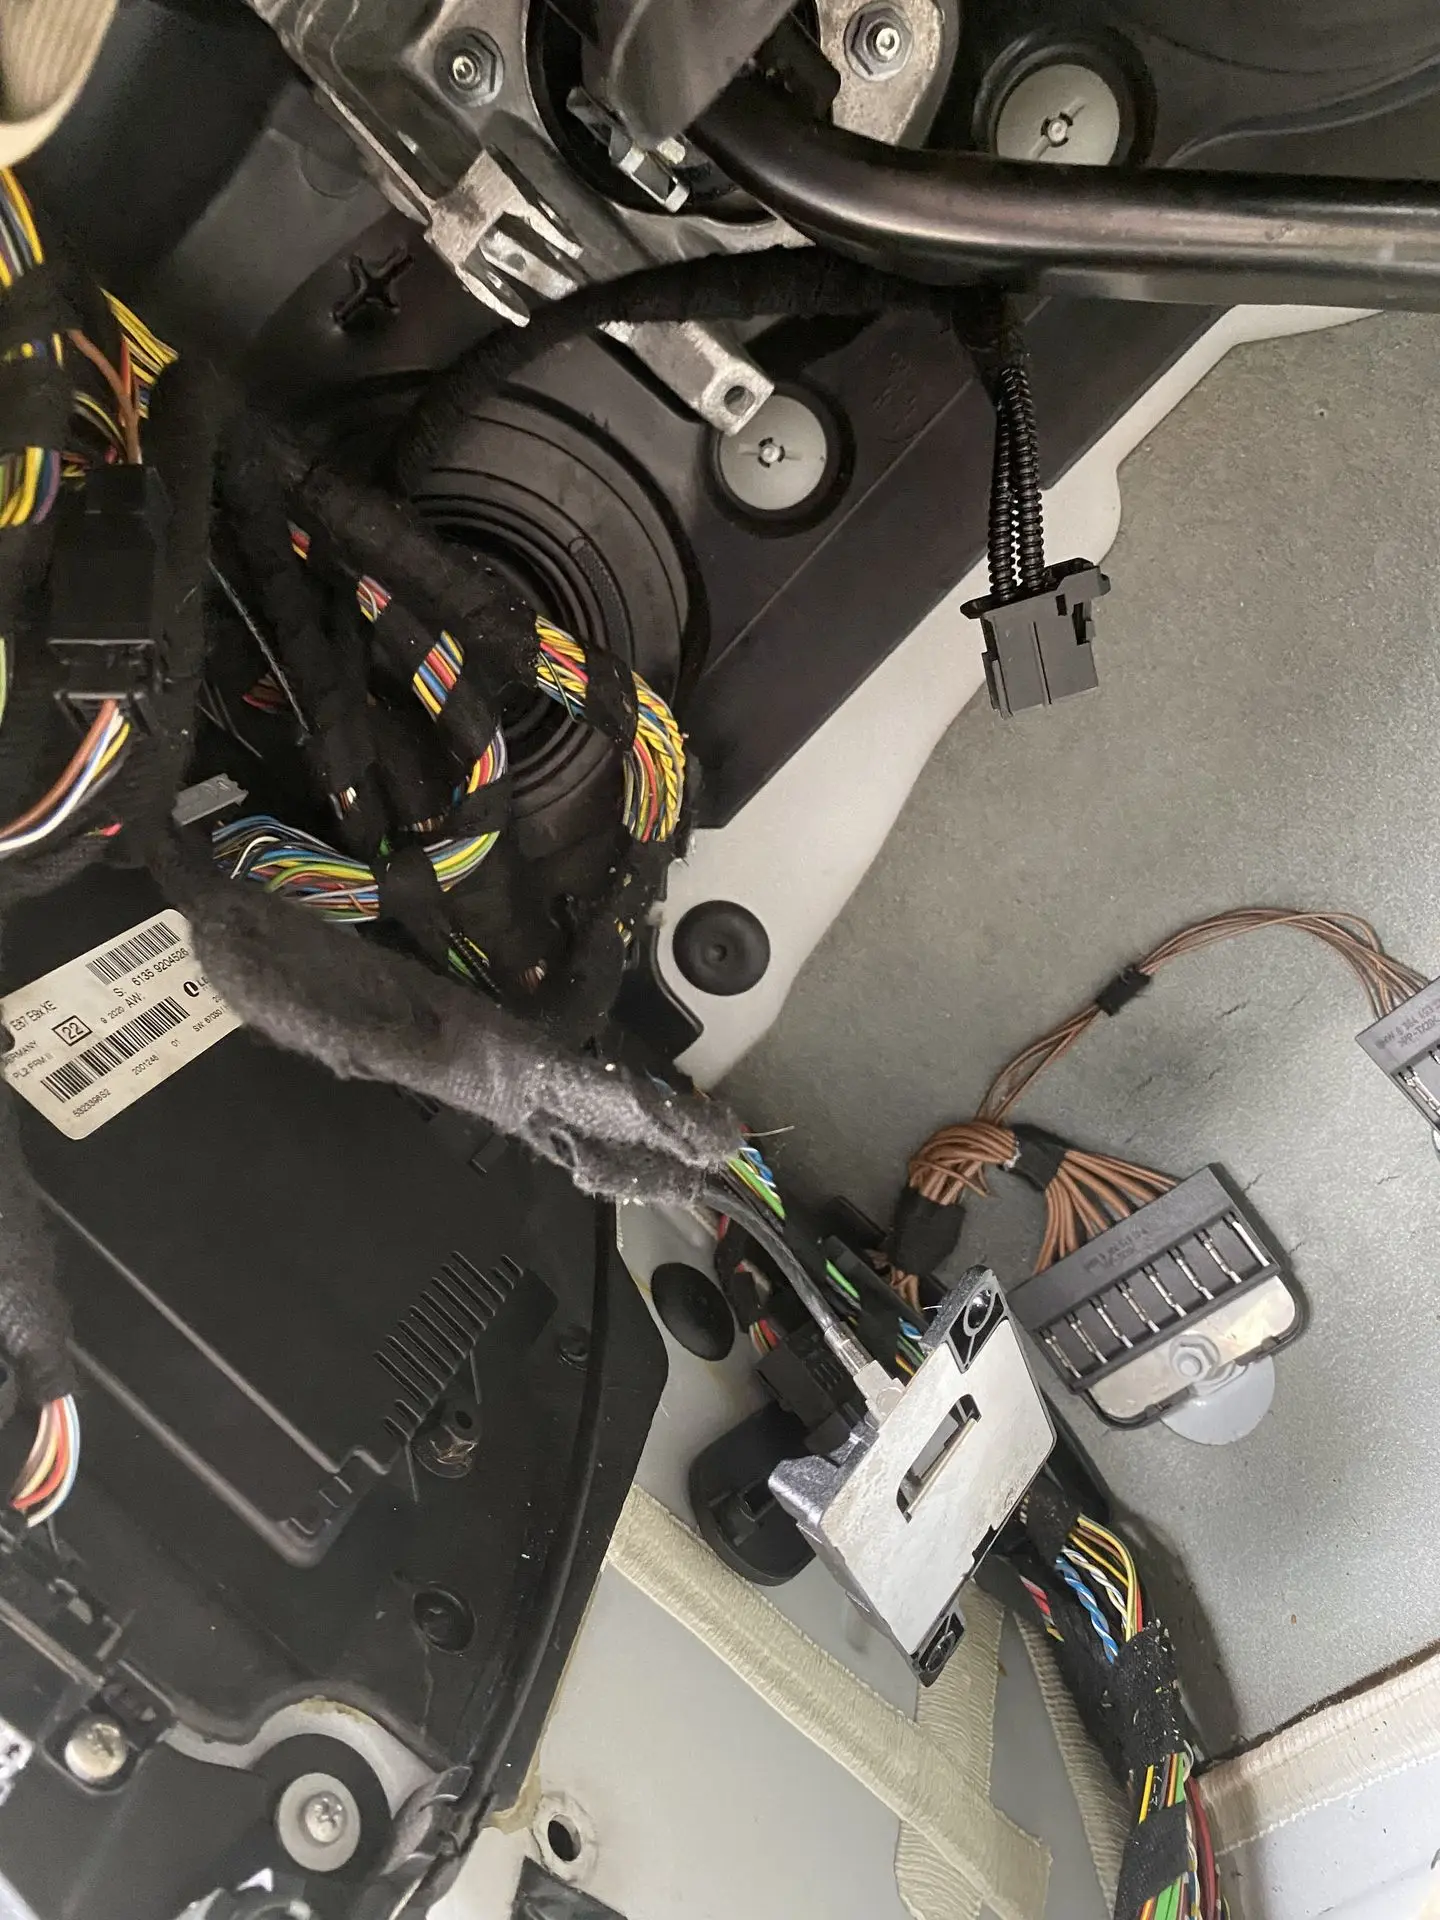
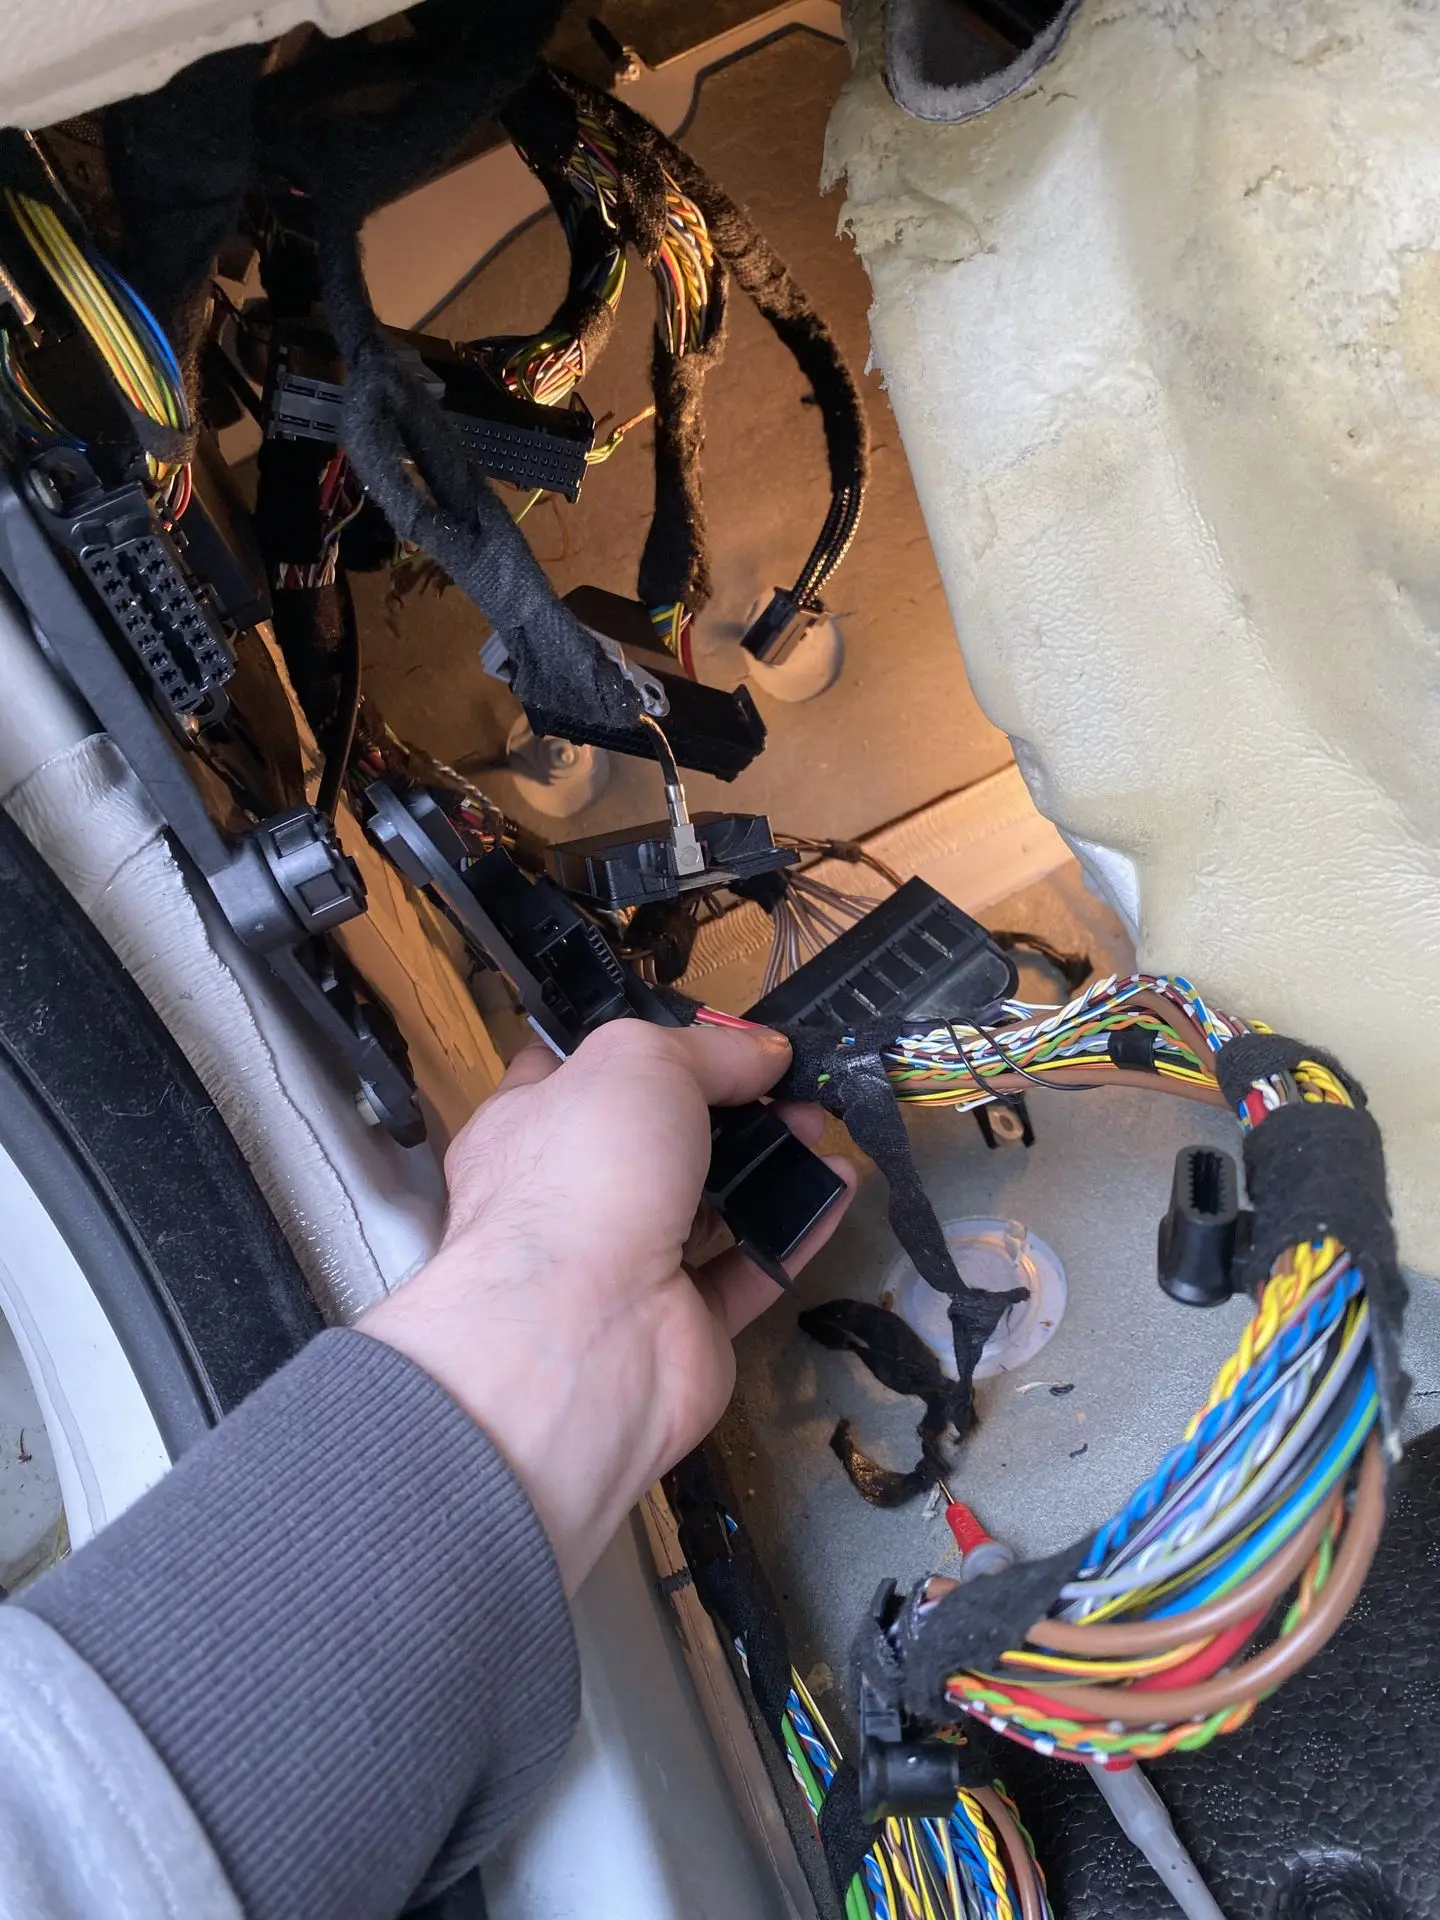
- Cables tested up to the FRM module (interior partially removed).
- Cable break repaired
- Extra ground run to be safe.
- Signal viewed in ISTA live data.
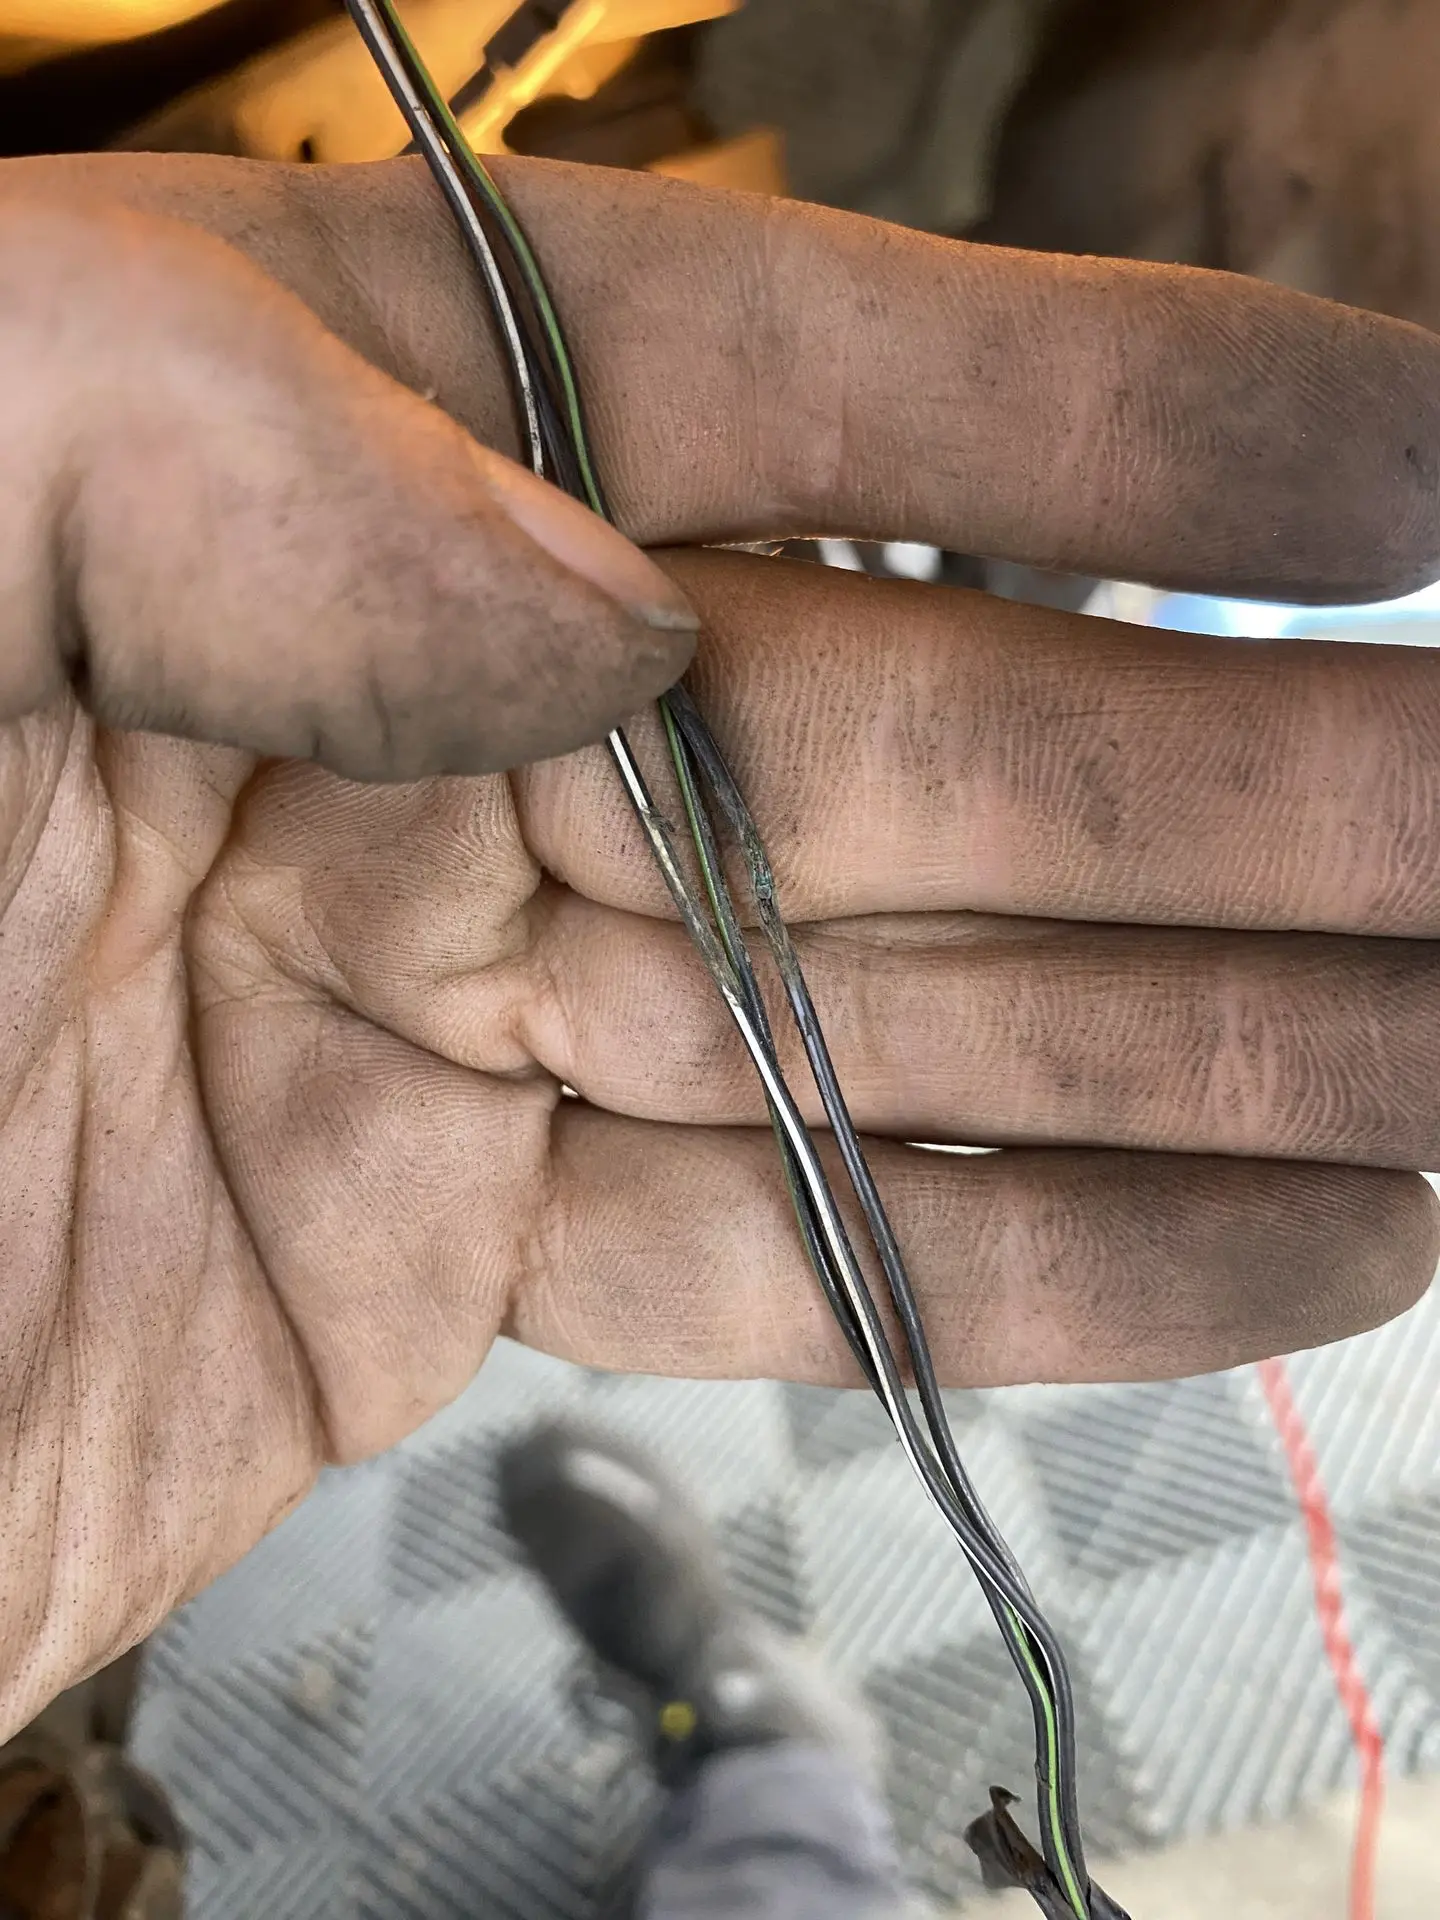
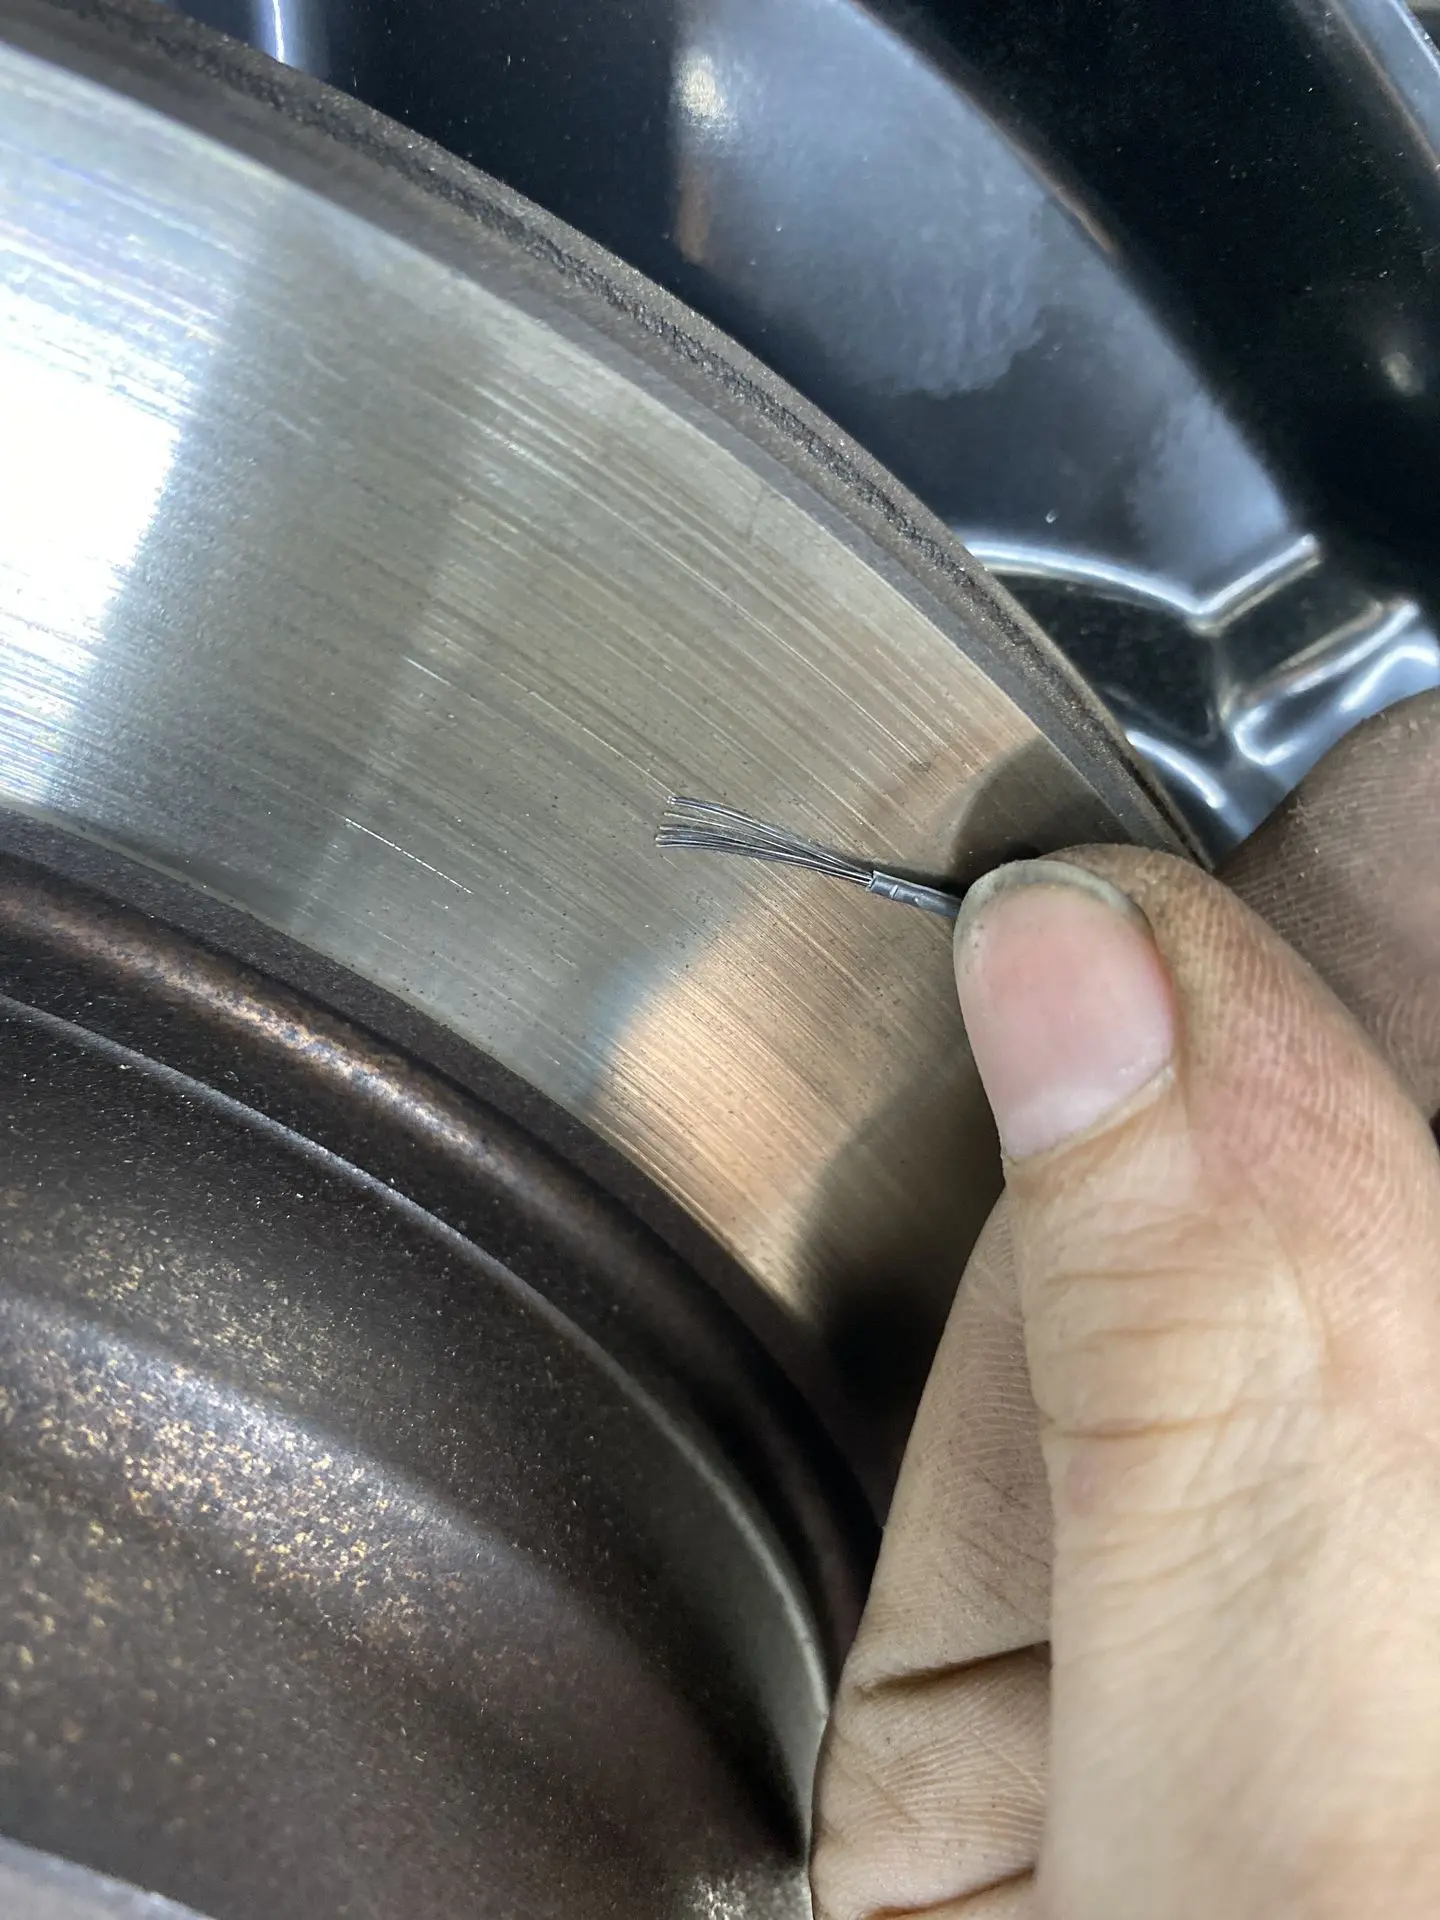
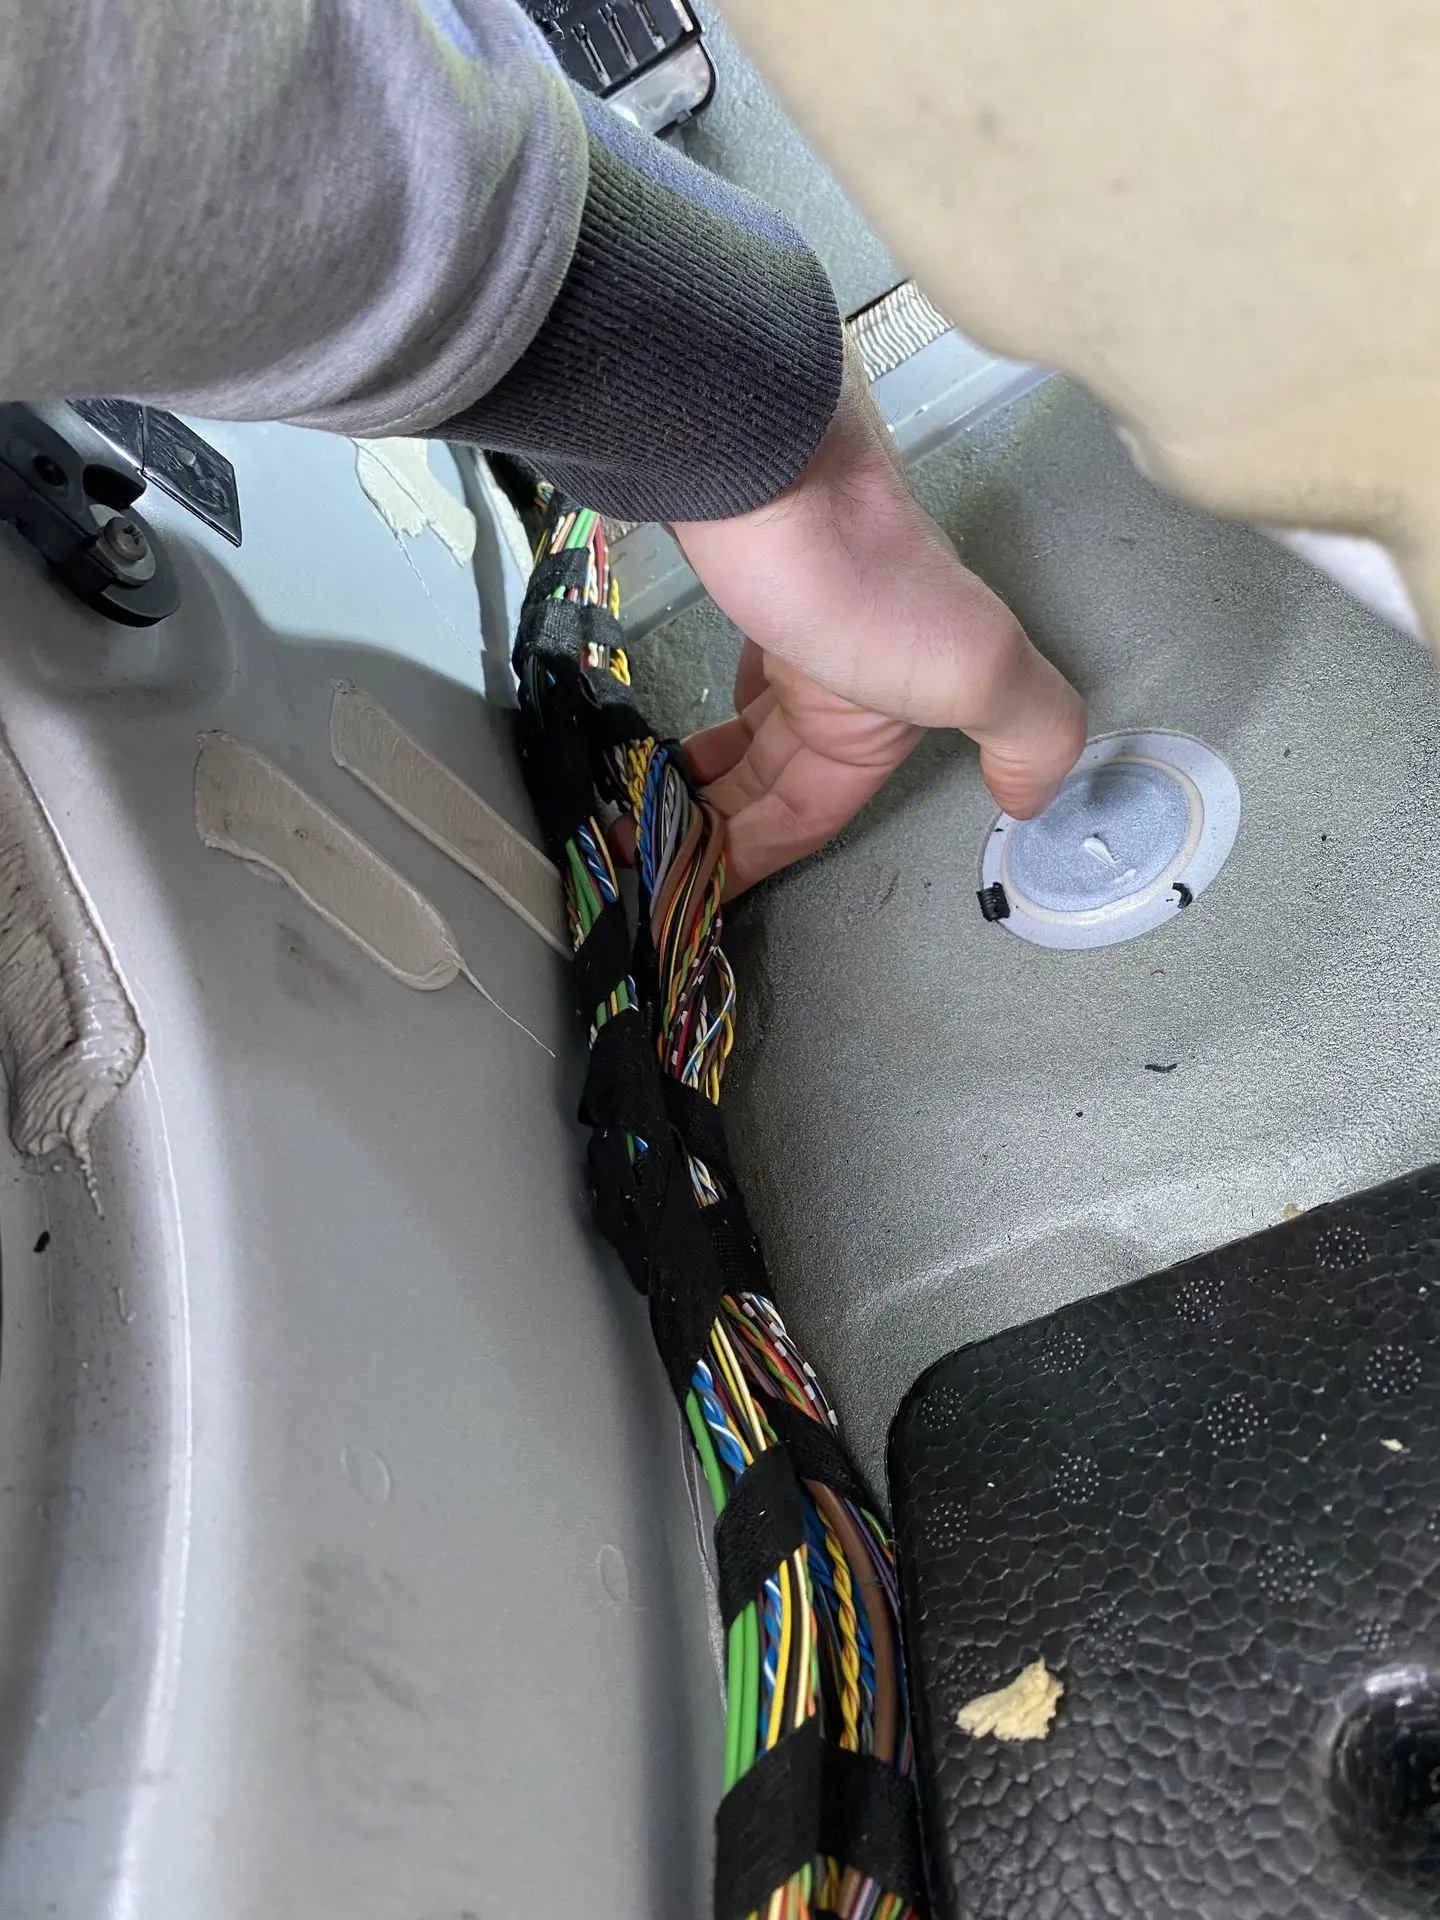
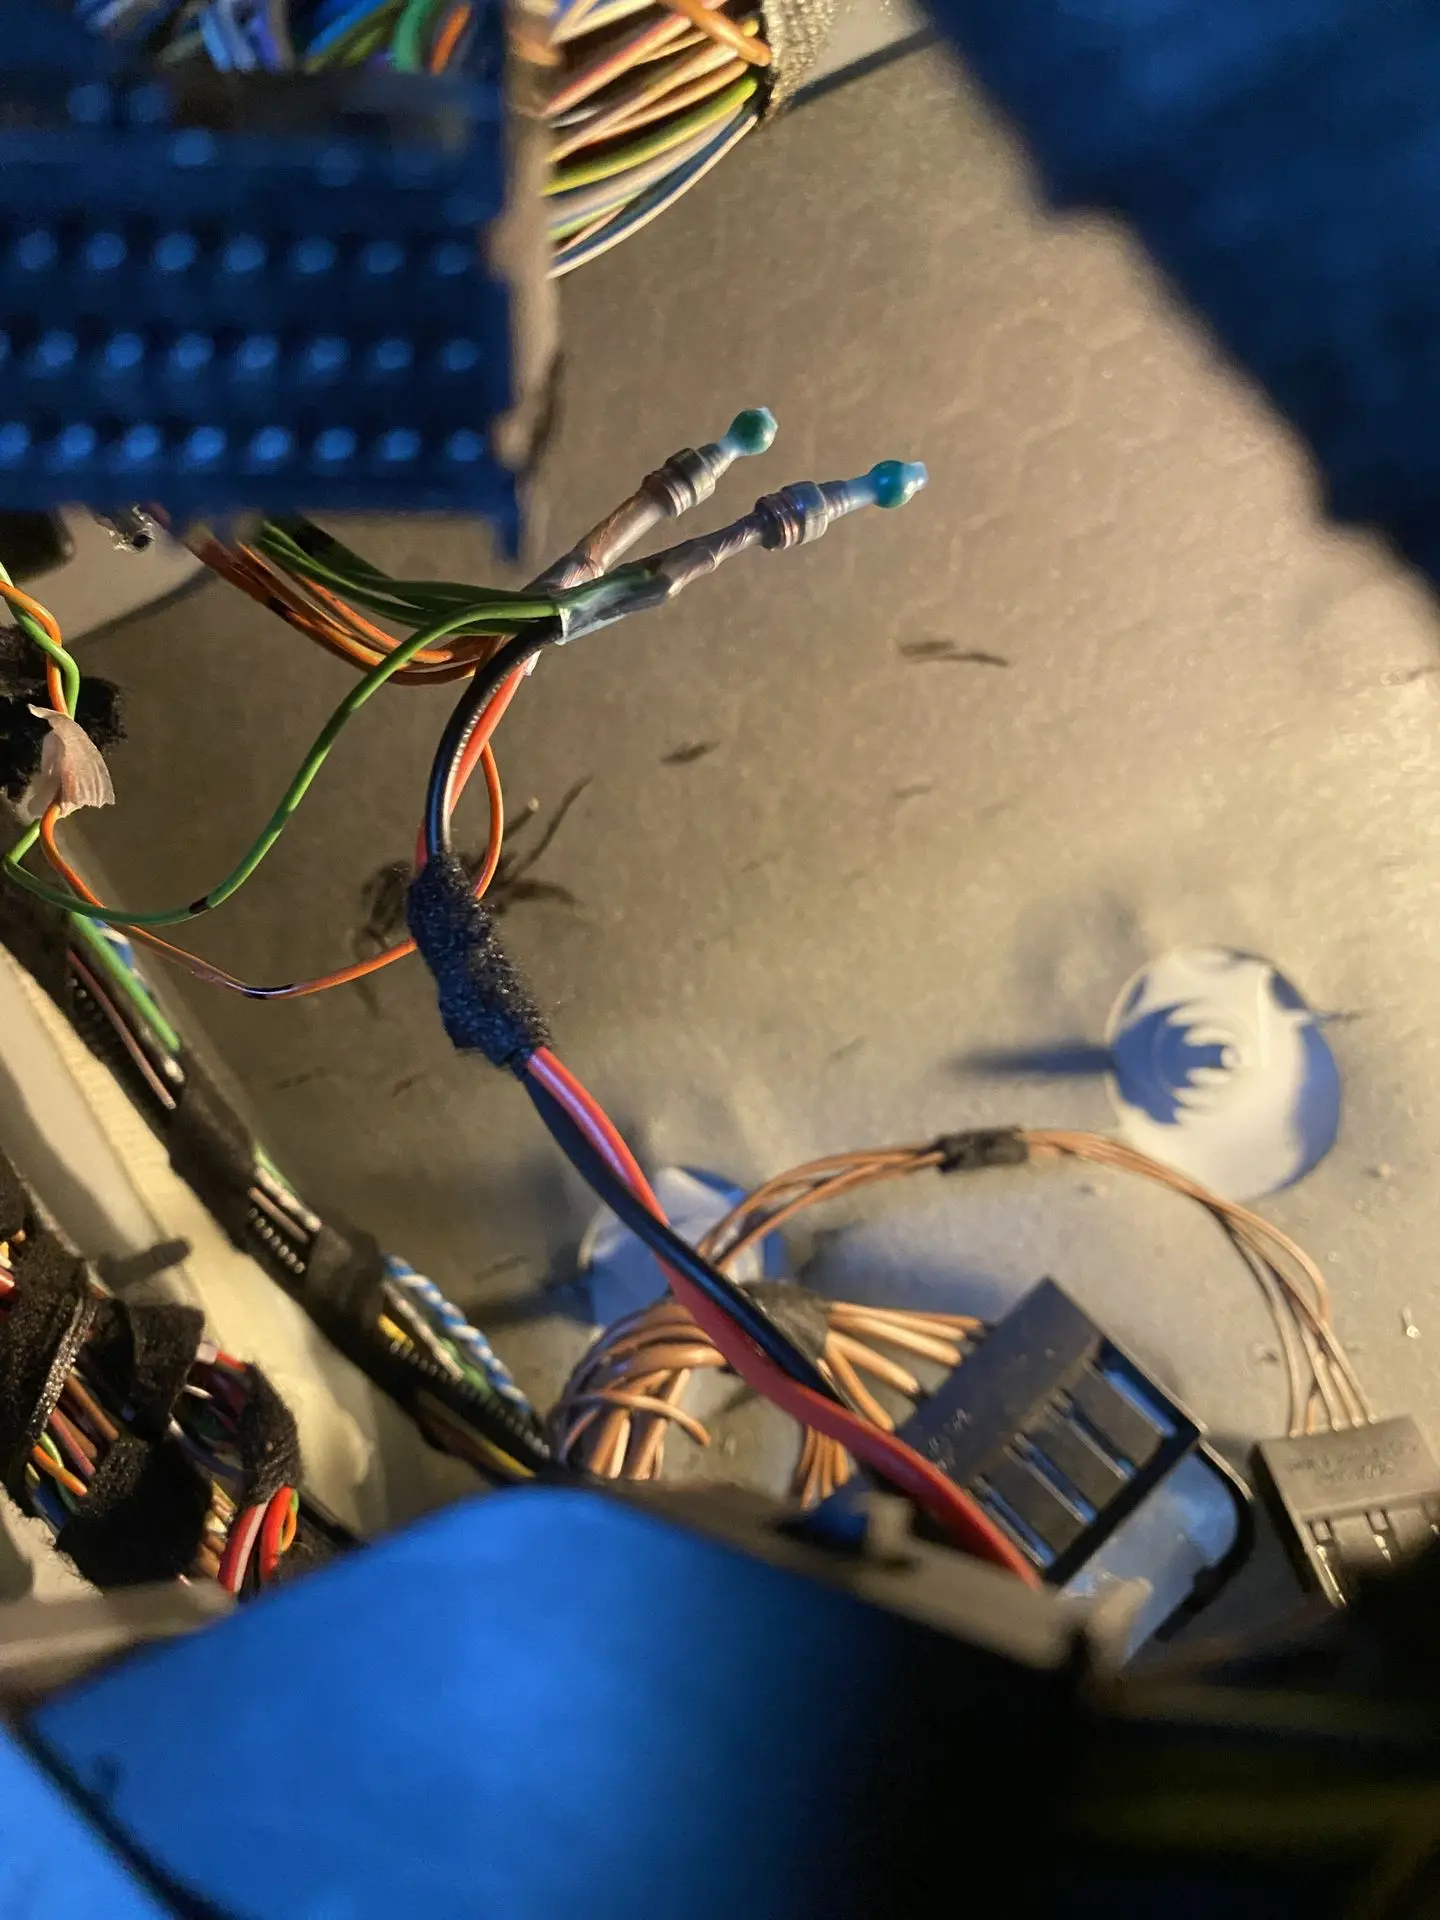
We made this diagnosis by first checking the wiring. Behind the wheel arch liner we did indeed find a small cable break. When we cut through the cable, we saw that the copper core had turned completely black there.
This is an important signal: a black core means the cable has been working with a poor connection or high resistance for some time. The contact resistance generates heat, which oxidizes the copper and makes it lose its conductive properties.
That is why it is not enough to simply re-solder or extend the cable at that spot. The oxidation “creeps” further into the wire, leaving the connection unreliable. To guarantee a lasting solution, we therefore renewed the cable almost completely, up to a point where the copper was nice and clean again.
This kind of damage can be caused by:
- Poor earlier repairs
- Water ingress in the wiring harness (as we found rear left)
- Voltage spikes due to incorrect maintenance (for example an unregistered battery or incorrect installation)
By repairing this section professionally, we make sure the fault is really solved and does not return within a few months.
📉 Diagnosis: the signal reaches the FRM, all cables and sensors are fine, but it is not processed. → faulty input in the FRM.
Since the water leak is at the rear left, where the ABS sensor was also faulty, it is not inconceivable that something happened here that led to a faulty FRM input. The brake backing plate had also been ground down, so there is no telling what all happened. But it is clear that the car was not looked after and was not worked on with the necessary finesse.

Step 5: Cooling system
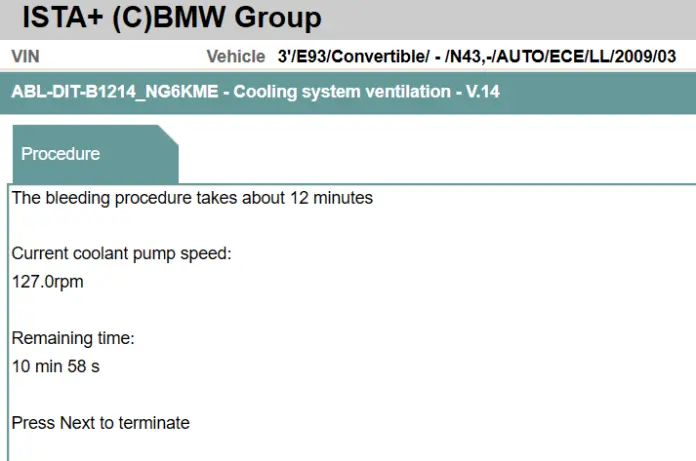
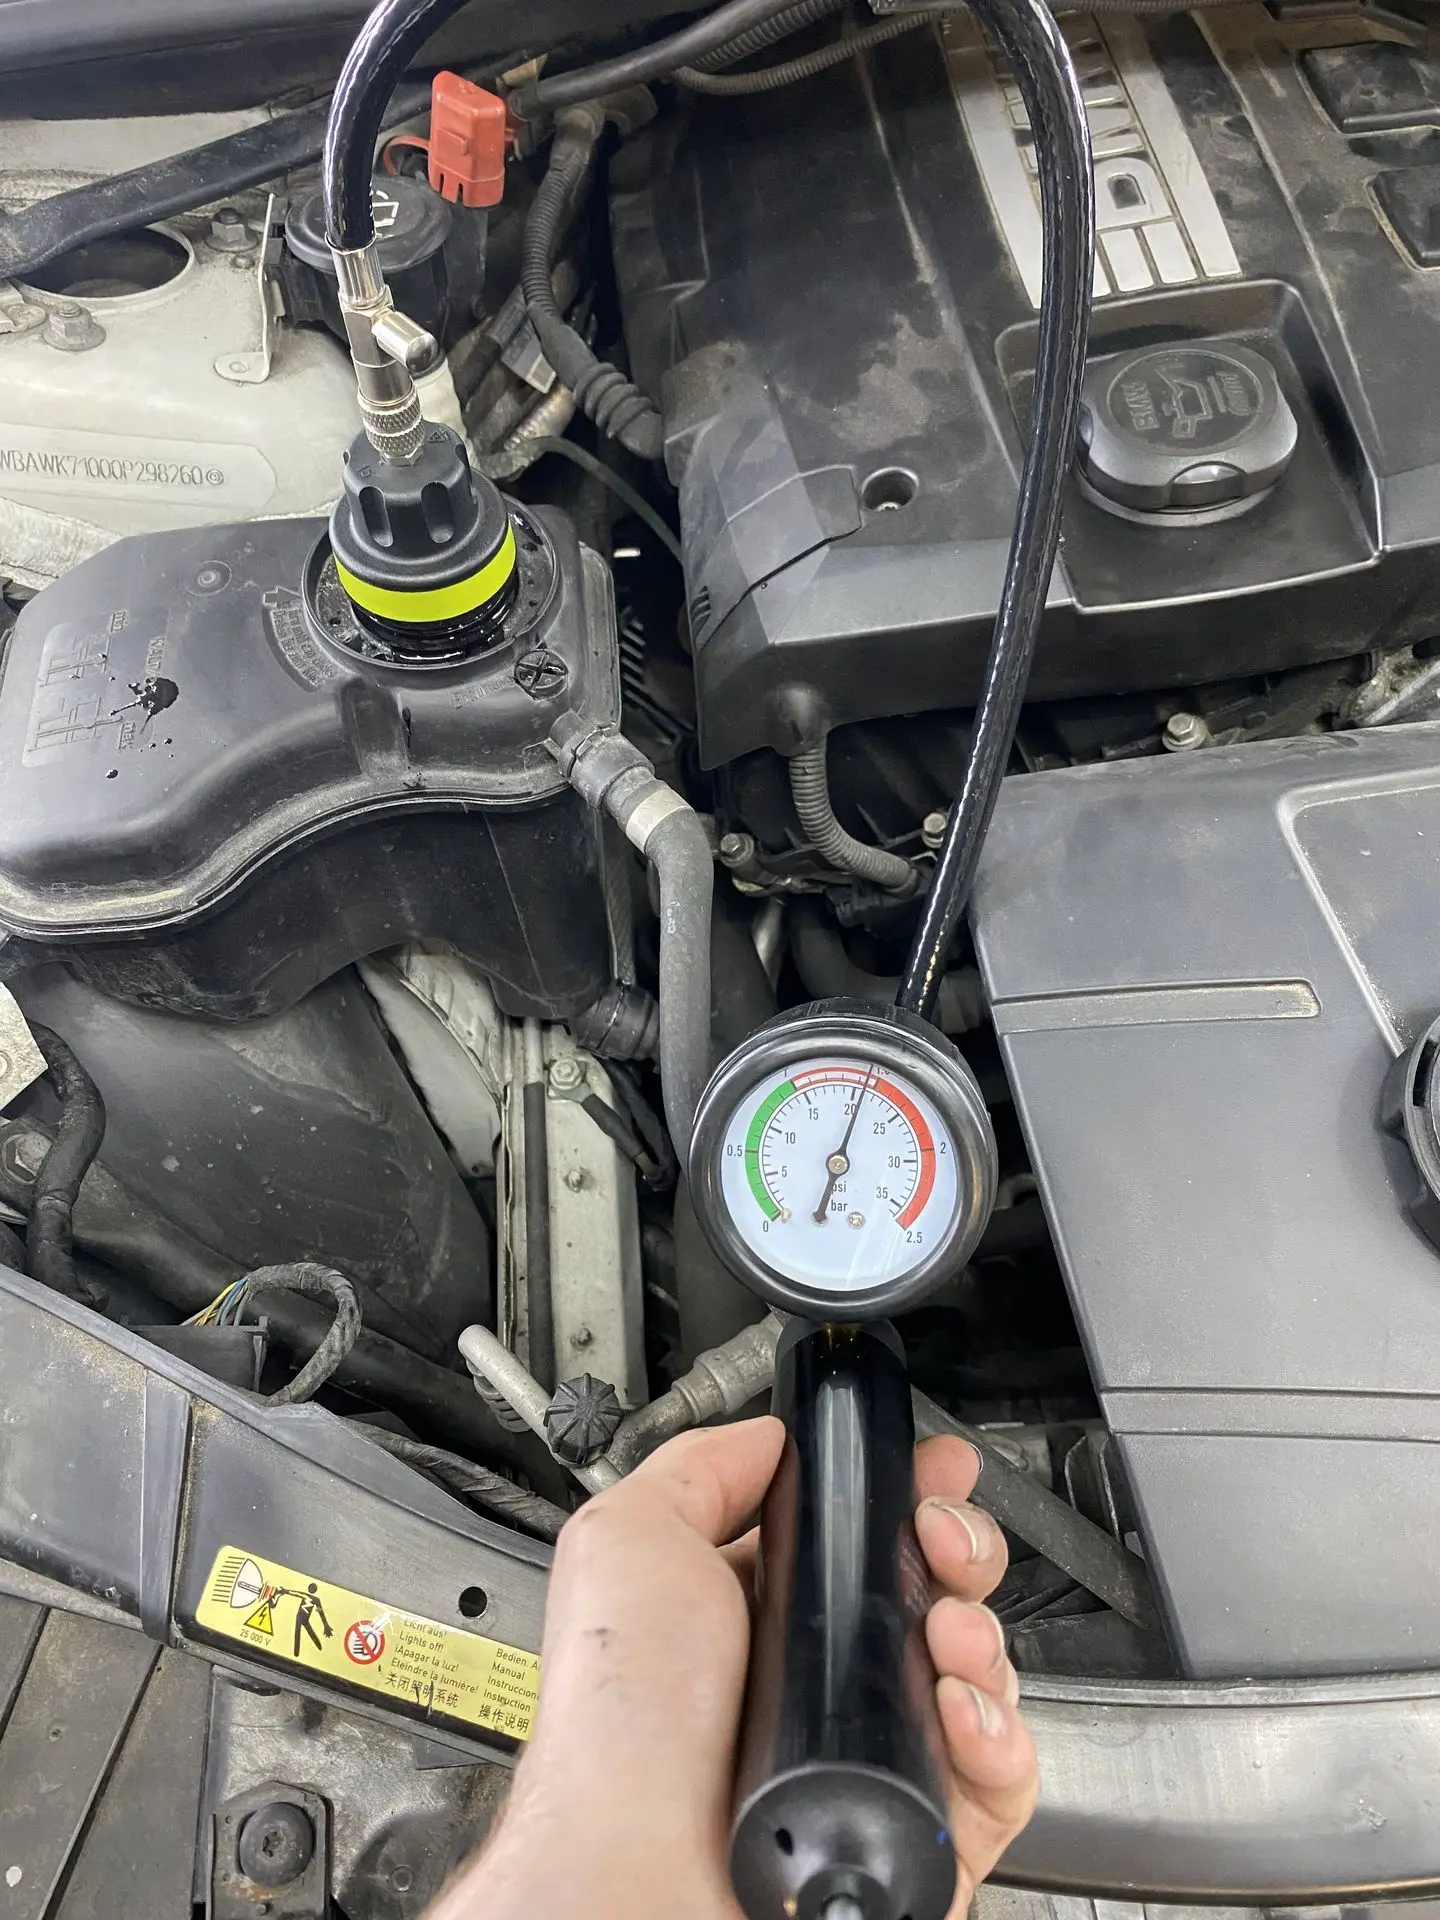
During a test drive we heard the engine ‘gurgling’. During the pressure test and bleeding, the thermostat turned out to be faulty. This also matches the thermostat fault code that was already present.
When swapping the alternator we also replace the thermostat.
That way we prevent the customer from breaking down or overheating soon.
Step 6: Fuel sensor and catalytic converter fault
The low fuel pressure sensor has been replaced. Yet when starting we still notice a slight smell of gasoline.
Possible causes:
- Car has been standing for a long time → evaporated or stale fuel.
- Cold start → catalytic converter not yet active.
- Fault code catalytic converter efficiency too low (0030E9) → the cat no longer fully converts unburnt fuel.
📉 Likely connection: incorrect values due to faulty sensor → incorrect mixture → catalytic converter overloaded → persistent fault code + smell.
Once the car is back in full-time use and has been through the vehicle inspection, we will know whether anything else needs to be replaced here or not. For now there is no reason to look further and we are better off limiting costs for our customer, who has already had to have a lot of repairs carried out to get the car on the road.

Step 7: Airbag faults and interior
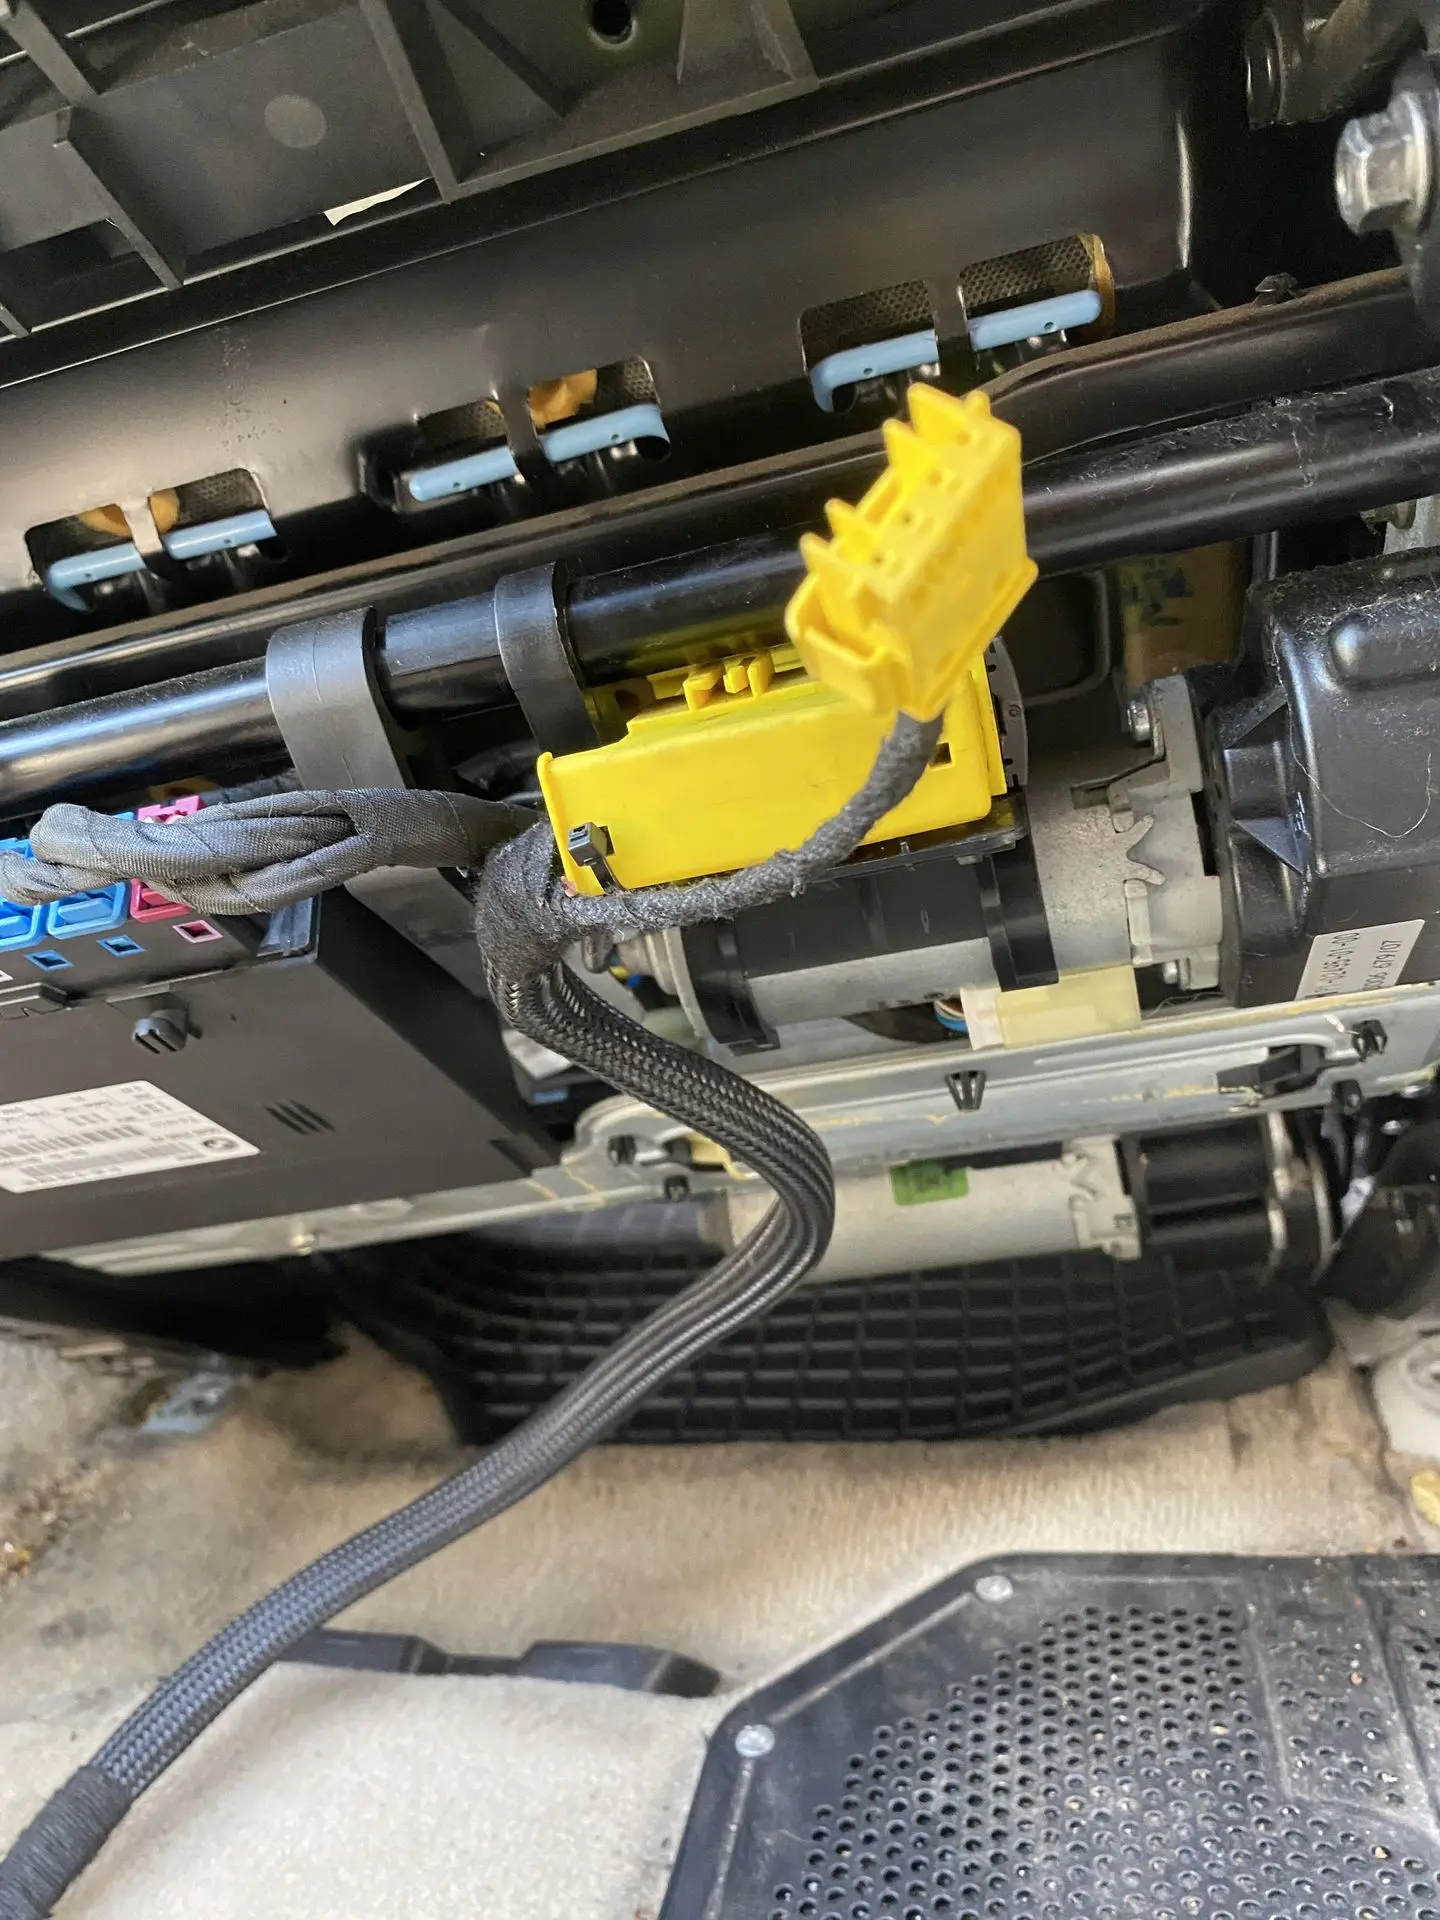
The fault codes in ACSM all came from the non-original seats. Originally the car should have had beige sport seats with memory and heating. Now it had brown standard seats, with loose airbag connectors.
➡️ So the airbags were not working → safety risk.
We looked for the right used seats on the internet and at the breaker's yard, but unfortunately they were not available anywhere. As a result we presented 4 options to the customer.
- We wait until the right seats are available and then we can simply swap the seats, maybe do a little coding or programming in the modules and done. Pretty much plug and play.
- We buy new seats from the dealer. But that costs several thousand euros.
- We buy the right used seats, just in the wrong color. For example black sport seats, electrically adjustable, memory and seat heating. But then we would have to have the seats reupholstered in the right color. So that would take a while too, and would also cost some money. But less than new seats from the dealer, of course.
- We use the seats that are in it now and adapt the wiring, modules, connectors and so on so that they work fully like the original seats. For this we would have to remove the seats to find out exactly which seats are in it now and which modules are fitted, and then compare the wiring diagrams with each other. After that we may have to replace the modules, or reprogram and recode them for the standard seats. Time-intensive, but this could be done in a short period and then the customer has the certainty of being able to drive the car soon. The customer chose this option, so we are getting to work converting the car and the seats so that they work as they should.
The customer chose option 4. We will make these seats work!
Step 8: CAN bus and seat module – from wrong signal to correct communication
After solving all the other faults, one stubborn problem remained: the driver's seat module still did not respond and the airbag light stayed on.
We had already confirmed that there was good power supply and ground. CAN communication was partly present up to the module, and the cables themselves had tested correctly. Yet no response whatsoever came back in ISTA or NCS Expert.
In-depth measurement and CAN analysis
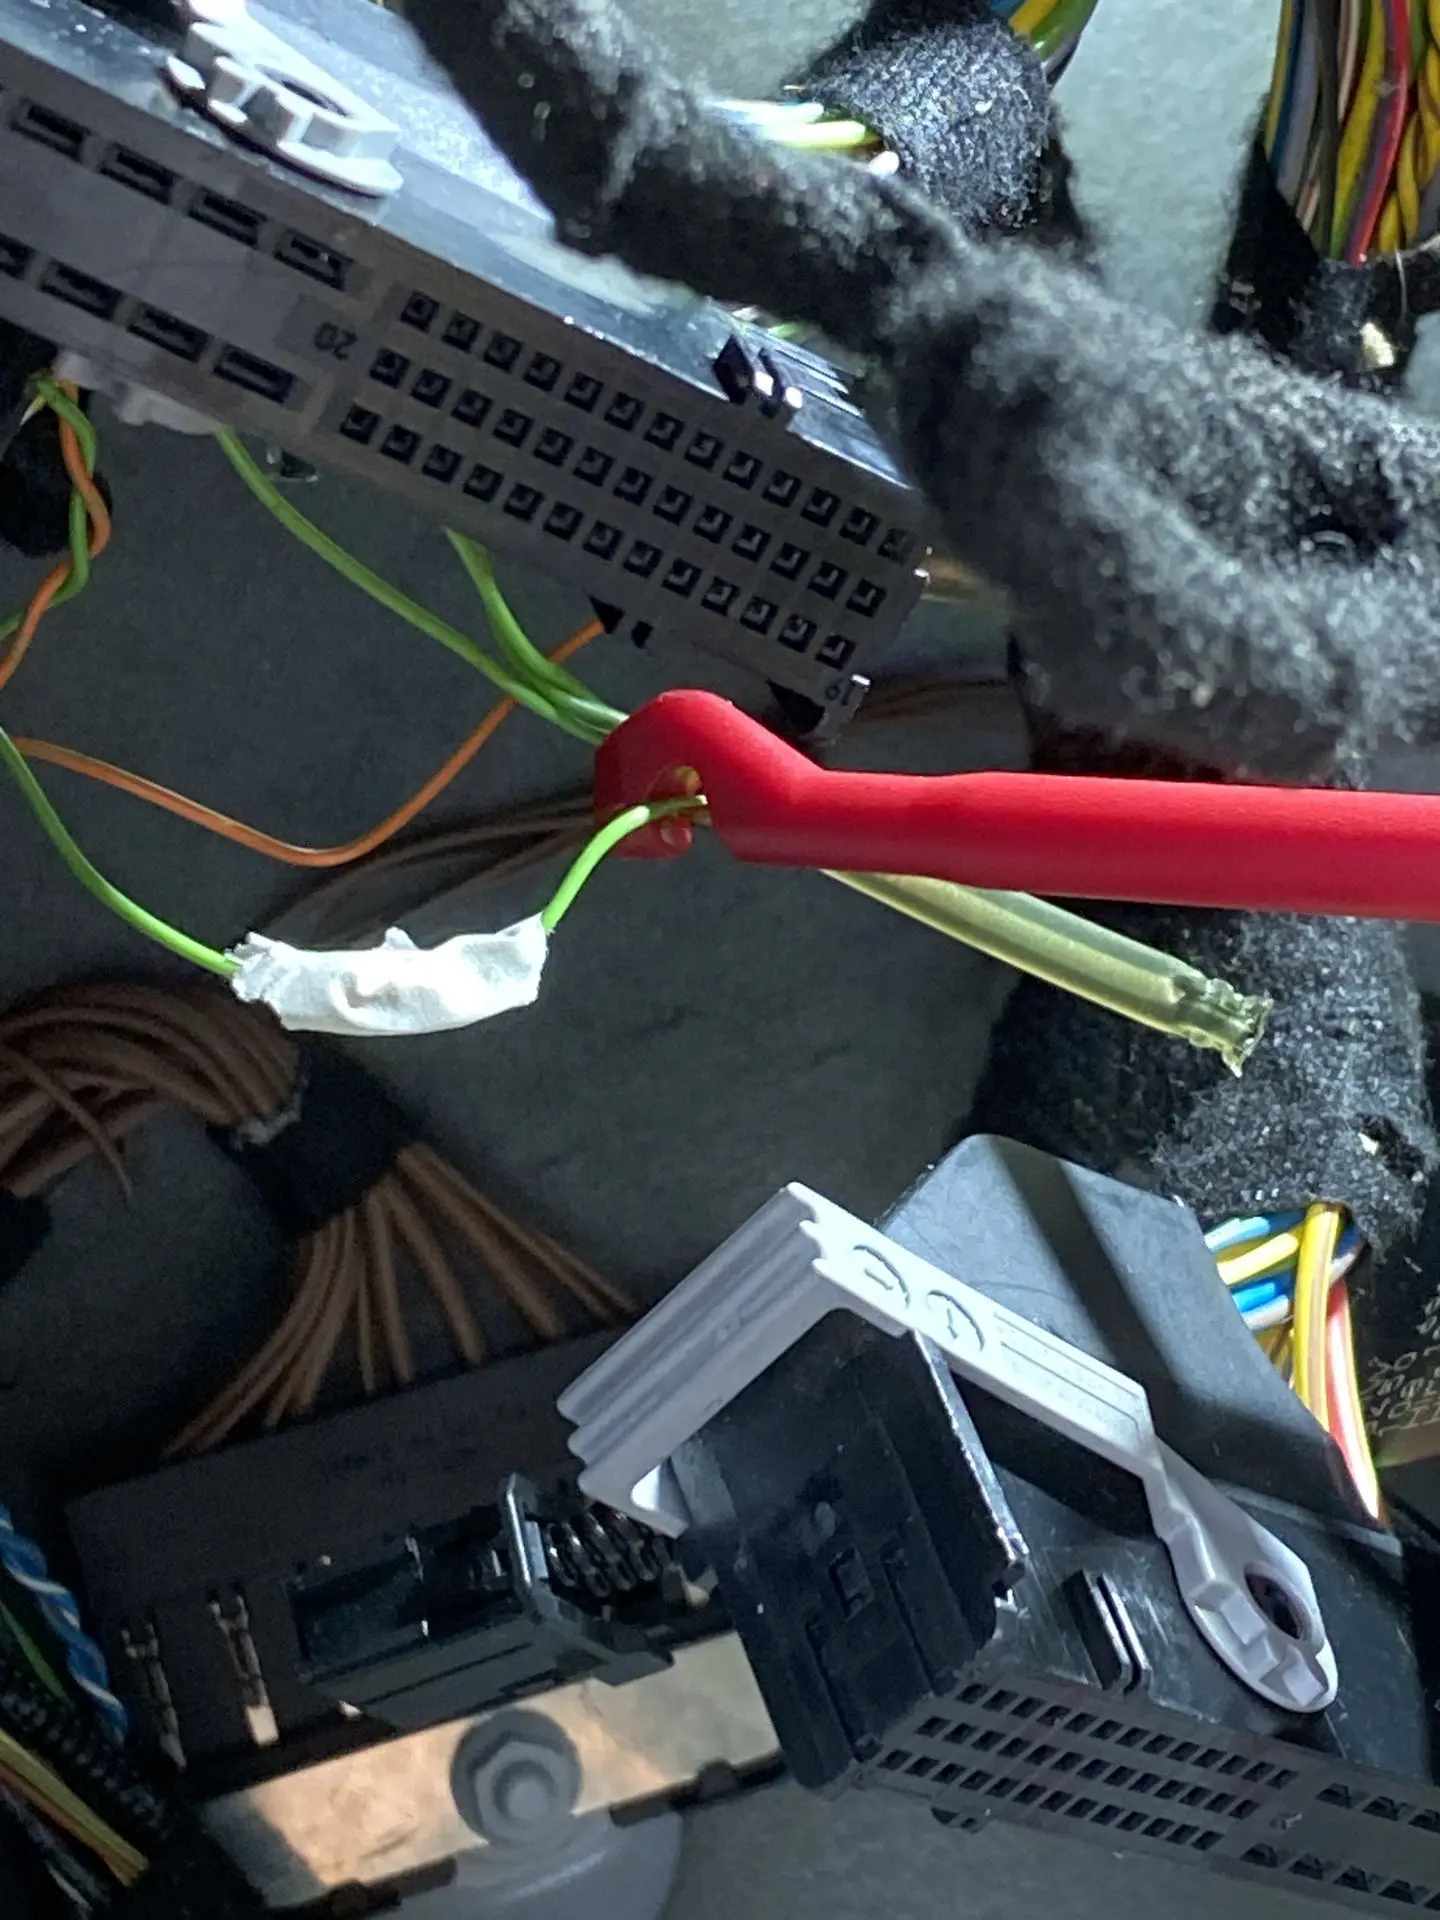
With the oscilloscope and multimeter we saw that the CAN-H line showed an abnormal signal.
Looking at the wiring diagram, we saw that the FRM, which is also on the circuit, was still working properly. That is why a new CAN bus cable was run from after the FRM to the junction node to restore the signal up to the module.
After this repair the signal was perfectly stable, but still no communication: the module remained silent.
Suspect module... or not after all?
Because all measurements were correct, the conclusion seemed logical: module faulty.
We fitted a replacement module — but again no response.
At that point it became clear that the problem ran deeper than an ordinary electronic fault.
The real cause: seats from a British car
After consulting a fellow BMW specialist and comparing diagrams, we got to the heart of the problem:
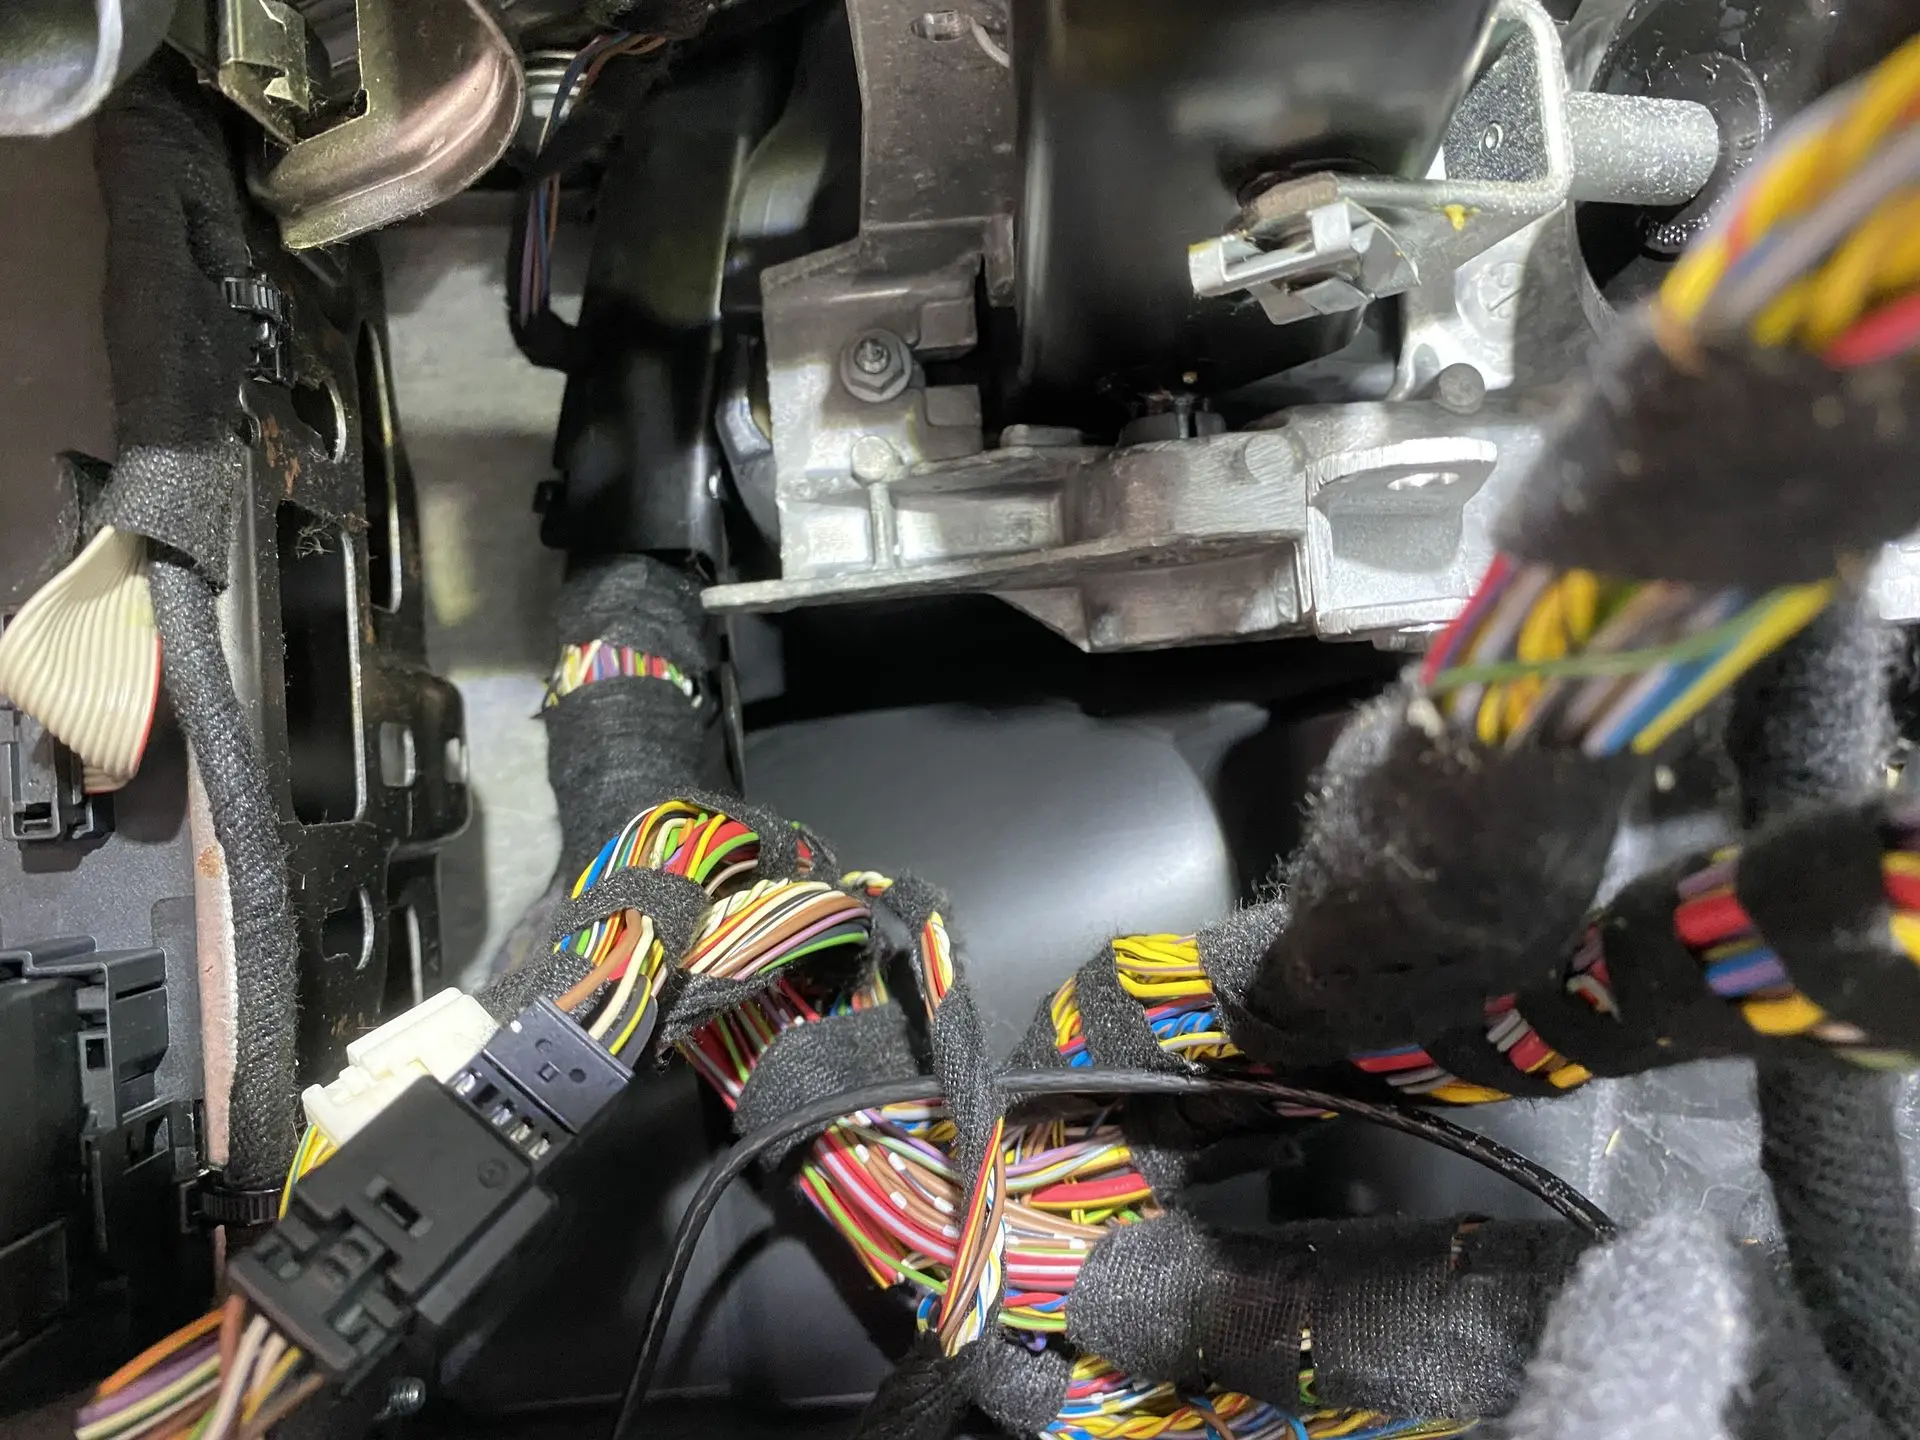
The driver's seat fitted in this E93 turned out to come from a British (RHD) car.
The internal wiring of these seats differs subtly from the European (LHD) version.
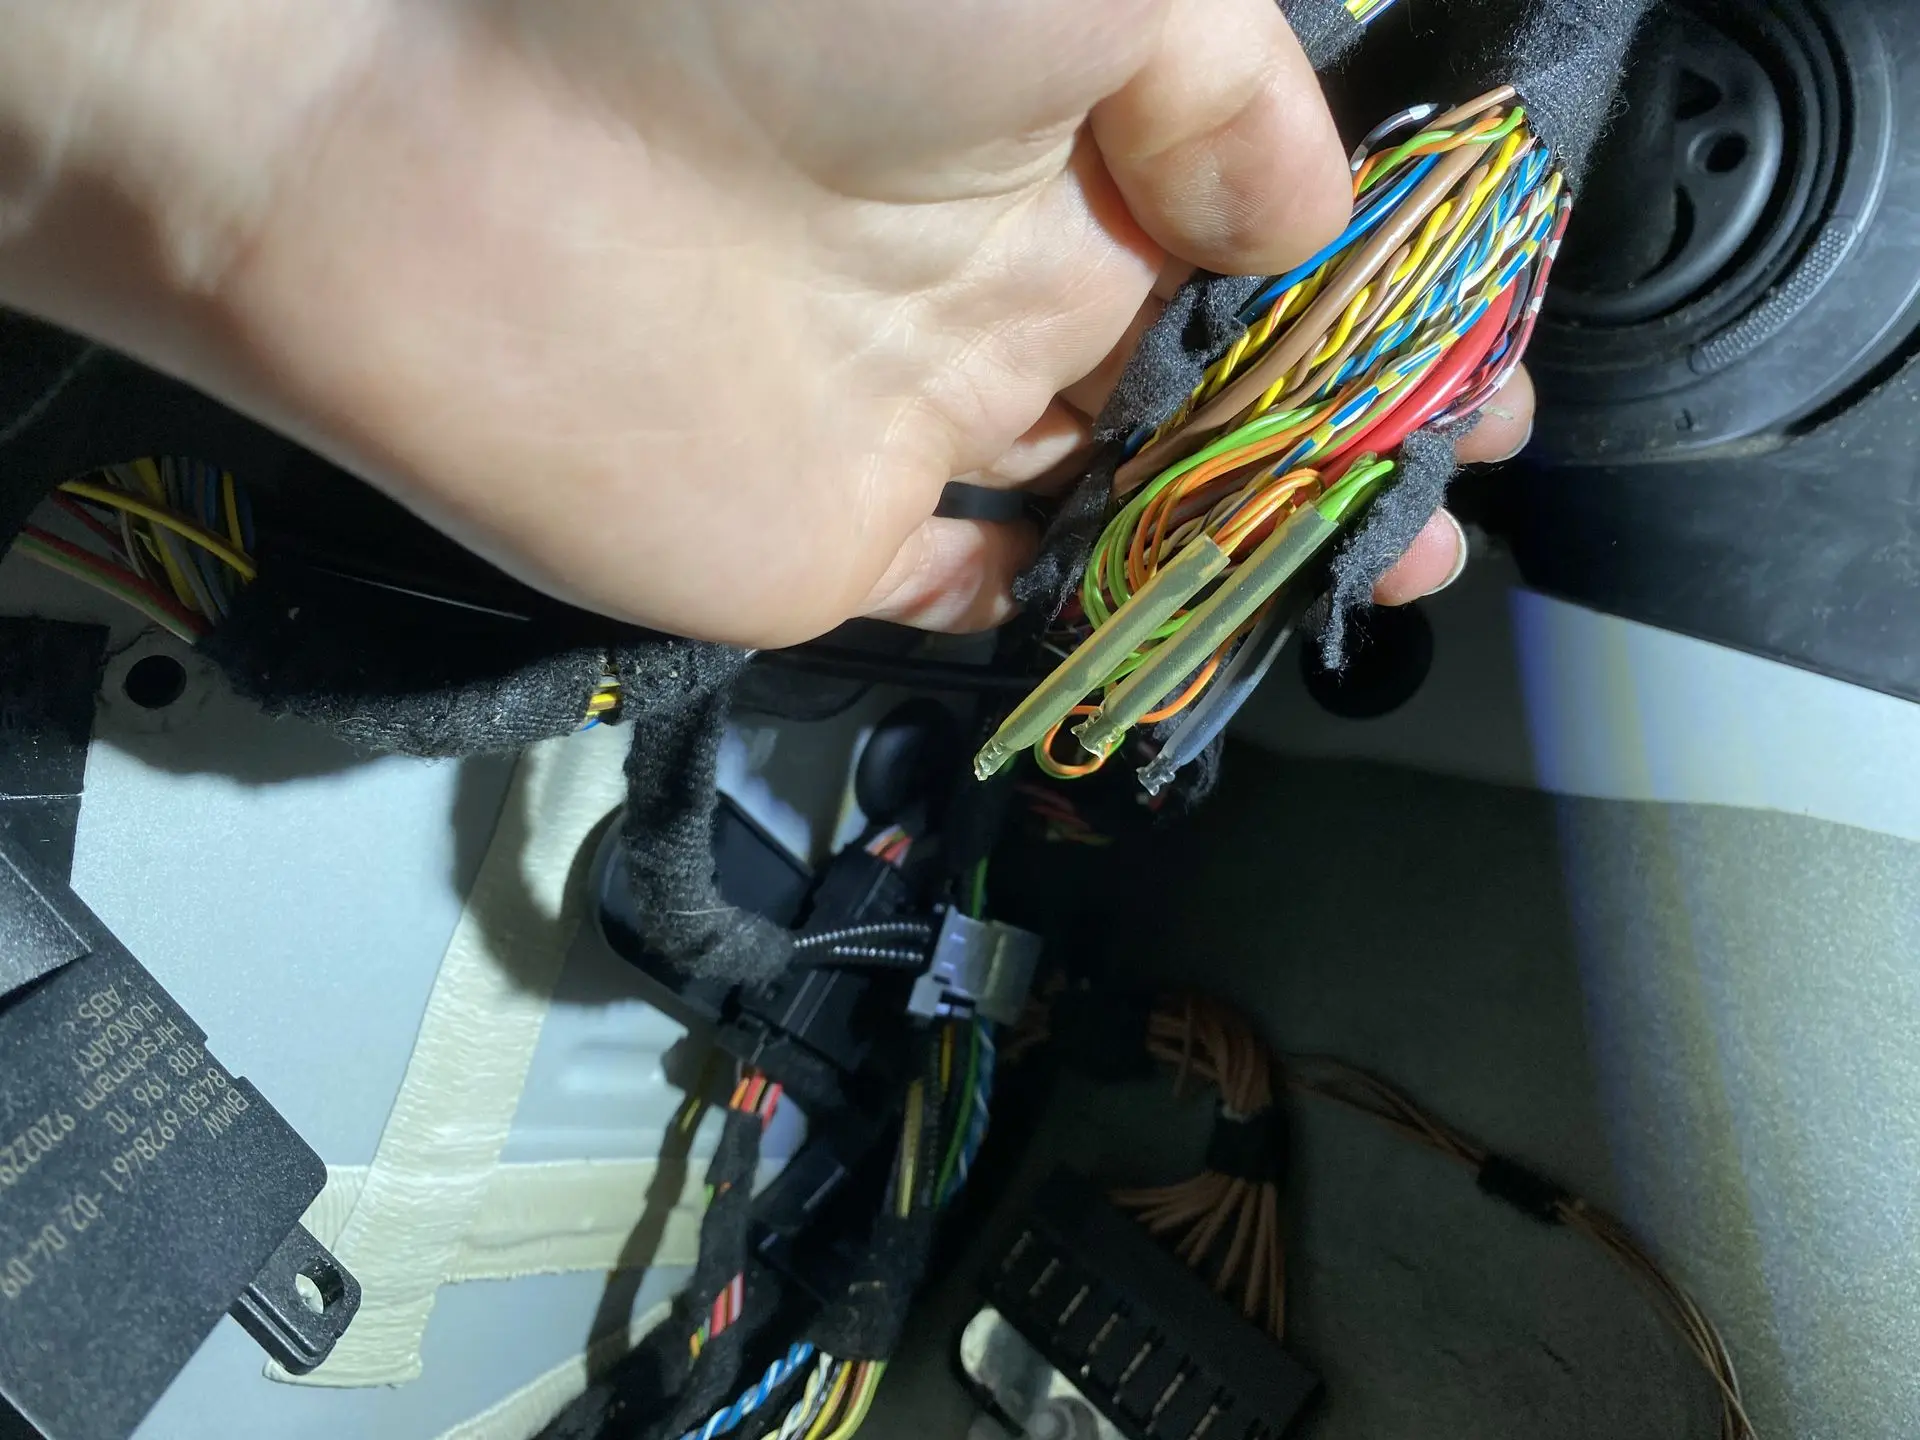
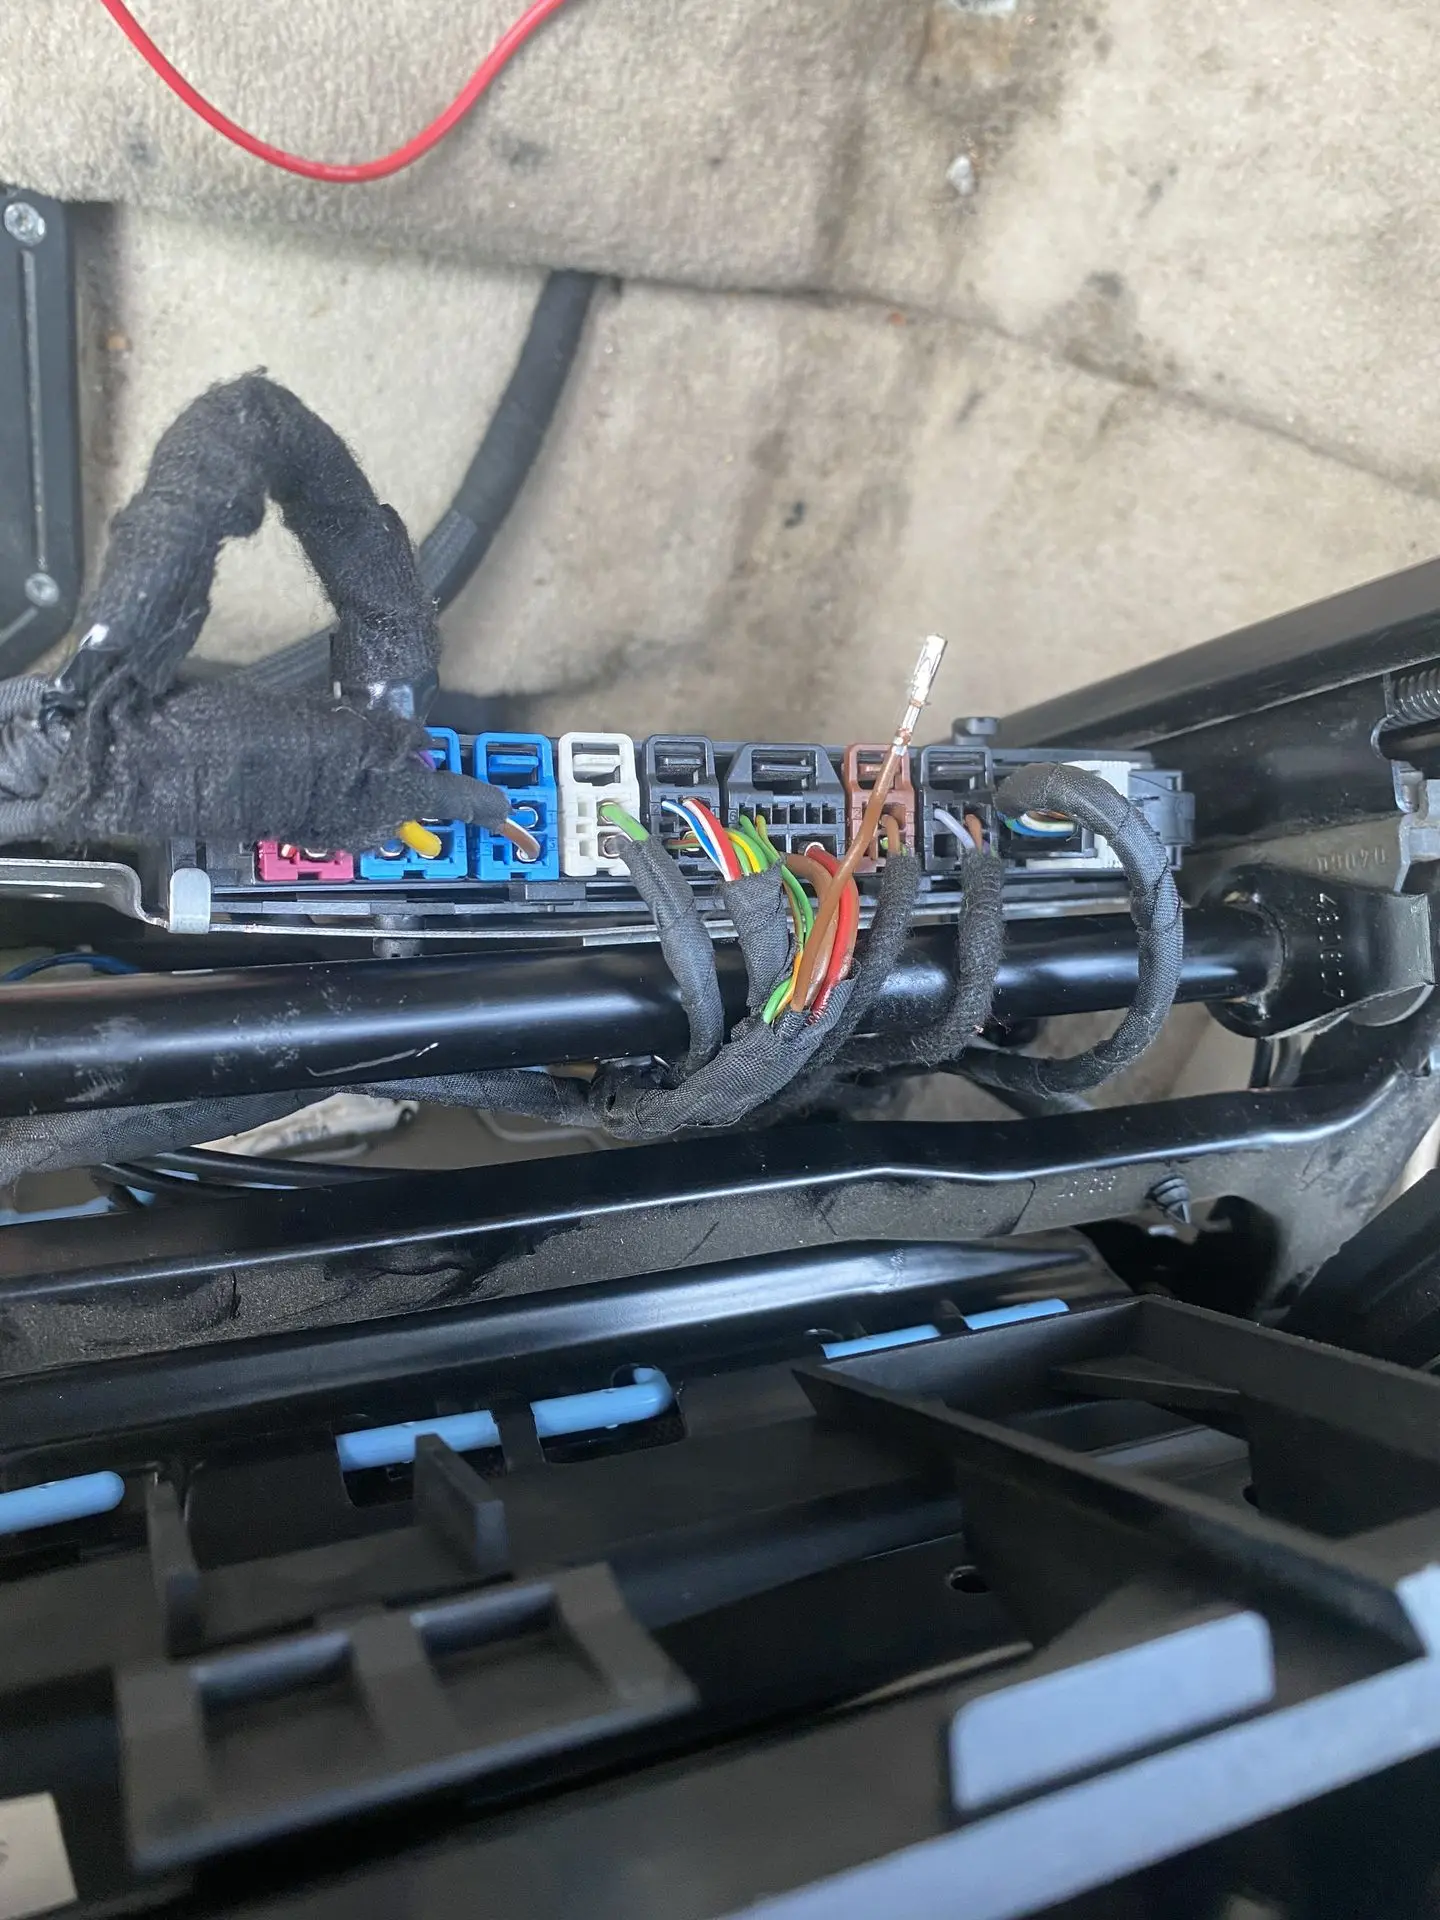
There was literally one extra wire in the British version — on a wrong pin — which meant the module was not recognized on the CAN bus.
Solution and end result
We adapted the wiring harness to European specification, so that the pin assignment and signal direction match the original BMW configuration.
After adapting the wiring the module responded again, and we were able to successfully program and code the seat module via ISTA.
✅ Full communication restored
✅ Seats correctly recognized in all modules
✅ Airbag and CAN faults gone
The car is now completely in order electrically, mechanically and electronically — with all functions as they should be: seat heating, memory and safety systems active.
Result: to measure is to know
Thanks to our approach we have:
- All safety-critical faults solved (ABS, airbag connectors, water leak).
- The real causes behind the electrical faults found (alternator/BSD, FRM input).
- Given insight into how poor installation (ground-off brake backing plate, unregistered AGM) and lack of maintenance (water leak, wrong seats) cause new problems.
- CAN bus signal restored and British driver's seat converted to EU spec.
Where general garages stop at a list of fault codes, we go further: we measure signals, open up wiring harnesses and combine live data with oscilloscope measurements.
Why choose BimmerStore?
- Original BMW diagnostic software
- Specialist measurements with oscilloscope and more
- More than 10 years of experience in BMW electronics & mechanics
- Transparent communication: cause-and-effect analysis instead of guessing
Do you also have a BMW or MINI with a pile of fault codes or strange faults?
Bring it to BimmerStore. We do not just fix the fault, we tackle the cause itself.
👉 Make your appointment via our contact form.
BimmerStore is an independent BMW and MINI specialist in Herenthout (province of Antwerp, Belgium). We carry out repairs on BMW and MINI in our own workshop, by appointment.
BMW E93 full of faults – how we found and fixed the causes with in-depth diagnostics